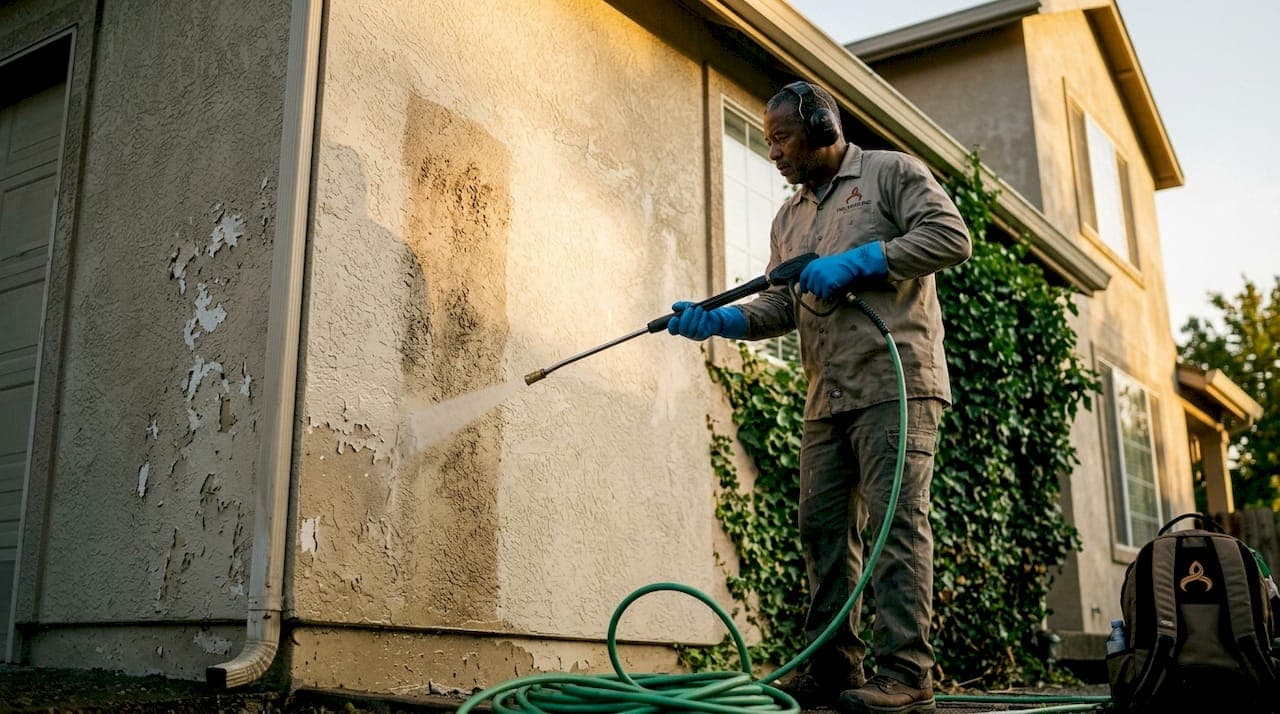
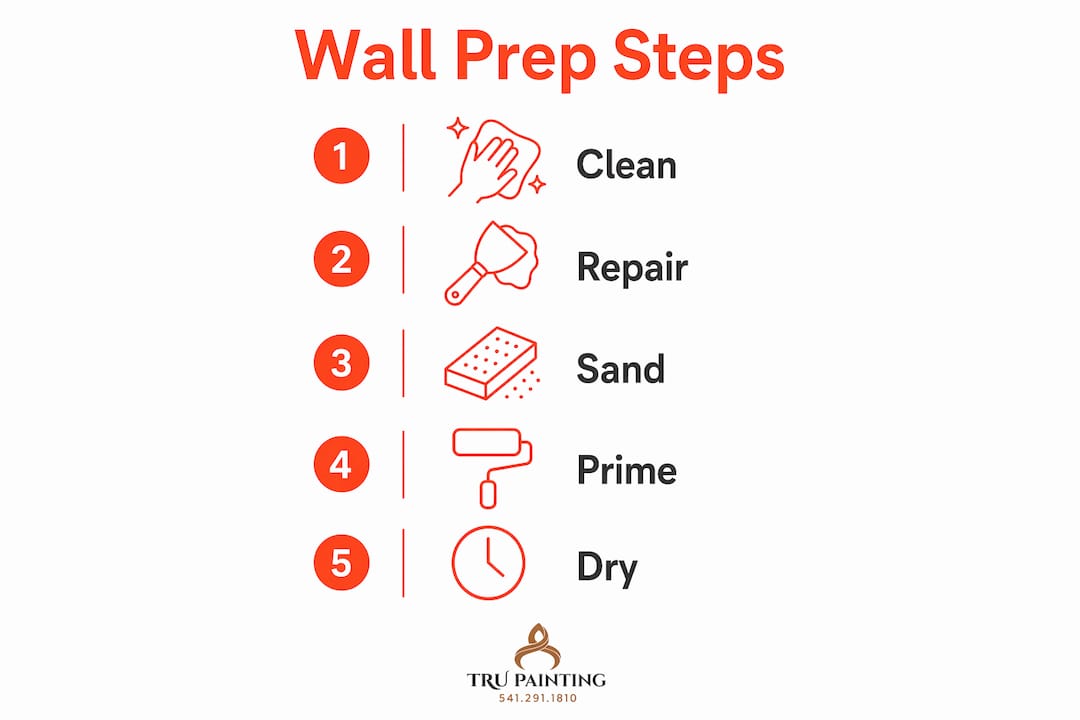
Surface preparation for painting is the single factor that determines whether your exterior paint job lasts 3 years or 15. Proper prep accounts for 40–60% of total project time and is responsible for 100% of paint durability. That means the most expensive paint on the market will fail early if the wall beneath it isn't clean, dry, and sound. To prep exterior walls before painting, you work through four core steps: cleaning, repairing, sanding, and priming. Trupainting LLC follows this exact sequence on every residential exterior project in Lake County and Central Florida, and the results speak for themselves.
What tools and materials do you need to prep exterior walls?
The right materials make prep faster and more effective. Gather everything before you start so you're not stopping mid-project to run to the hardware store.
Cleaning supplies:
- Mild dish detergent or a dedicated exterior wall cleaner
- Specialized mold and mildew treatment (look for products containing sodium hypochlorite)
- Soft-bristle brush or scrubbing pad
- Garden hose with adjustable nozzle or a pressure washer
Repair and surface materials:
- Exterior-grade spackling compound or two-part epoxy filler for wood rot
- Paintable exterior caulk (acrylic latex with silicone)
- 80-grit, 120-grit, and 220-grit sandpaper or a sanding block
- Putty knife and 6-inch drywall knife
Priming and protection:
- Exterior latex primer or oil-based primer (shellac-based for stain blocking)
- Painter's tape and plastic sheeting for masking
- Safety glasses, gloves, and an N95 respirator mask
| Tool or Material | Purpose |
|---|---|
| Pressure washer (under 2,000 PSI) | Removes dirt, mold, and chalky residue from walls |
| Exterior caulk | Seals gaps and seams to block moisture |
| Sandpaper (80–220 grit) | Smooths repairs and scuffs glossy surfaces for adhesion |
| Exterior latex primer | Seals bare or patched surfaces before topcoat |
| Mold treatment solution | Kills mold and algae at the source before painting |
Pro Tip: Buy 10–15% more caulk than you think you need. Gaps and cracks always outnumber your first estimate, and running out mid-bead creates weak spots.
How do you clean exterior walls before painting?
Cleaning is the first physical step, and it's where most DIY projects go wrong. Paint applied over dirt, mold, or chalky residue will peel within one to two seasons regardless of brand or quality.
- Mix your cleaning solution. Combine mild detergent with water, or use a dedicated mold treatment for walls showing green or black growth. Apply the solution with a soft brush or low-pressure sprayer.
- Let it dwell. Cleaning solutions need 10–15 minutes of contact time to break down mold and grime. Do not let the solution dry on the wall. Work in shaded sections or on overcast days to prevent premature drying.
- Scrub stubborn areas. Use a soft-bristle brush on brick, stucco, or wood siding. Avoid wire brushes on stucco and painted wood because they create scratches that show through the final coat.
- Rinse top to bottom. Rinse with low-pressure streams from top to bottom to push dirty water down and away. Never rinse upward or at an angle into siding joints.
- Check for chalking. Run your hand across the wall after rinsing. A white powdery residue means the old paint has chalked. Scrub again with a stiff brush until the surface feels firm.
Pressure washing above 2,000–3,000 PSI or holding the nozzle too close forces water behind siding joints and into wall cavities. That trapped moisture causes blistering, rot, and mold long after the paint looks fine on the surface. For older homes, wood siding, or painted brick, soft washing uses low pressure with biodegradable cleaners to remove mold and algae without damaging the substrate.
Pro Tip: Rent a pressure washer with a 25-degree or 40-degree tip rather than a zero-degree tip. The wider fan spreads the force and dramatically reduces the risk of surface damage.
How do you assess and repair damage on exterior walls?
Cleaning reveals damage that was hidden under grime. Walk the entire perimeter of your home in good daylight and look for these specific problems before you pick up a brush.
What to look for:
- Hairline cracks in stucco or masonry (even small ones let water in)
- Flaking or peeling paint that lifts when you press a putty knife under it
- Soft or spongy wood on siding, trim, or window frames (a sign of rot)
- Gaps between trim, siding, and window or door frames
- Rust stains around nail heads or metal fixtures
How to fix each issue:
- Hairline cracks: Apply exterior-grade spackling or elastomeric caulk, smooth with a putty knife, and let it cure fully before sanding.
- Flaking paint: Scrape all loose material with a putty knife, then sand the edges of the remaining paint to create a feathered transition. Bare spots need primer before topcoat.
- Wood rot: Cut out soft wood and fill with a two-part epoxy wood filler. These products harden like wood and accept paint, stain, and caulk.
- Gaps and seams: Fill with paintable exterior caulk. Run a bead, smooth it with a wet finger, and let it cure for the time listed on the tube (usually 24 hours).
Repairing hidden issues like hairline cracks and wood rot is critical to prevent moisture damage under paint. Water that gets behind a painted surface will cause the paint to bubble and peel from the inside out, and no amount of topcoat will stop it.
Homes built before 1978 may contain lead paint. The EPA recommends using an approved lead test kit before sanding or scraping any existing paint. Disturbing lead paint without proper precautions creates toxic dust that is dangerous to you, your family, and neighbors. EPA-approved testing kits are available at most hardware stores for under $15.
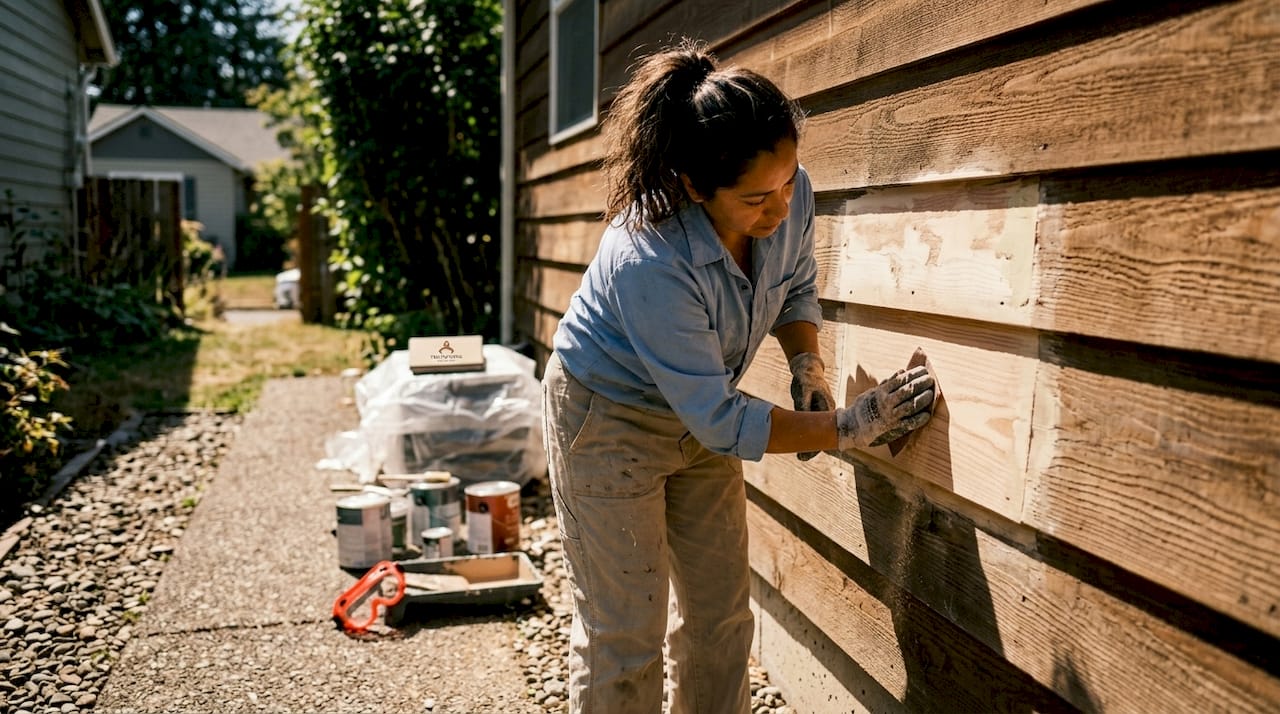
Sand all repaired areas smooth with 120-grit sandpaper once fillers and caulk have fully cured. Follow with 220-grit for a finish that blends seamlessly with the surrounding surface.
When and how should you apply primer to exterior walls?
Primer is not optional on most exterior surfaces. It seals the substrate, improves paint adhesion, and blocks stains from bleeding through the topcoat.
You need primer when:
- Bare wood or bare masonry is exposed after scraping
- You've applied filler or caulk patches
- You're changing from a dark color to a light one
- The surface shows water stains, rust stains, or smoke damage
- The existing paint is heavily chalked or porous
Choosing the right primer type matters:
- Latex exterior primer works on most clean, stable surfaces and dries in 1–2 hours.
- Oil-based primer penetrates deeper into bare or weathered wood and offers stronger adhesion on problem surfaces.
- Shellac-based primers excel at sealing nicotine or water stains, while latex primers are the standard choice for clean, previously painted surfaces.
Apply primer with a brush on edges and trim, then roll the flat sections. One even coat is the goal. Thin spots leave the surface unprotected, and thick spots take too long to dry and can crack.
Pro Tip: Tint your primer to roughly match the topcoat color. This reduces the number of finish coats needed and gives you a more uniform final color, especially on patched areas.
What weather conditions affect exterior wall prep and painting?
Weather is the most overlooked variable in exterior painting. Getting the prep right and then painting in the wrong conditions wastes all your work.
Key weather rules for exterior prep and painting:
- Paint and primer need temperatures between 50°F and 90°F to cure properly. Below 50°F, latex paint thickens and won't bond. Above 90°F, it dries too fast and leaves brush marks.
- Humidity above 85% slows drying dramatically and can cause paint to sag or blister.
- Avoid painting in direct sunlight or high humidity to ensure paint adheres and cures properly. Direct sun heats the wall surface far above air temperature, causing the paint film to skin over before the solvents underneath can escape.
- Never paint within 24 hours of rain, and check the forecast for at least 48 hours after you plan to paint.
Drying time after washing is just as critical as painting conditions. Waiting 48–72 hours after washing is critical to prevent paint adhesion failure. Paint applied to a wall that still holds moisture will blister or peel within one to two seasons. Weather conditions like UV intensity, humidity, and temperature are among the most overlooked but critical variables for exterior painting success.
Pro Tip: Use a pin-type moisture meter on wood siding before priming. The reading should be below 15% moisture content. Above that, wait longer regardless of how dry the surface feels to the touch.
Key Takeaways
Thorough surface preparation, including cleaning, repairing, priming, and timing, is the only reliable way to achieve a durable exterior paint finish that lasts.
| Point | Details |
|---|---|
| Prep drives durability | Surface prep accounts for 40–60% of project time and 100% of paint longevity. |
| Clean before everything | Mold, chalk, and dirt must be fully removed before any repair or primer is applied. |
| Repair all damage first | Hairline cracks, rot, and open seams allow moisture in and cause paint failure from below. |
| Match primer to surface | Use shellac-based primer for stains, oil-based for bare wood, and latex for clean surfaces. |
| Respect drying windows | Wait 48–72 hours after washing and paint only between 50°F and 90°F with low humidity. |
What I've learned from watching DIYers skip the boring parts
The most common mistake I see is treating prep as optional. Homeowners spend real money on premium paint, apply it to a dirty or cracked wall, and then wonder why it looks rough and starts peeling two years later. Skipping prep steps often causes paint failure in 1–3 years, and no paint brand can compensate for a bad substrate.
The second most common mistake is rushing the drying time after washing. I've watched people pressure wash in the morning and start priming by afternoon. The wall looks dry on the outside, but moisture is still sitting in the wood fibers or stucco. That trapped moisture has nowhere to go once primer seals the surface, and it forces the paint film up from below.
The step most DIYers skip entirely is the post-repair sanding. Filling a crack and painting straight over it leaves a visible ridge. Sand every repair smooth, feather the edges into the surrounding surface, and the finished wall looks like nothing was ever wrong.
My honest advice: budget as much time for prep as you do for painting. If you plan two days to paint, plan two days to prep. The prep is what you're actually paying for when you hire a professional. Painting is essentially applying a protective coating. Prep is what makes that protection last.
— Kyle
Trupainting LLC handles the prep so your paint job lasts
Prep work is where most exterior paint jobs are won or lost, and it's also the part that takes the most time, skill, and attention to detail. Trupainting LLC brings that level of care to every project in Lake County and Central Florida.

Our residential exterior painting services include full surface preparation: pressure washing, mold treatment, crack repair, caulking, sanding, and priming before a single drop of topcoat goes on. You can also browse our completed project gallery to see the quality of prep and finish work we deliver. If you want a paint job that holds up through Florida's heat, humidity, and afternoon storms, we're ready to help. Reach out to Trupainting LLC for a free consultation and see which of our three service packages fits your home and budget.
FAQ
How long does it take to prep exterior walls for painting?
Surface preparation takes 40–60% of total project time. For an average home, expect two to four full days of prep before painting begins.
Can you paint exterior walls without pressure washing first?
Painting over dirty or moldy walls causes early paint failure. At minimum, scrub walls thoroughly with a cleaning solution and rinse well before applying any primer or paint.
How long should exterior walls dry after washing before painting?
Wait 48–72 hours after washing before applying primer or paint. Painting over damp walls causes blistering and peeling within one to two seasons.
Do you need primer when preparing walls for outdoor paint?
Primer is required on bare wood, patched areas, stained surfaces, and any surface with heavy chalking. Skipping primer on these surfaces leads to poor adhesion and uneven color.
What temperature is safe for exterior painting?
Paint and primer perform best between 50°F and 90°F with humidity below 85%. Avoid painting in direct sunlight or high humidity to prevent adhesion failure and surface defects.