Painting interior doors is defined as the process of applying primer and finish paint to door surfaces to refresh their appearance and protect the wood or composite material underneath. A proper painting interior doors guide covers far more than just brushing on color. The finish quality depends on surface preparation, paint selection, and application technique. Trupainting LLC, a residential painting contractor serving Lake County and Central Florida, follows the same professional standards outlined here. Get these fundamentals right, and your doors will look flawless for years.
What tools and materials do you need for painting interior doors?
The right tools make the difference between a streaky, amateur finish and a smooth, professional result. Skipping quality here is the most common mistake homeowners make before they even open a can of paint.
Essential tools and their uses:
| Tool | Purpose |
|---|---|
| 4-inch or 6-inch high-density foam roller | Applies paint smoothly on flat door surfaces without texture |
| 2 to 2.5-inch angled sash brush | Paints recessed panels, edges, and tight corners cleanly |
| 120-grit and 220-grit sandpaper | Scuffs existing finish for adhesion; smooths between coats |
| Painter's tape | Protects hinges, frames, and glass from overspray or drips |
| Drop cloths | Covers floors and nearby furniture |
| Tack cloth and vacuum | Removes sanding dust before priming and painting |
For paint, waterborne alkyd paints with a semi-gloss finish are the top choice for interior doors. They flow and level like oil-based paint but clean up with water. Semi-gloss holds up to cleaning and resists scuffs. Satin is a softer, more modern option that hides surface imperfections slightly better.
Pro Tip: A quart of professional-grade primer typically covers about four standard interior doors. Buy accordingly and avoid running short mid-project.
Brush quality matters more than most homeowners expect. Quality angled sash brushes with polyester or nylon bristles are critical for a clean finish. Cheap brushes shed bristles into wet paint and leave drag marks that are nearly impossible to fix without sanding back down.
You will also need a degreaser or TSP substitute for cleaning, wood filler or spackling compound for repairs, and a paint conditioner like Floetrol for improving flow. Keep a small container of water nearby to keep brush bristles from drying out between coats.
How to prepare interior doors for painting
Preparation is the single most important step in any door painting project. Most paint failures come from poor prep, not from the paint brand. Skipping or rushing this phase guarantees peeling, poor adhesion, and a finish that looks worn within months.
Follow this sequence for professional results:
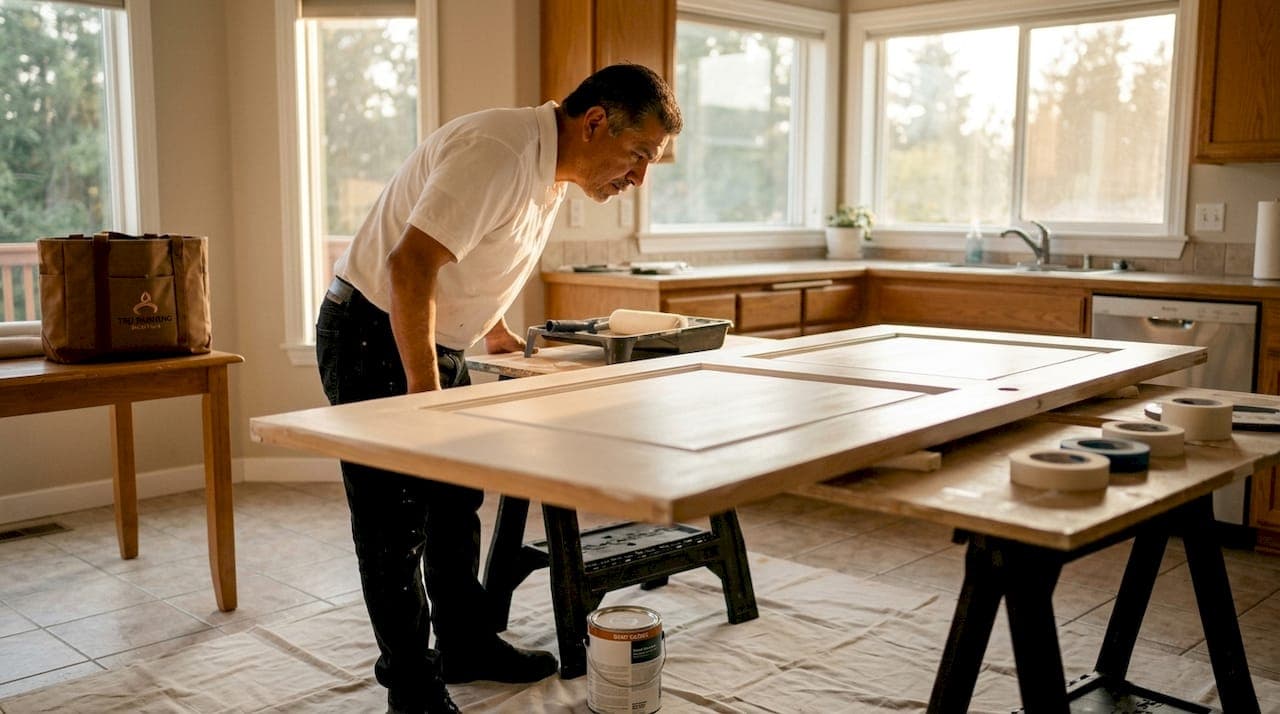
- Remove the door from its hinges. Lay it flat across two sawhorses or a workbench. Painting a door flat eliminates drips and gives you full access to every surface.
- Remove all hardware. Take off hinges, knobs, strike plates, and any decorative hardware. Label each piece by door location so you do not mix up hardware during reassembly.
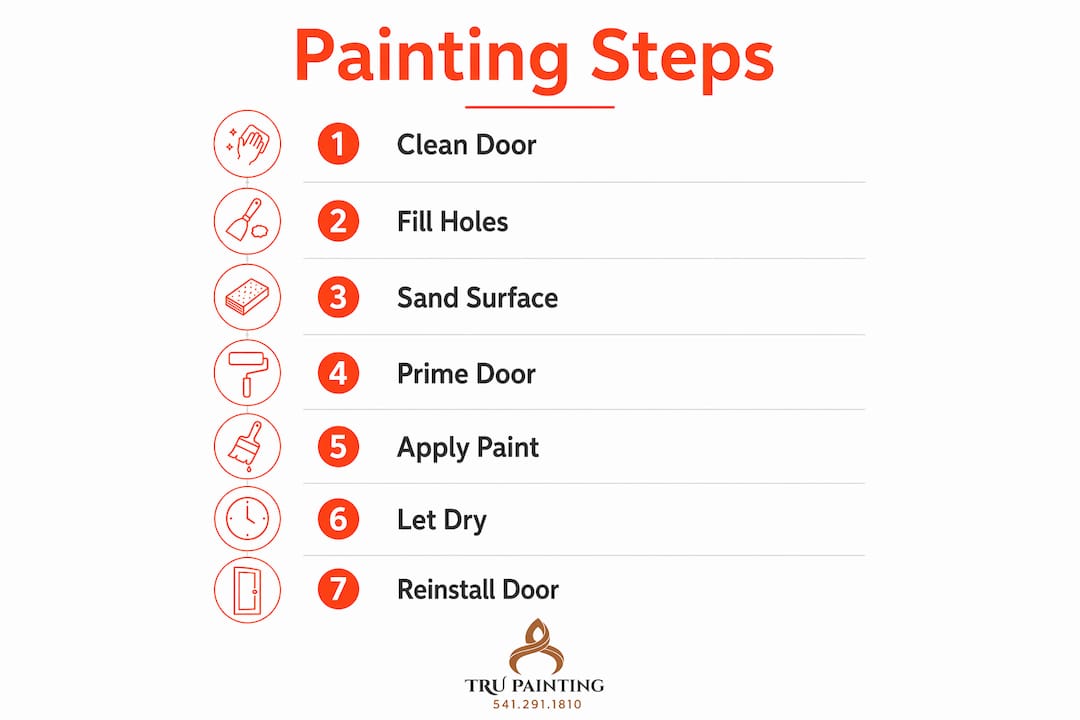
- Clean the surface thoroughly. Wipe the entire door with a degreaser or TSP substitute. Grease and grime prevent paint from bonding. Never sand before cleaning, or you grind the contamination into the wood grain.
- Fill gouges and dents. Use wood filler or lightweight spackling compound for any damage. Let it dry completely, then sand flush with the surrounding surface.
- Sand the entire door. Use 120-grit sandpaper to scuff the whole surface, not just repaired spots. Sanding creates a mechanical bond for the new paint to grip. Follow with 220-grit for a smoother base.
- Remove all dust. Vacuum the door thoroughly, then wipe it down with a tack cloth. Any dust left on the surface will show through the finish coat.
- Prime bare patches. Apply primer only to bare wood, repairs, or areas where you sanded through the existing finish. Spot-priming keeps the surface uniform without adding unnecessary thickness.
Pro Tip: If your door has a glossy existing finish, a liquid deglosser applied before sanding saves time and improves adhesion without heavy sanding.
This prep sequence takes more time than the actual painting. That is normal. Trupainting LLC's residential projects follow this same order because it is the only way to get a finish that lasts.
What is the best technique for applying paint on interior doors?
Technique separates a door that looks professionally painted from one that looks like a weekend project. The key is working in the right order, using thin coats, and keeping a wet edge throughout.
Follow this painting sequence for panel doors:
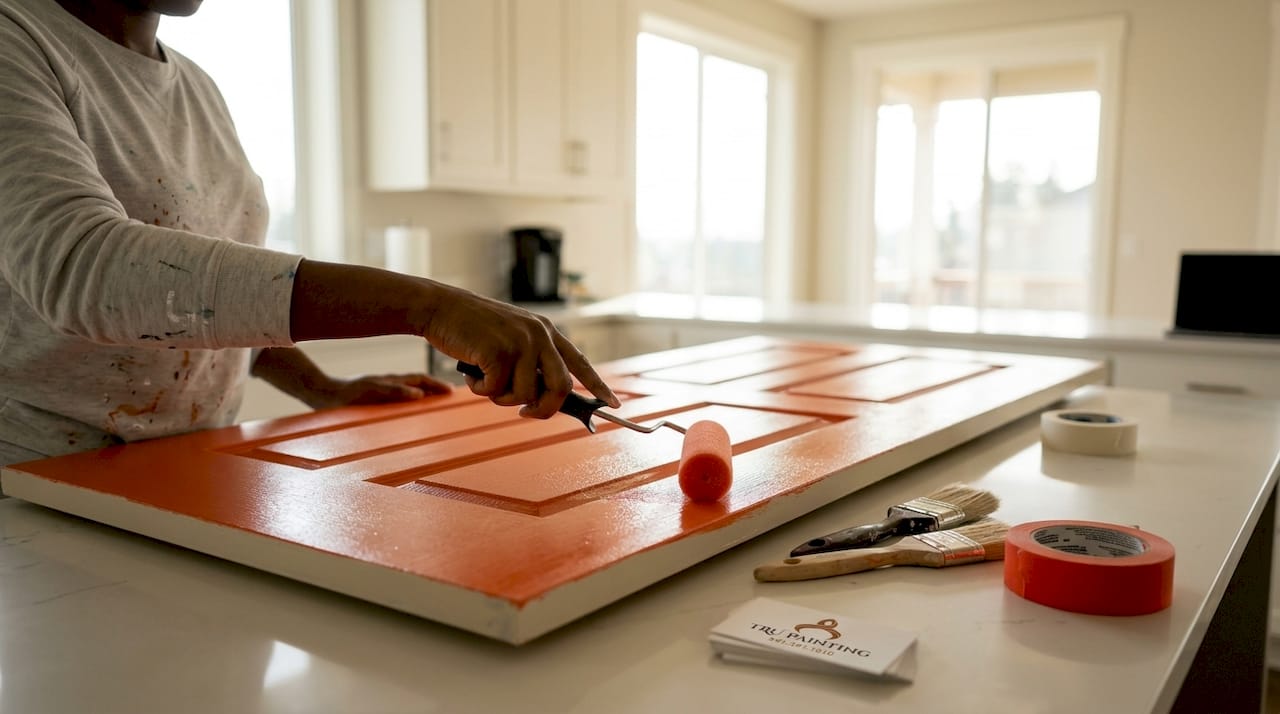
- Paint the recessed panels first. Use your angled sash brush to cut in around each panel, then fill the center with your foam roller. This is the most detail-oriented part of the job.
- Paint the center vertical stile. This is the vertical strip running down the middle of the door between panels.
- Paint the horizontal rails. Work from top to bottom, covering the top rail, middle rail, and bottom rail in order.
- Paint the outer vertical stiles. Finish with the two outer edges that run the full height of the door.
Painting panels first, then stiles and rails in sequence keeps a consistent wet edge and prevents lap marks from building up in the corners. Lap marks form when paint dries before you blend into it.
Pro Tip: Add about 5% Floetrol to your waterborne alkyd paint. Paint begins to drag in as little as 90 seconds without a conditioner, making smooth blending nearly impossible.
Apply thin coats. Two thin coats always outperform one thick coat. After rolling paint onto a flat section, use a 4-inch foam mini roller with a mohair or microfiber sleeve for the smoothest finish on flat surfaces. Finish each section with a feather-light "laying off" stroke. Hold the brush almost parallel to the surface and drag it lightly in one direction to blend any roller texture.
Using a high-density foam roller on flat surfaces and a quality angled sash brush on panels prevents brush lines from showing in the final finish. Never go back over paint that has started to tack. If you miss a spot, let the coat dry and fix it in the next pass.
How to manage drying, curing, and reassembly
Getting the finish right does not end when the last brushstroke is done. How you handle drying and reassembly directly affects the final appearance and durability.
- Leave the door flat for the first two hours after the final coat. Drying flat lets paint self-level and skin over before gravity can pull it into sags. After two hours, move the door upright to finish curing.
- Sand lightly between coats. Once the first coat is fully dry, use 220-grit sandpaper to knock down any dust nibs or brush texture. Wipe with a tack cloth before the second coat.
- Respect the full cure time. Paint may feel dry to the touch in two hours but takes days to fully harden. Check your paint manufacturer's specs. Most waterborne alkyds reach full hardness in 7 days.
- Rehang the door carefully. Have a helper hold the door while you set the hinge pins. Dragging the door against the frame scratches fresh paint.
- Wait before closing the door. Even after the door feels dry, closing it against the frame can cause the paint to stick and peel. Wait at least 24 hours, longer in humid conditions.
Pro Tip: Avoid painting the top and bottom edges of doors heavily in humid climates. Excessive paint film thickness causes doors to stick in the frame as wood expands with moisture.
Common mistakes and how to fix them
Even careful homeowners run into problems. Knowing what causes common issues makes them easy to fix before they become permanent.
- Brush marks: Caused by a cheap brush, overworked paint, or skipping Floetrol. Fix by lightly sanding the dry coat with 220-grit and reapplying with a quality brush and conditioned paint.
- Drips and runs: Caused by applying too much paint at once. Let the run dry completely, sand it smooth, and apply a thin corrective coat.
- Uneven sheen: Usually caused by inconsistent prep or skipping spot primer on repairs. The bare wood absorbs paint differently than the sealed surface. Sand the area lightly and apply a thin coat of primer before repainting.
- Sticky doors after painting: Caused by thick coats, high humidity, or closing the door too soon. Give the paint more time to cure. In humid Florida conditions, this can take longer than the label suggests.
- Bristles in the finish: A sign of a low-quality brush. Pick out bristles with tweezers while the paint is still wet. Once dry, sand the area smooth and touch up.
Pro Tip: Run your hand lightly over the door after the first coat dries. If it feels like sandpaper, your prep was not thorough enough. Sand it back and start the coat again rather than painting over a rough base.
Catching these issues early saves you from stripping the door down completely. Most problems are fixable with a light sand and a careful recoat.
Key Takeaways
Proper surface preparation is the foundation of every successful interior door painting project. Skipping prep, using cheap brushes, or rushing the cure time causes most DIY failures.
| Point | Details |
|---|---|
| Prep before everything | Clean, fill, and sand the entire door before applying any primer or paint. |
| Choose the right paint | Waterborne alkyd in semi-gloss or satin delivers the best durability and finish for interior doors. |
| Follow the painting order | Paint panels first, then center stile, rails, and outer stiles to maintain a wet edge. |
| Use quality tools | A 4-inch foam roller and a 2.5-inch angled sash brush produce a smooth, professional finish. |
| Respect cure time | Leave the door flat for two hours after the final coat, then wait 24 hours before closing it. |
What I have learned from painting hundreds of doors
Most homeowners underestimate how much prep work goes into a great door finish. I have seen beautifully painted doors peel within a year because someone skipped the degreasing step or used a foam brush from a dollar-store kit. The paint itself rarely fails. The surface underneath it does.
The advice I give every homeowner is this: spend twice as long on prep as you think you need to. Fill every nick. Sand every inch. Wipe it down twice with a tack cloth. That extra hour of prep is what separates a door that looks sharp five years from now from one that needs repainting next season.
I also push back on the idea that quality tools are a luxury. A good angled sash brush costs around $15–$20 and lasts years if you clean it properly. A cheap brush costs $4 and ruins a $60 paint job. The math is not complicated.
For homeowners tackling their first interior door makeover, the most encouraging thing I can say is that the techniques here are genuinely learnable. You do not need professional equipment or years of experience. You need patience, the right materials, and a willingness to follow the sequence. The results will surprise you.
— Kyle
Ready to get a flawless finish on your interior doors?
Trupainting LLC brings the same preparation standards and application techniques from this guide to every residential interior project we take on in Lake County and Central Florida. We use premium waterborne alkyd paints, professional-grade tools, and a thorough prep process that ensures your doors look great and stay that way.

Whether you want one door refreshed or a whole-home interior update, our team is ready to help. Check out our residential interior painting services to see how we approach every project, or browse our painting packages to find the right level of service for your home and budget.
FAQ
What is the best paint finish for interior doors?
Semi-gloss is the top choice for interior doors because it resists scuffs, cleans easily, and holds up to daily use. Satin is a softer alternative that works well in modern interiors and hides minor surface imperfections.
How long does it take to paint an interior door?
Most doors require two coats with drying time between them, totaling about one full day of work. Full cure takes up to 7 days, so avoid closing the door firmly for at least 24 hours after the final coat.
Do I need to prime before painting an interior door?
You only need to prime bare wood, repairs, or areas where you sanded through the existing finish. Spot-priming these areas keeps the surface uniform and prevents uneven sheen in the final coat.
Why does my painted door feel sticky after it dries?
Sticky doors are caused by thick paint coats, high humidity, or closing the door before the paint fully cures. Allow more curing time, and avoid painting the top and bottom edges too heavily in humid climates.
Can I paint an interior door without removing it?
You can paint a door while it is still hung, but removing it and laying it flat produces a better finish. Painting flat prevents drips, gives you full access to all surfaces, and lets the paint self-level more effectively.