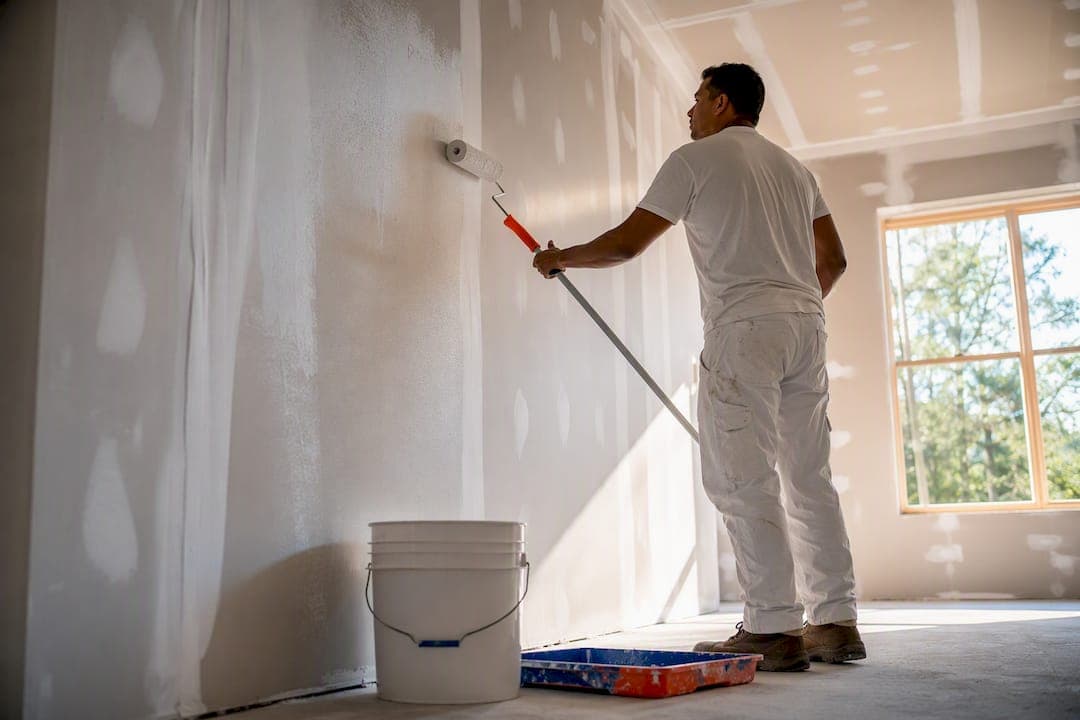
For clean, new drywall with no unusual moisture or heavy skim coating, a PVA (polyvinyl acetate) drywall primer is the right call almost every time. It's built specifically to seal porous paper and joint compound evenly. Switch to acrylic or latex primer in bathrooms, basements, or rooms mixing drywall with wood or masonry, and reach for a stain-blocking or high-build primer only when you're covering stains or a heavily skim-coated wall. With good surface prep, one coat of PVA usually gets the job done.
TL;DR:
- PVA primer is ideal for new drywall with no stains or heavy skim coating, offering even sealing and better adhesion at a lower cost.
- Humid spaces like bathrooms and basements require acrylic or latex primers to ensure durability and moisture resistance, unlike standard PVA.
- Heavily skim-coated or patch-repaired walls should receive high-build primers or a second PVA coat to prevent flashing and ensure a smooth finish.
- Proper priming involves application techniques such as spraying followed by back-rolling, with coverage typically ranging from 300 to 400 square feet per gallon.
- Larger or complex projects benefit from professional assessment to select the right primer and application method, reducing the risk of uneven sealing or future paint failure.
Table of Contents
- Why New Drywall Primer Choice Actually Matters
- What Are the Different Types of Drywall Primer?
- How Do You Choose the Right Primer for Your Project?
- How Do You Apply Primer for an Even Seal?
- What Mistakes Do DIYers Make Most Often?
- When Should You Hire a Pro Instead of DIYing?
- Ready to Skip the Guesswork? Let's Talk About Your Walls
- Where to Verify Primer Specs and Testing
- Sources
- FAQ
Why New Drywall Primer Choice Actually Matters
New drywall isn't one uniform surface, even though it looks that way. The paper facing absorbs paint differently than the joint compound covering the seams and screw holes, and that mismatch is the root of almost every "why does my wall look blotchy" complaint homeowners bring to us. Paint applied straight over bare drywall soaks in unevenly, leaving dull, flat patches where the compound sits next to shinier patches where it's just paper. Painters call that effect flashing, and once your topcoat dries, it's hard to fix without stripping back and starting over.
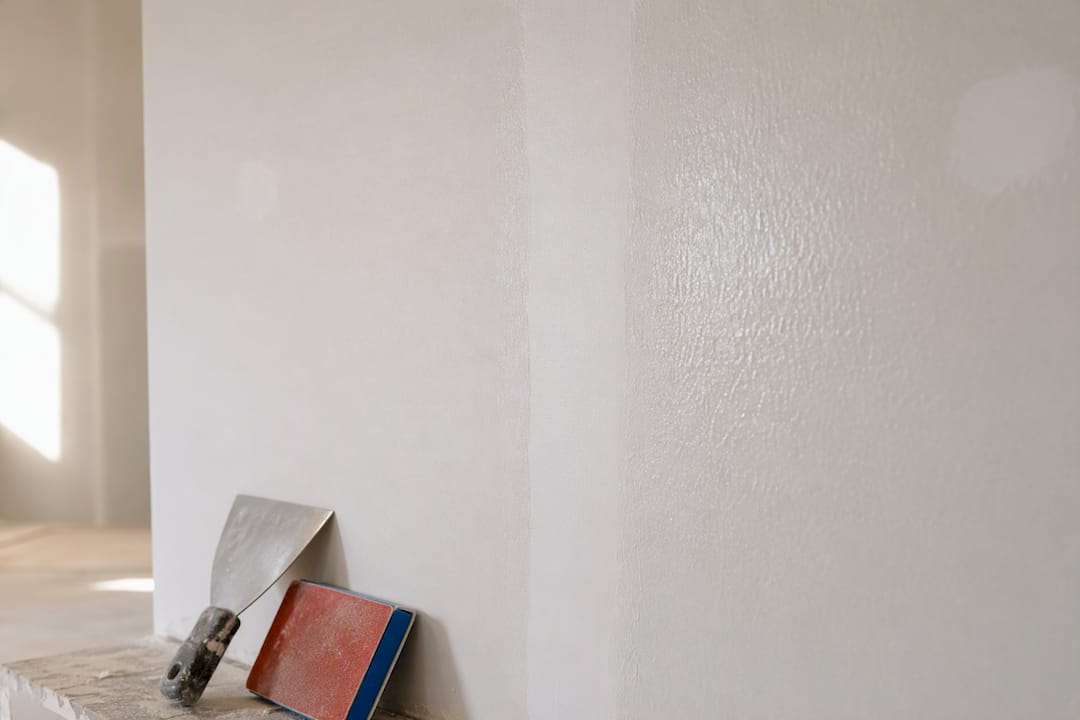
Priming solves that problem by equalizing porosity across the whole surface before a drop of finish paint goes on, which is exactly why PVA primer has become the standard for sealing new, uncoated drywall. A good primer also improves adhesion, gives you a truer, more consistent sheen, and often saves you a whole coat of finish paint, since you're no longer fighting absorption differences.
Coverage numbers help you shop smart. Standard PVA primers typically run 300 to 400 square feet per gallon, though heavily sanded drywall, skim coats, and rough patch repairs all pull that number down. Buy a little extra rather than running short mid-wall.
Three rules of thumb cover most situations:
- Default to PVA primer for clean, new, uncoated drywall in normal living spaces.
- Switch to acrylic or latex primer when you're dealing with humidity, mixed substrates, or long-term durability concerns.
- Reserve specialty primers (stain-blocking, high-build) for stains, water marks, or heavy skim-coat repairs.
Quick Fact: A gallon of standard PVA primer covers roughly 300 to 400 square feet on properly prepped drywall, so a typical 12x12 bedroom usually needs less than a gallon for one coat.
What Are the Different Types of Drywall Primer?
Not every primer on the shelf is built for the same job, and grabbing whatever's cheapest or most familiar can leave you repainting sooner than you'd like.
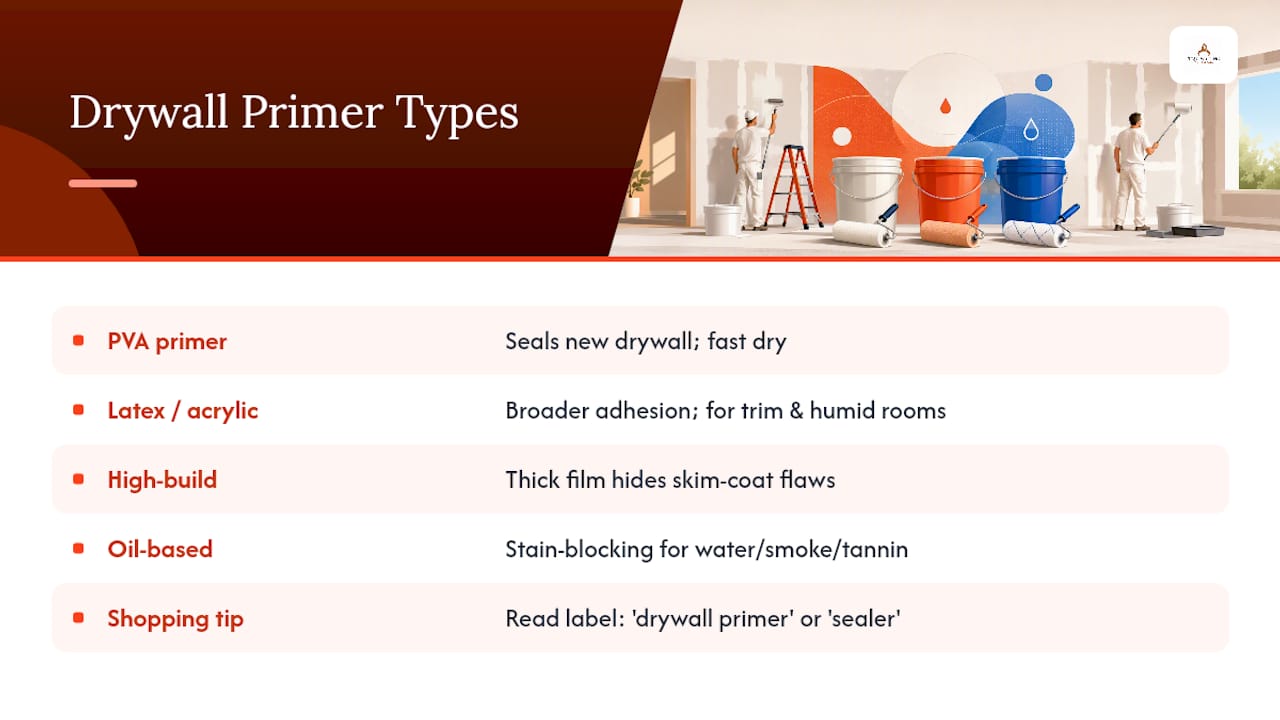
PVA primer is the workhorse for new drywall. It seals porosity fast, costs less than most alternatives, and dries quickly enough to recoat the same day. Its main limitation shows up on rooms with satin or eggshell topcoats over heavy skim coats, where a single PVA coat sometimes isn't enough film to prevent flashing.
Latex and acrylic primers trade a bit of that low cost for broader adhesion. They bond well to drywall, wood trim, and even previously painted surfaces, which makes them the better pick for rooms where drywall meets other materials, or where you want extra durability against scuffs and moisture. Bathrooms and other humid spaces benefit from this category over a basic PVA.
High-build primers and surfacers lay down a noticeably thicker film. That extra build is exactly what you want on a heavily skim-coated wall, where imperfections in the compound need extra coverage to disappear. The trade-off: these products often perform best when sprayed rather than brushed or rolled, which means renting or owning spray equipment.
Oil-based primers still have a place, mainly for stain blocking. Water stains, marker, smoke damage, or tannin bleed from wood trim call for an oil-based or dedicated stain-blocking formula, since water-based primers generally can't lock those stains down on their own.
When you're standing in the paint aisle, look past the marketing and read the label carefully. Terms like "drywall primer," "sealer," and "high-hide" tell you more about actual performance than brand names do. A well-formulated PVA product frequently outperforms pricier specialty primers on ordinary new drywall, simply because it was engineered for exactly that surface.
If you're also refinishing cabinets in the same project, primer selection works differently for wood and laminate substrates than it does for drywall. Our guide on choosing primer for cabinet painting breaks down those distinctions.
How Do You Choose the Right Primer for Your Project?
Start by looking hard at your walls, not the paint can. New, uncoated drywall with clean, tight seams is the easiest scenario and the one where basic PVA shines. A wall with a heavy skim coat, multiple patch repairs, or visible sanding marks needs more film build, which usually means either a second PVA coat or stepping up to a high-build primer or surfacer.
Your topcoat sheen matters too. Flat finishes are forgiving of minor porosity differences, but satin, eggshell, and semi-gloss sheens expose every uneven spot in the primer coat. If you're making a dramatic color change, tinted or high-hide primers cut down the number of finish coats you'll need.
Room by room, the calculus shifts:
- Bathrooms and laundry rooms call for acrylic or moisture-resistant latex primer, not standard PVA.
- Basements with any dampness history deserve the same acrylic upgrade, plus attention to ventilation during application.
- Living rooms and bedrooms with normal humidity are prime territory for standard PVA.
- Kitchens near cooking surfaces benefit from a scrubbable, more durable acrylic formula.
Budget plays a real role here. A basic PVA primer costs less per gallon and per coat, but a mid-tier product with better first-coat hide can reduce the number of coats you need overall, which sometimes makes it the more economical choice once you count your time and paint.
Pro Tip: Don't assume the most expensive primer on the shelf gives you the best result. Testing consistently shows mid-tier primers often deliver the best balance of coverage, ease of application, and cost for DIY projects.
How Do You Apply Primer for an Even Seal?
Application technique matters almost as much as which primer you buy. Spraying goes on fast and even, but professionals never leave it at that. They back-roll immediately after spraying to physically work the primer into the porous drywall paper and joint compound, which is what actually creates a sealed, uniform surface rather than a thin film sitting on top.
For rolling by hand, a 3/8 inch nap roller cover handles most drywall textures well, while a 1/2 inch nap works better over heavier orange-peel or knockdown texture. Use an angled sash brush to cut in corners, ceiling lines, and trim before rolling the open field, so you're not fighting roller marks in tight spots later.
Coverage math only works if you account for porosity. That 300 to 400 square feet per gallon figure assumes reasonably smooth, properly sanded drywall. Heavily textured or skim-coated walls absorb more primer and push actual coverage toward the lower end of that range, so budget your gallons accordingly rather than getting caught short mid-room.
Dry and recoat times differ by primer type. Most water-based PVA and latex primers are dry to the touch within an hour and ready for a topcoat in two to four hours, weather permitting. Oil-based primers need considerably longer, often overnight, and require good ventilation because of higher VOC content and stronger odor.
- Open windows and run a fan during and after priming, especially with oil-based products.
- Plan a realistic weekend workflow: prep and prime on day one, sand lightly if needed, then paint your topcoat on day two.
- Never rush recoat time just to finish faster. It shows up in the final sheen.
What Mistakes Do DIYers Make Most Often?
The single biggest mistake is skipping primer altogether or substituting a paint-and-primer-in-one product. Homeowners who try this on new drywall commonly end up with uneven sheen and need extra coats to fix what a dedicated PVA primer would have prevented from the start.
Surface prep failures rank a close second. Sanding joint compound smooth, then skipping the dust removal step, leaves a fine film that keeps primer from bonding properly. A full prep sequence, including letting compound cure fully and wiping down dust with a tack cloth, sets up everything that follows.
Other common errors include:
- Using standard PVA in a humid bathroom instead of an acrylic or moisture-resistant formula.
- Applying primer too thin to save money, which defeats the purpose of sealing porosity.
- Spraying without back-rolling, leaving an uneven, patchy seal.
- Painting the topcoat before the primer has fully dried.
Pro Tip: If you're unsure whether your drywall is properly prepped, run a hand across the surface in raking light from a work lamp. Any dust, ridges, or shiny compound spots will show up immediately.
Before you prime anything, our pre-paint prep checklist walks through sanding and cleaning in more detail, and it pairs well with understanding the full interior painting sequence so priming lands in the right spot in your project timeline.
When Should You Hire a Pro Instead of DIYing?
Most single rooms with clean, new drywall are genuinely manageable as a weekend DIY project. Where we see homeowners get in over their heads is on larger remodels, whole-house new construction, or rooms with heavy skim-coat repairs where getting an even seal really matters, like a dining room under pendant lighting that shows every flaw.
Time constraints push the decision too. If you're juggling a renovation timeline with contractors on-site, the sequencing of prep, priming, and painting gets harder to manage solo.
A solid painting contract should spell out surface prep steps, the specific primer and paint products being used, number of coats, and what warranty coverage applies if flashing or peeling shows up later. That level of detail is what separates a dependable outcome from a guessing game, especially on rooms where lighting exposes every imperfection.
— Kyle
Ready to Skip the Guesswork? Let's Talk About Your Walls
If you've read this far and you're still not sure whether your project calls for a simple PVA coat or something more involved, that kind of decision is best made on-site by experienced painting professionals. Hiring a pro tends to pay off fastest on larger jobs, skim-coated walls, or rooms where an uneven seal would be impossible to hide.

Our three-tier service packages let you choose the level of prep and product quality that fits your home and your budget, without cutting corners on primer selection or surface prep. Whether you're finishing new construction drywall or refreshing a single room, we handle the assessment, product selection, and application so the final coat looks even the first time. Get a free estimate on interior painting and we'll walk your space with you before any primer goes on the wall.
Where to Verify Primer Specs and Testing
Manufacturer pages and independent testing give you the most reliable numbers when you're comparing products side by side. The KILZ PVA Drywall Primer product page lists official coverage rates and application guidance straight from the manufacturer. BobVila's tested primer roundup compares real-world performance across several formulas, including Zinsser Bulls Eye 1-2-3 and Behr Drywall Plus. For a deeper technical breakdown of PVA versus high-build formulas, Drywall Central's comparison is worth a read before you buy.
Sources
- KILZ® PVA DRYWALL PRIMER Professional Interior Primer | KILZ®
- PVA primer vs high-build primer: the best choice for new drywall | Drywall Central
- The Best Drywall Primers of 2026 - Tested and Reviewed | BobVila
- When and why to back-roll after paint spraying | Titan Tool
FAQ
What Primer Should I Use on Brand New Drywall?
Use a PVA drywall primer for clean, uncoated new drywall in normal living spaces. Switch to acrylic or latex primer if the room has high humidity or mixed substrates.
What Is the Best Primer for New Drywall?
For most homes, a quality PVA primer is the best primer for new drywall because it's formulated specifically to seal porous paper and joint compound evenly. Upgrade to a high-build or stain-blocking primer only when you're covering a heavy skim coat or visible stains.
What Kind of Primer Should You Use on Drywall With a Skim Coat?
Skim-coated walls need extra film build to avoid flashing, so plan on a higher-build primer or a second coat of PVA before your topcoat goes on.
Is It Better to Spray or Roll Primer on New Drywall?
Spraying applies primer faster and more evenly over large areas, but professionals always back-roll immediately afterward to work the primer into the porous surface for a proper seal. Rolling by hand works well for smaller rooms and gives you more control without the need for spray equipment.