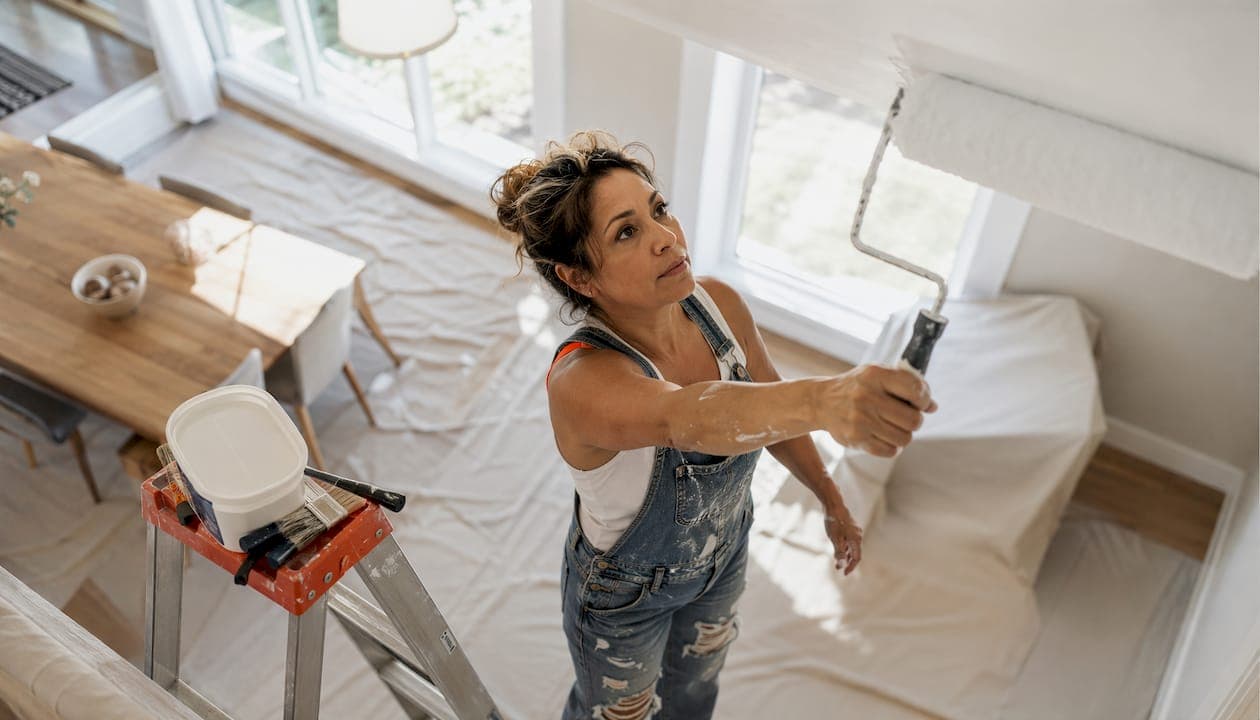
The correct interior painting sequence is ceiling first, walls second, and trim, doors, and windows last. This top-to-bottom order is the standard professional approach used by painters across residential and commercial projects alike. Following it prevents drips from landing on freshly painted surfaces and eliminates most of the touch-up work that frustrates DIYers.
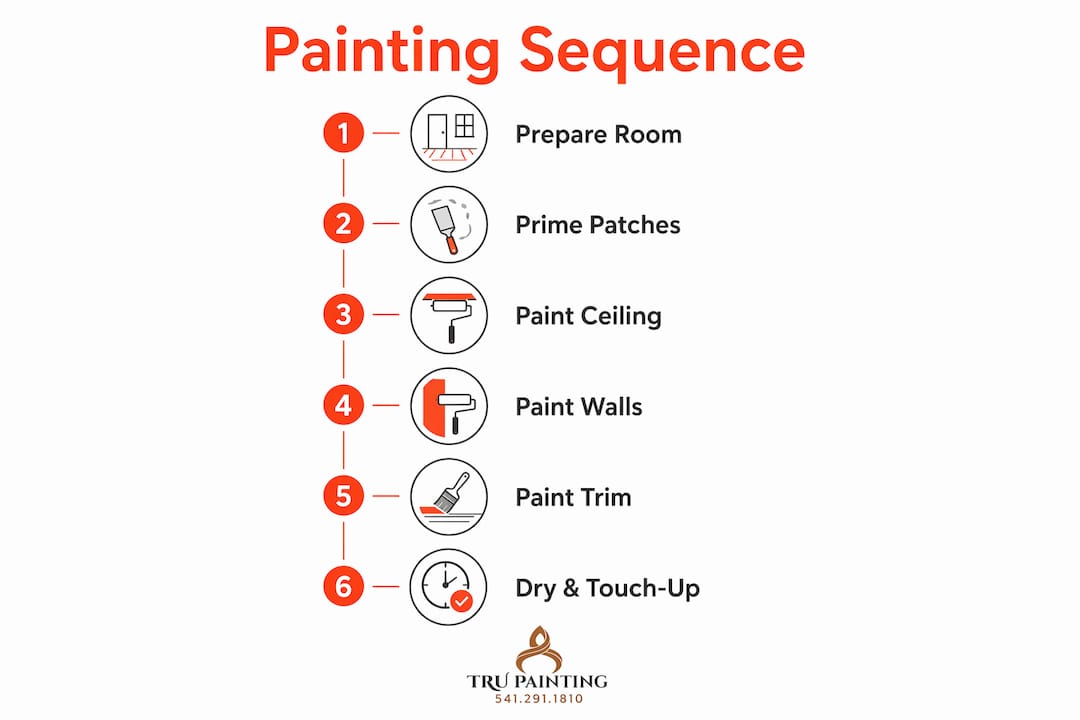
Here is the full sequence at a glance:
- Step 1: Plan and prepare the room
- Step 2: Clean and repair all surfaces
- Step 3: Prime new or patched areas
- Step 4: Paint the ceiling
- Step 5: Paint the walls
- Step 6: Paint trim, doors, and windows
- Step 7: Apply second coats and allow proper drying time
- Step 8: Final cleanup and touch-ups
Every step builds on the one before it. Skip one, and you will likely spend more time fixing mistakes than you saved.
How to plan and prepare your room before painting
Good prep work is what separates a quick paint job from a great result. Move all furniture out of the room or push it to the center and cover it with drop cloths. Lay canvas drop cloths on the floor — canvas holds up better than plastic and gives you a stable surface to stand on.
Remove outlet covers and light switch plates with a screwdriver and set them aside. Fill any holes or cracks with spackle, let it dry fully, then sand smooth and wipe away the dust. Apply painter's tape along edges where you want clean lines, pressing it down firmly so paint cannot seep underneath.
Your supplies checklist:
- Drop cloths (canvas preferred)
- Spackle and putty knife
- Sandpaper (120–220 grit)
- Painter's tape
- Angled sash brush (2-inch)
- Roller covers and frames
- Extension pole
- Paint tray
- Primer for patched or new surfaces
Pro Tip: Prime every patched spot before painting. Skipping primer on repaired areas causes those spots to absorb paint differently, leaving visible dull patches in your finished wall.
Why you should always paint the ceiling first
Gravity does not care how careful you are. Even experienced painters get drips during ceiling work, and painting the ceiling first means any splatter lands on bare walls you have not painted yet. You simply roll over it when you get to the walls.
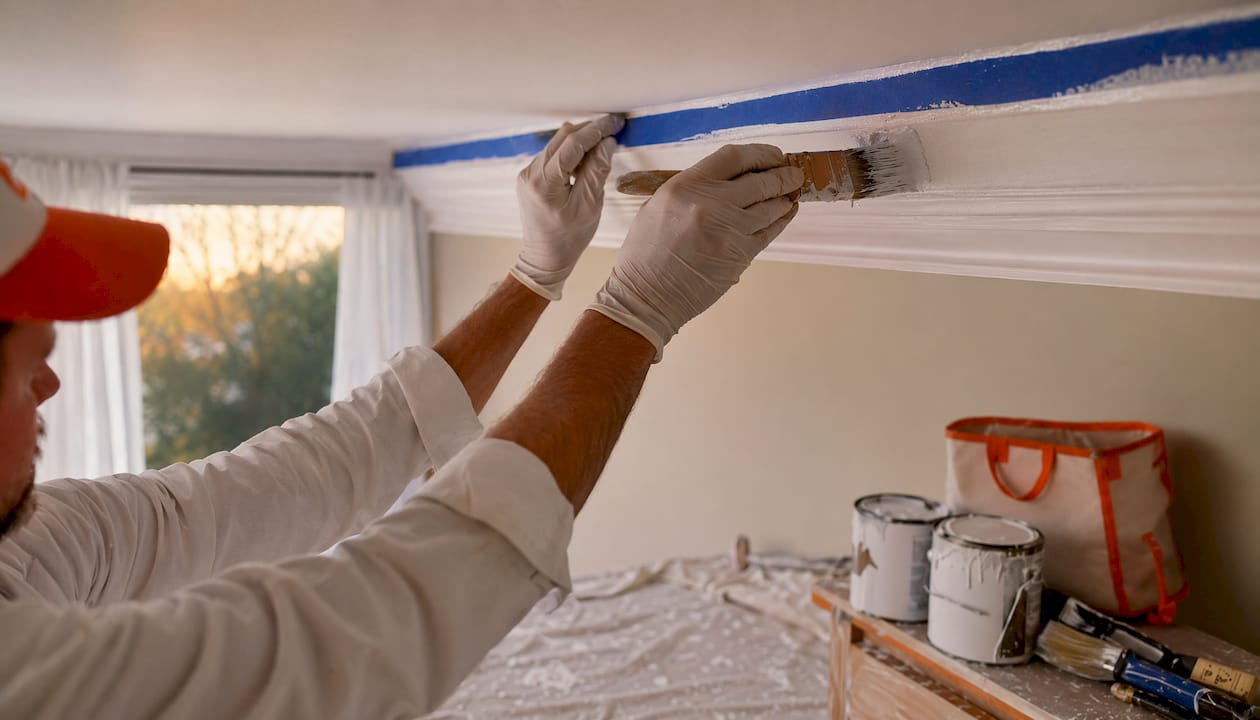
Use a roller with an extension pole to reach the ceiling without a ladder for most of the work. Cut in a 2-inch strip along the ceiling edges with an angled brush first, then roll the main field in overlapping passes.
Ceiling painting tips:
- Work in sections across the short side of the room
- Maintain a wet edge by moving quickly from one section to the next
- Use a flat or matte ceiling paint for the best light diffusion
- Keep the room ventilated to help the paint dry evenly
Pro Tip: Work in manageable 3-foot-wide strips and never let the edge of one strip dry before starting the next. That wet edge is what prevents lap marks from showing up once the paint cures.
How to paint walls after the ceiling for an even finish
Once the ceiling is fully dry, walls are next. Start by cutting in a 2–3 inch strip along all edges where the wall meets the ceiling, trim, and floor using an angled brush. Then switch to a roller for the large open areas.
Roll paint onto the wall in a "W" or "M" pattern, then fill in the empty spaces with vertical strokes. Working in 4x4-foot sections and keeping a continuous wet edge prevents lap marks and gives you smooth, even coverage. Move quickly enough that you are always blending into wet paint, not dried paint.
Wall painting best practices:
- Cut in edges before rolling each wall
- Use a "W" pattern with the roller for even distribution
- Work section by section without letting edges dry
- Apply two coats for full, consistent color
Pro Tip: Blend your cut-in edges into the rolled sections while both are still wet. If the brushed border dries before you roll over it, you will see a texture difference along the edges.
Finishing with trim, doors, and windows for crisp results
Painting trim last protects your freshly painted walls from accidental drips and gives you the cleanest possible lines. Use a small, high-quality angled brush for precision work on baseboards, door casings, and window frames.
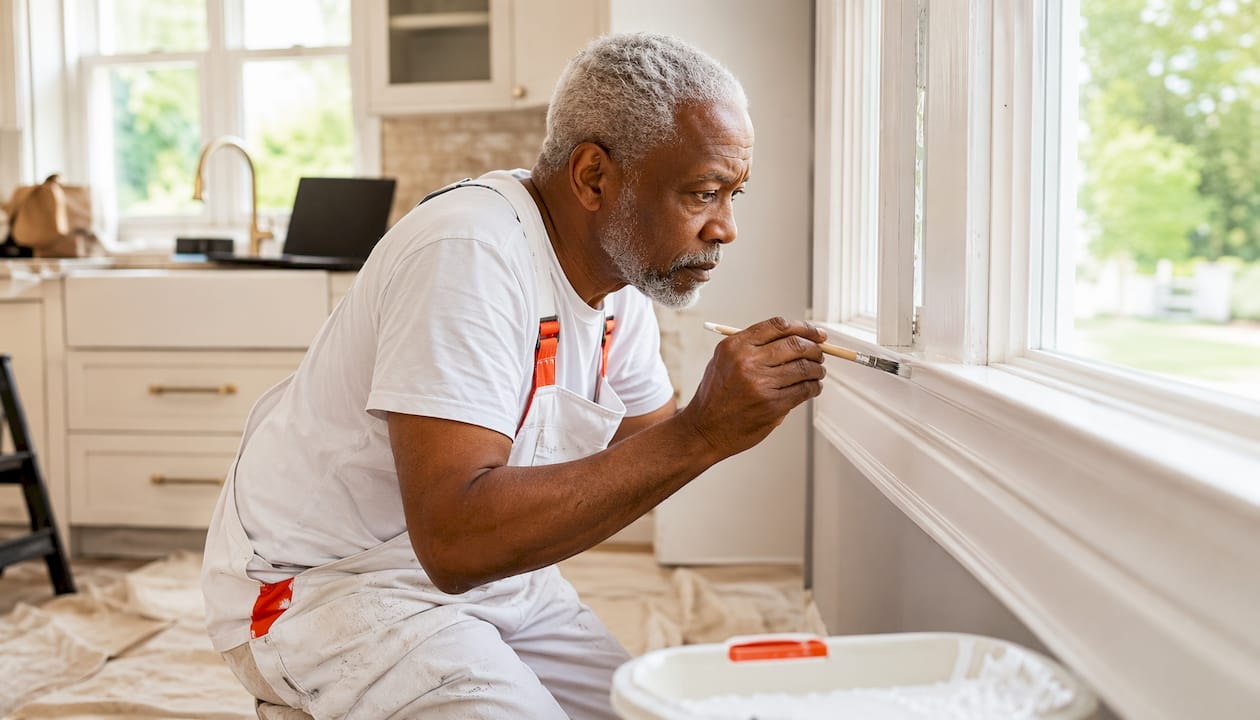
For trim and woodwork, a semi-gloss or gloss finish is the professional standard. These finishes hold up to cleaning and scuffs far better than flat paint, and they give trim that sharp, defined look that makes a room feel finished. You can learn more about choosing the right finish for each surface before you buy.
Trim painting tips:
- Apply painter's tape along the wall edge to protect your wall paint
- Use a small angled brush for door panels and window frames
- Work with the grain on wood surfaces
- Remove painter's tape while the paint is still slightly damp
Pro Tip: Pull painter's tape off at a 45-degree angle while the paint is still damp. Waiting until the paint fully cures risks peeling the finish right along with the tape.
For a detailed walkthrough on doors specifically, the interior door painting guide covers every step from prep to final coat.
What you need to know about drying times and second coats
Getting the timing right between coats makes a real difference in the final result. Interior latex paints typically dry in 1–4 hours depending on gloss level, temperature, and humidity. Flat paints dry fastest, often within an hour in warm, dry conditions. Glossier paints need more time because the denser formula takes longer to cure.
Always check the paint label for the manufacturer's recoat window. Applying a second coat too soon traps moisture and causes peeling or uneven sheen. Most projects benefit from waiting the full recommended time even when the surface feels dry to the touch.
Practical drying and recoating advice:
- Wait the recommended time between coats for interior latex paint
- Flat paint dries faster; semi-gloss and gloss need longer
- High humidity slows drying; keep the room ventilated
- Touch the painted surface lightly in an inconspicuous spot to check readiness
- Never rush a second coat just because the surface looks dry
A note on tools between coats: Rather than washing brushes and rollers after every coat, wrap them tightly in plastic wrap and store them in the refrigerator. This keeps them fresh for hours without drying out, saving cleanup time on multi-day projects.
Typical interior painting projects take 2–3 days when you factor in prep, multiple coats, and proper drying time. Larger rooms or those needing repairs will run toward the longer end.
Ventilation and safety during interior painting
Good airflow protects both you and your paint job. Open windows and doors while you work, and use a box fan to push fumes out rather than just circulating them. Latex paints have lower VOC levels than oil-based products, but even low-VOC paints release fumes that build up quickly in a closed room.
Wear safety glasses when painting ceilings to keep splatter out of your eyes. If you are sensitive to paint fumes or working in a small space, a respirator rated for paint vapors is worth using. Keep children and pets out of freshly painted rooms until the paint is fully dry and the smell has cleared.
Ventilation also speeds up drying time. A room with good airflow dries more evenly and reduces the risk of lap marks caused by uneven moisture evaporation. Avoid painting on very humid days when possible, as moisture in the air extends drying times and can affect how the paint bonds to the surface.
Final cleanup and touch-ups after painting
Once the final coat is dry, do a slow walk around the room in good lighting. Look for thin spots, drips, or areas where the color looks uneven. Touch these up with a small brush using the same paint, feathering the edges so the patch blends in.
Remove painter's tape carefully, then replace all outlet covers and light switch plates. Clean brushes and rollers with warm soapy water for latex paint, or the appropriate solvent for oil-based products. Store a small, labeled container of leftover paint for future touch-ups — walls get scuffed, and having the exact color on hand saves a trip to the paint store.
For a thorough breakdown of post-painting cleanup, professional painters follow a consistent process that keeps tools in good shape and leaves the room spotless. Avoiding common finishing mistakes during cleanup is just as important as the painting itself.
Key Takeaways
The interior painting sequence, ceiling to walls to trim, is the single most effective way to get a clean, professional finish with minimal rework.
| Point | Details |
|---|---|
| Follow the top-to-bottom order | Paint ceilings first, then walls, then trim to prevent drips on finished surfaces. |
| Prep determines the final quality | Moving furniture, cleaning walls, and priming patches directly affects adhesion and finish. |
| Maintain a wet edge on every surface | Working quickly in sections prevents lap marks on both ceilings and walls. |
| Respect drying times | Interior latex paints need 1 to 4 hours between coats; flat dries fastest, gloss takes longest. |
| Remove tape while paint is damp | Pulling tape at a 45-degree angle while still damp keeps lines sharp and avoids peeling. |
Ready to skip the prep stress and get a flawless finish the first time? Trupainting LLC serves homeowners across Lake County and Central Florida with meticulous prep, premium products, and results that last. Explore our residential interior painting services and see what a professional touch looks like.
