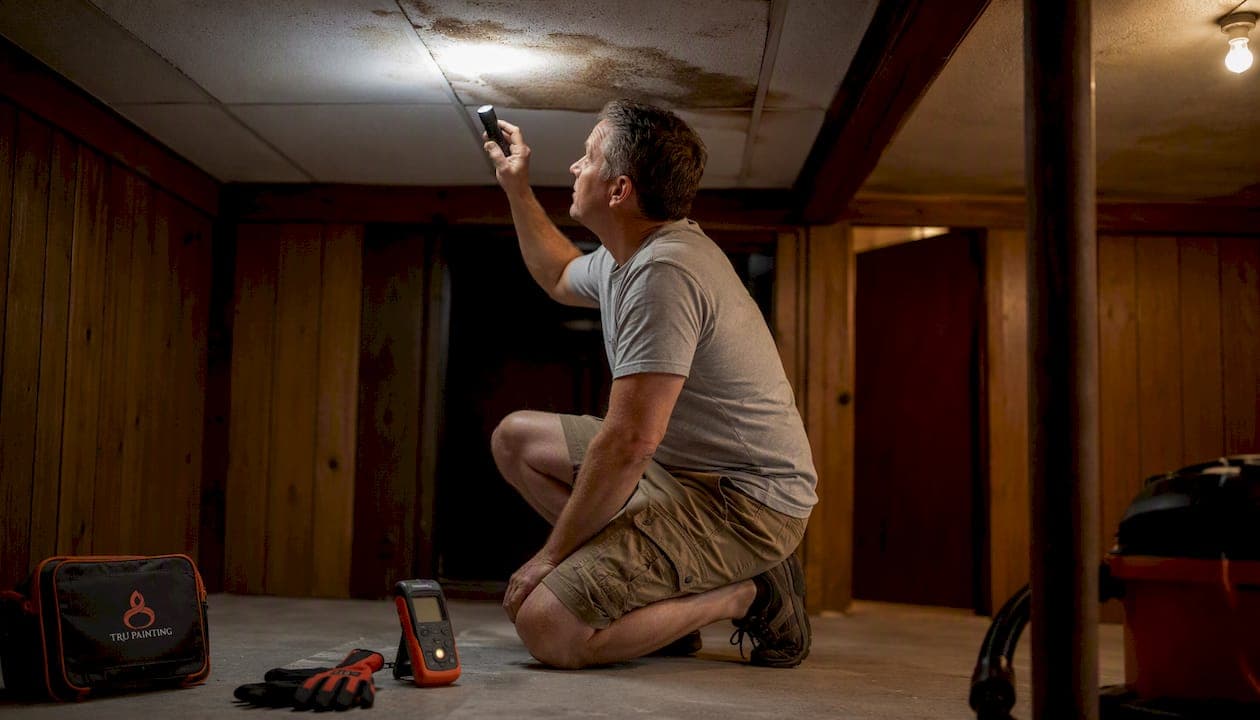
When you spot a water stain on your ceiling, the right move is simple: stop the leak, confirm the ceiling is dry for at least 48 hours, then clean, prime with a stain-blocking product, and repaint. Most homeowners can handle a straightforward cosmetic repair themselves. The key is knowing when to stop and call a professional.
Before you grab a paintbrush, run through this quick checklist:
- Stop active water. Shut off the supply line or apply a temporary roof patch before anything else.
- Check the drywall. Press the ceiling gently. Soft, sagging, or crumbling material means the damage goes beyond cosmetic.
- Look for mold. Black or green speckles and a musty odor are red flags that require professional assessment, not a coat of paint.
- Set up airflow and wait. Run fans and a dehumidifier for at least 48 hours. EPA guidance is clear: framing that stays wet after 48 hours of active drying signals significant structural or mold risk.
If the ceiling passes those checks, you're in DIY territory. If it doesn't, Trupainting LLC serves Lake County and Central Florida homeowners who need a licensed professional to assess and repair the damage properly.
Table of Contents
- What causes ceiling water stains, and how do you identify the source?
- What supplies and primers do you need for ceiling water stain repair?
- How do you repair a ceiling water stain step by step?
- When does ceiling drywall need to be repaired or replaced?
- What does ceiling water damage repair cost, and how long does it take?
- Clear signs you should stop DIYing and call a licensed pro
- How do you prevent ceiling water stains from coming back?
- Expert thresholds: when is a cosmetic fix safe, and when isn't it?
- Key Takeaways
- What most homeowners get wrong about ceiling stain repairs
- Ceiling repairs done right: Trupainting LLC's interior services
- Useful sources and further reading
What causes ceiling water stains, and how do you identify the source?
Ceiling water stains almost always trace back to one of three sources: a roof leak, a plumbing failure, or HVAC condensation. Identifying which one you have before any cosmetic work is the most important step in the entire repair process.
Roof leaks tend to show up near exterior walls, chimneys, skylights, or roof penetrations. The stain often expands or darkens after heavy rain. A quick attic check is your best diagnostic tool. Wet insulation, dark streaks on rafters, and daylight visible through the decking all point directly to a roof source. Homeowners often skip the attic entirely, which is why the same stain keeps coming back after repainting.
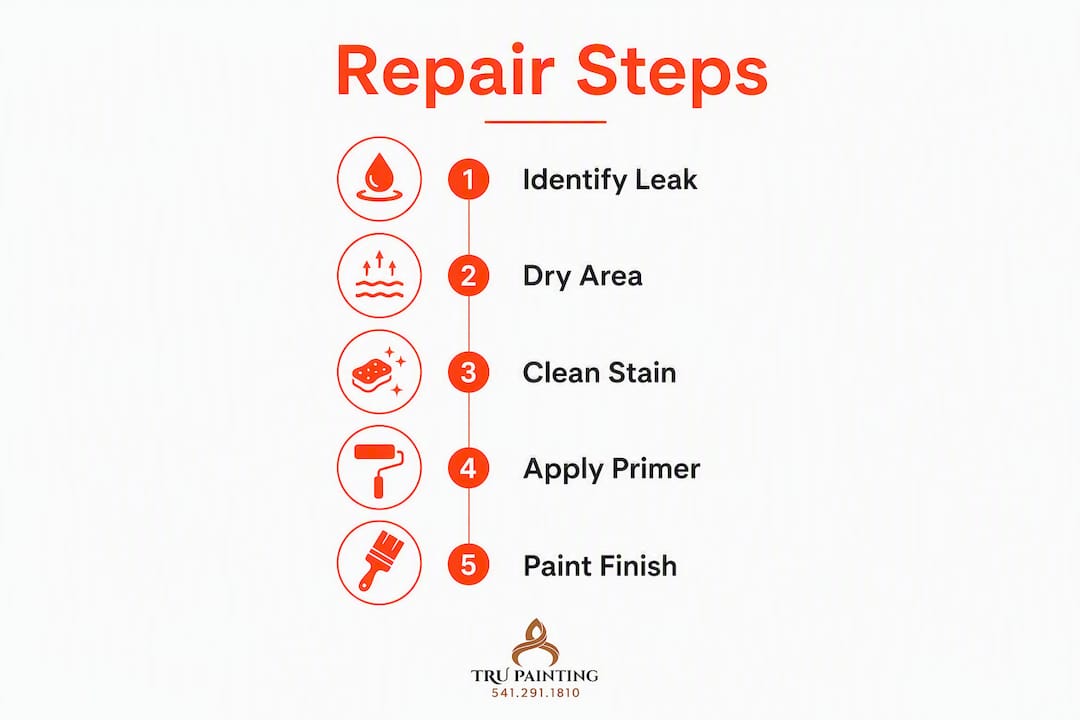
Plumbing leaks appear below bathrooms, kitchens, or laundry rooms. A steady drip pattern that doesn't change with weather is a strong indicator. Turn off all fixtures and watch your water meter for movement. If the meter ticks with everything off, you have an active supply-line leak. Wax ring failures under toilets and slow drain-line drips are two of the most common culprits.
HVAC condensation and poor attic ventilation produce a different pattern: widespread, faint yellowing that spreads gradually rather than forming a defined ring. Clogged condensate lines, drip pans that overflow, and bathrooms vented directly into the attic (instead of outside) all create this kind of diffuse moisture damage.
- Stain expands after rain → roof leak
- Defined ring below a bathroom → plumbing leak
- Widespread faint yellowing → condensation or ventilation problem
Pro Tip: Before closing the attic hatch, photograph any dark streaks or wet insulation. That documentation helps a roofer or contractor pinpoint the exact repair needed and avoids guesswork on the repair quote.
What supplies and primers do you need for ceiling water stain repair?
DIY supplies for a small ceiling repair typically cost under $150, depending mostly on primer choice. Here's what to gather before you start.
Cleaning supplies
- Bleach diluted 1:3 with water (or 1:1 for stubborn mold stains)
- White vinegar or hydrogen peroxide for mineral deposits and tannin stains
- Soft sponge or cloth, spray bottle, drop cloths
- Rubber gloves and safety goggles
Stain-blocking primers (this is the most critical purchase)
Standard latex primer will not stop a water stain from bleeding through. Tannins and minerals in the dried water deposit migrate right through water-based products, and the stain reappears within days. You need a shellac-based or oil-based stain-blocking primer.
- Zinsser BIN (shellac-based): the fastest-drying option and the most aggressive tannin blocker. Requires denatured alcohol for cleanup.
- Zinsser Cover Stain (oil-based): excellent coverage, slightly slower dry time, cleaned up with mineral spirits.
- Kilz Original (oil-based): widely available, reliable stain blocker, good for moderate stains.
Shellac-based primers dry fast and block tannins most effectively; oil-based primers are strong alternatives but require mineral spirits for cleanup. For the worst bleed-through stains, Zinsser BIN is the go-to choice among painting professionals.
Tools and materials
- Ladder rated for your ceiling height
- 3/8-inch nap roller and extension pole
- Ceiling paint matched to your existing sheen
- Sanding sponge (120-grit)
- Joint compound, drywall tape, and screws for damaged areas
Safety notes
Bleach and shellac-based primers both require good ventilation. Open windows, run a fan, and wear a respirator rated for organic vapors when applying shellac primer indoors. If you suspect mold, wear an N95 mask before disturbing the surface. Homes built before 1978 may contain lead paint; avoid aggressive sanding without a lead test kit and proper PPE. For air quality considerations when using strong primers indoors, proper airflow makes a real difference in both safety and cure time.
How do you repair a ceiling water stain step by step?
The accepted repair sequence is: confirm the source is fixed, dry thoroughly, clean, prime with a stain-blocking product, then paint. Skipping any step causes the stain to return.
-
Confirm the leak is stopped. Don't start cosmetic work until the source is repaired. If you're unsure, inspect the attic or crawlspace and watch the stain over several days of dry weather before proceeding.
-
Assess the ceiling. Press the drywall with your fingertips. Firm and dry means you can proceed. Soft, spongy, or sagging means the panel needs replacement, not just priming. Look for mold (black or green speckles) and smell for mustiness. Either sign means stop and call a professional.
-
Dry the area. Set up a box fan pointed at the stain and run a dehumidifier in the room. Wait a minimum of 48 hours. A moisture meter is the most reliable way to confirm the substrate is ready; surface dryness alone can be misleading when moisture is still trapped in the framing above.
-
Clean the stain. Spray a 1:3 bleach-to-water solution onto the stain, let it sit for 10 minutes, then wipe with a soft cloth. For mineral deposits or tannin stains without mold, white vinegar or hydrogen peroxide works well. Rinse lightly and allow the surface to dry completely before priming.
-
Apply stain-blocking primer. Roll on one coat of Zinsser BIN, Zinsser Cover Stain, or Kilz Original. Use a 3/8-inch nap roller for smooth ceilings. Allow full dry time per the label (Zinsser BIN dries in about 45 minutes; oil-based products typically need 2–4 hours). A stain-blocking primer cannot be applied over active moisture; the substrate must be bone dry or the primer will fail immediately.
-
Paint the ceiling. Apply two thin coats of ceiling paint, allowing each coat to dry fully. Spot-painting only the stained area almost always leaves a visible sheen or texture difference. Rolling the entire ceiling produces a uniform finish.
Pro Tip: Run a small fan near the primed area while it cures to speed drying safely, especially with shellac-based primers that off-gas during cure. Keep the room ventilated for at least an hour after application.
For a broader look at interior painting sequence and timing, the same principles of patience between coats apply here.

When does ceiling drywall need to be repaired or replaced?
Some water damage goes past what primer and paint can fix. If taped seams are broken, drywall has sagged, or the tape has failed, a patch is required rather than spot priming. Here's how to tell which situation you're in.
Red flags that mean replacement, not cosmetic repair:
- Drywall feels soft or crumbles when pressed
- Visible sagging or bowing in the panel
- Taped seams have separated or bubbled
- Staining spans across multiple ceiling joists
- Wet insulation above the panel (remove and replace it before closing the patch)
Patching a small-to-medium section:
- Cut the damaged drywall back to the nearest solid framing on each side using a drywall saw.
- Remove any wet insulation above the opening and allow framing to dry fully (confirm with a moisture meter).
- Install backing strips or furring strips between joists if the patch edges don't land on framing.
- Cut a replacement drywall panel to fit, screw it in place, and tape all seams with mesh or paper tape.
- Apply three feathered coats of joint compound, allowing each coat to dry and sanding lightly between coats.
- Match the existing ceiling texture (skip, orange peel, or smooth), prime with a stain-blocking primer, then paint.
Using a moisture meter on the studs and new patch before closing confirms the framing is genuinely dry, not just surface-dry. Trusting touch alone is how patches fail six months later.
When the damage spans multiple joists, involves visible mold, or requires structural framing repair, the job moves beyond typical DIY scope. At that point, a certified restoration contractor or licensed drywall professional is the right call.
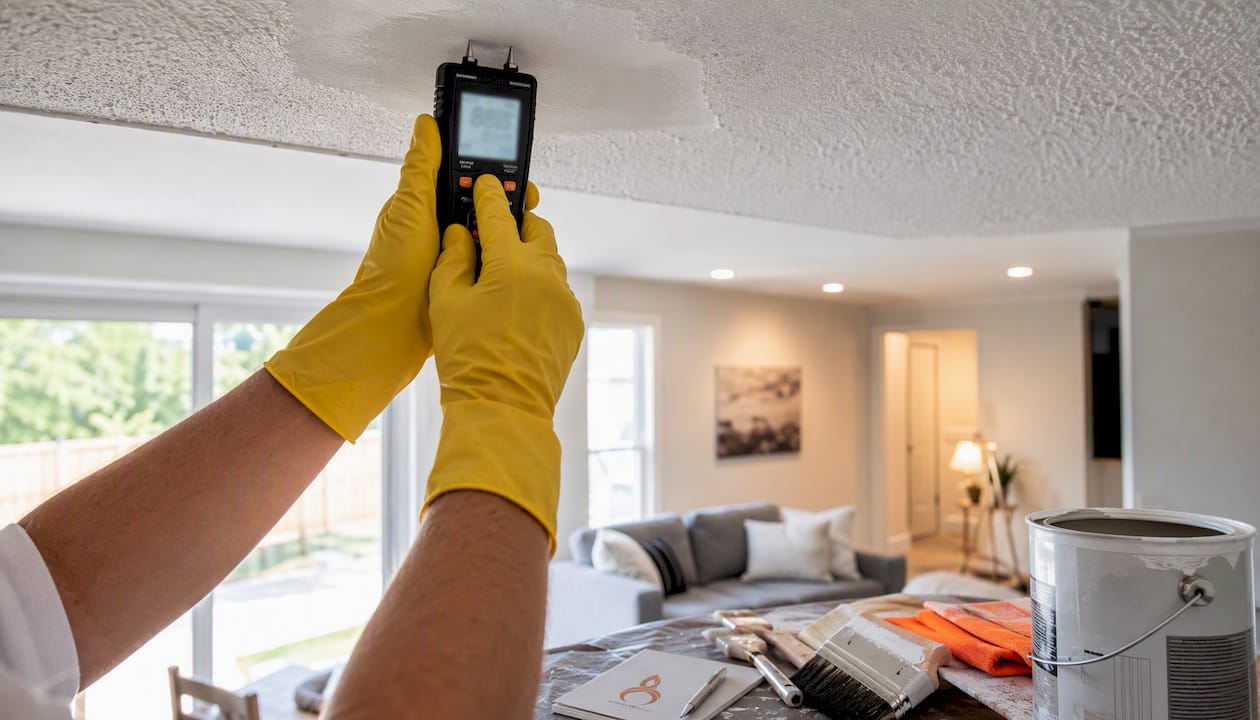
What does ceiling water damage repair cost, and how long does it take?
| Repair Type | Typical DIY Cost | Typical Contractor Cost | Timeline |
|---|---|---|---|
| Cosmetic stain (clean, prime, paint) | under $150 in supplies | Not typically needed | 2–4 days (drying + paint coats) |
| Small drywall patch (under 2 sq ft) | under $150 in supplies | Varies by contractor | 3 days (mud coats + drying) |
| Moderate repair (multiple panels) | under $150 in supplies | Varies widely by scope | 5–10 days |
| Structural or mold remediation | Not recommended as DIY | Significantly higher; scope-dependent | 1–3+ weeks |
A few things to keep in mind when budgeting:
- Shellac-based primers (Zinsser BIN) cost more per can than water-based products but cover more area per coat and rarely require a second application.
- Contractor quotes for ceiling repairs often separate the leak repair from the cosmetic work. Ask for line-item pricing so you know exactly what's included.
- Repair costs vary widely depending on scope; structural repairs and mold remediation add significant cost beyond cosmetic work alone.
- Mold remediation is almost always quoted separately from painting and drywall repair.
The timeline for a simple cosmetic repair includes waiting a couple of days for drying and paint curing. Rushing that window is the single most common reason repairs fail.
Clear signs you should stop DIYing and call a licensed pro
Some jobs are genuinely beyond DIY scope, and recognizing that early saves money and prevents health risks. Use this checklist:
- Drywall is soft, sagging, or crumbling when pressed
- Framing reads wet on a moisture meter after 48 hours of active drying
- Visible mold covers more than 10 square feet or is located near HVAC ducts
- The stain returns after a completed repair (indicates an unresolved leak)
- Electrical fixtures, recessed lights, or junction boxes are in the wet area
- Staining spans multiple ceiling joists or affects a large section of the ceiling
- You can't identify the leak source after checking the attic and plumbing above
When those conditions exist, a licensed contractor should handle moisture mapping, structural assessment, and any mold remediation before cosmetic work begins. The IICRC sets the professional standards for water damage restoration; a certified restorer follows those protocols for drying verification and contamination assessment.
Pro Tip: When vetting contractors for a job that involves mold or structural damage, ask specifically whether they carry a mold remediation license in Florida and whether their estimate separates remediation from cosmetic repair. Trupainting LLC can assess ceiling stain damage and refer you to the right licensed specialist when the scope goes beyond painting and drywall.
For help choosing the right contractor, the painting contractor selection checklist covers what to ask and what to watch for before signing anything.
How do you prevent ceiling water stains from coming back?
Prevention comes down to a consistent maintenance schedule and catching small problems before they become stained ceilings.
Seasonal and annual checks:
- Inspect the roof after every major storm. Look for missing shingles, damaged flashing around chimneys and vents, and lifted ridge caps.
- Clean gutters at least twice a year (spring and fall). Clogged gutters force water back under the fascia and into the attic.
- Walk the attic visually twice a year. Look for dark streaks on rafters, wet or compressed insulation, and any daylight through the decking.
- Service your HVAC system annually. Ask the technician to check and flush the condensate drain line and inspect the drip pan for standing water.
- Inspect bathroom caulk and plumbing fixture connections every year. Recaulk shower surrounds and tub edges when you see cracking or separation.
Practical habits that reduce risk:
- Always vent bathroom exhaust fans to the exterior, not into the attic. Moisture vented into attic space condenses on rafters and insulation, eventually working its way down.
- Insulate cold-water pipes in unconditioned spaces to prevent condensation drips in humid climates.
- Keep attic soffit vents clear of insulation so airflow prevents moisture buildup.
- Address any slow drip or condensation sign immediately. A $5 supply-line repair today prevents a $500 ceiling repair next year.
For homeowners dealing with exterior flashing or roof-adjacent issues, exterior paint preparation and sealing is a useful reference for keeping the building envelope tight.
Expert thresholds: when is a cosmetic fix safe, and when isn't it?
The 48-hour drying threshold is the most important number in ceiling water stain repair. Framing that remains wet after 48 hours of active drying indicates significant structural or mold risk and typically requires professional intervention. That threshold comes from EPA moisture and mold guidance, and it's the line that separates a DIY cosmetic repair from a job that needs a certified restorer.
A few other professional standards worth knowing:
- Mold scope: The EPA recommends that homeowners handle mold patches smaller than 10 square feet themselves, with proper PPE. Anything larger, or any mold near HVAC systems, warrants professional remediation.
- Moisture meter readings: Wood framing is considered dry when it reads below 19% moisture content on a pin-type meter. Drywall should read below 1% before you close a patch or apply primer.
- Primer science: Shellac- and oil-based stain-blocking primers work because they form a physical barrier that tannins and minerals cannot migrate through. Water-based primers are porous enough that dissolved stain compounds pass right through the film as it dries, which is why the stain reappears. Applying any primer over active moisture undercuts adhesion and causes immediate failure; a bone-dry substrate is non-negotiable before priming.
The practical takeaway: use a moisture meter, not just your hand, before priming or patching. When framing moisture persists after active drying, err on the side of a professional assessment rather than closing the ceiling and hoping for the best.
Key Takeaways
Fixing a ceiling water stain correctly requires stopping the leak, confirming 48 hours of dryness, cleaning the stain, applying a shellac- or oil-based stain-blocking primer, and repainting the full ceiling for a uniform finish.
| Point | Details |
|---|---|
| Fix the source first | No cosmetic repair holds if the leak is still active; identify and stop it before any other step. |
| 48-hour drying threshold | Framing wet after 48 hours of active drying signals mold or structural risk requiring professional help. |
| Use the right primer | Shellac-based (Zinsser BIN) or oil-based (Kilz, Zinsser Cover Stain) primers block tannin bleed-through; standard latex will not. |
| Know when to call a pro | Soft or sagging drywall, visible mold, or stains spanning multiple joists are beyond DIY scope. |
| Trupainting LLC for Lake County | Trupainting LLC handles ceiling drywall repair, stain-blocking primer application, and full ceiling repaints for homeowners in Lake County and Central Florida. |
What most homeowners get wrong about ceiling stain repairs
The failure mode I see most often is simple: someone paints over a stain with ceiling paint, it looks fine for a week, and then the brown ring bleeds right back through. They call us thinking the paint was defective. It wasn't. The primer step was skipped entirely, or they used a water-based product that couldn't block the tannins.
The second most common mistake is repairing the ceiling before confirming the leak is actually fixed. A homeowner patches and paints beautifully, and three months later the stain is back because the slow drip from the toilet wax ring above never got addressed. The ceiling was never the problem.
What I tell every homeowner: the sequence matters more than the products. A $12 can of Kilz applied correctly over a dry, clean surface outperforms a $40 premium paint rolled over a damp stain. Patience during the drying window and honesty about what the ceiling is telling you (soft drywall, mold smell, recurring stains) are the two things that separate a repair that lasts from one that doesn't.
Texture matching is the third place things go sideways on DIY repairs. Spot-painting a patched section almost always leaves a visible sheen difference, especially on flat ceilings. Rolling the entire ceiling takes more time and paint, but it's the only way to get a result that looks intentional rather than patched.
Ceiling repairs done right: Trupainting LLC's interior services
Ceiling water stain repairs that involve drywall damage, texture matching, or persistent bleed-through are exactly where a professional finish pays for itself. Trupainting LLC's residential interior painting services cover the full scope: drywall repair, stain-blocking primer application, texture matching, and complete ceiling repaints, all handled by skilled craftspeople who know Central Florida homes.

When you request an estimate, we scope the job clearly: leak repair referral (if the source hasn't been addressed), drywall replacement, priming, and painting are listed as separate line items so you know exactly what you're paying for. No guesswork, no surprises. We also carry relationships with licensed remediation specialists for jobs that involve mold or structural framing, so you get a single point of contact rather than coordinating three different contractors.
Homeowners in Lake County and Central Florida can request a free estimate directly through our website. If you're not sure whether your ceiling needs a pro or just a good primer, reach out and we'll give you an honest answer.
Useful sources and further reading
- EPA: A Brief Guide to Mold, Moisture, and Your Home — authoritative guidance on drying thresholds, mold scope, and when professional remediation is required
- IICRC: Institute of Inspection, Cleaning and Restoration Certification — professional standards for water damage restoration and certified contractor verification
- Popular Mechanics: How to Remove Ceiling Stains — practical DIY repair steps and primer product guidance
- BobVila: Water Stains on the Ceiling — Common Causes and Solutions — cause identification and diagnostic checks for roof, plumbing, and HVAC sources
- Trupainting LLC: Residential Interior Painting Services — professional ceiling repair, priming, and repainting in Lake County and Central Florida
- One Day Doors & Closets: Avoiding Common DIY Pitfalls — useful perspective on recognizing when a home repair job exceeds DIY scope