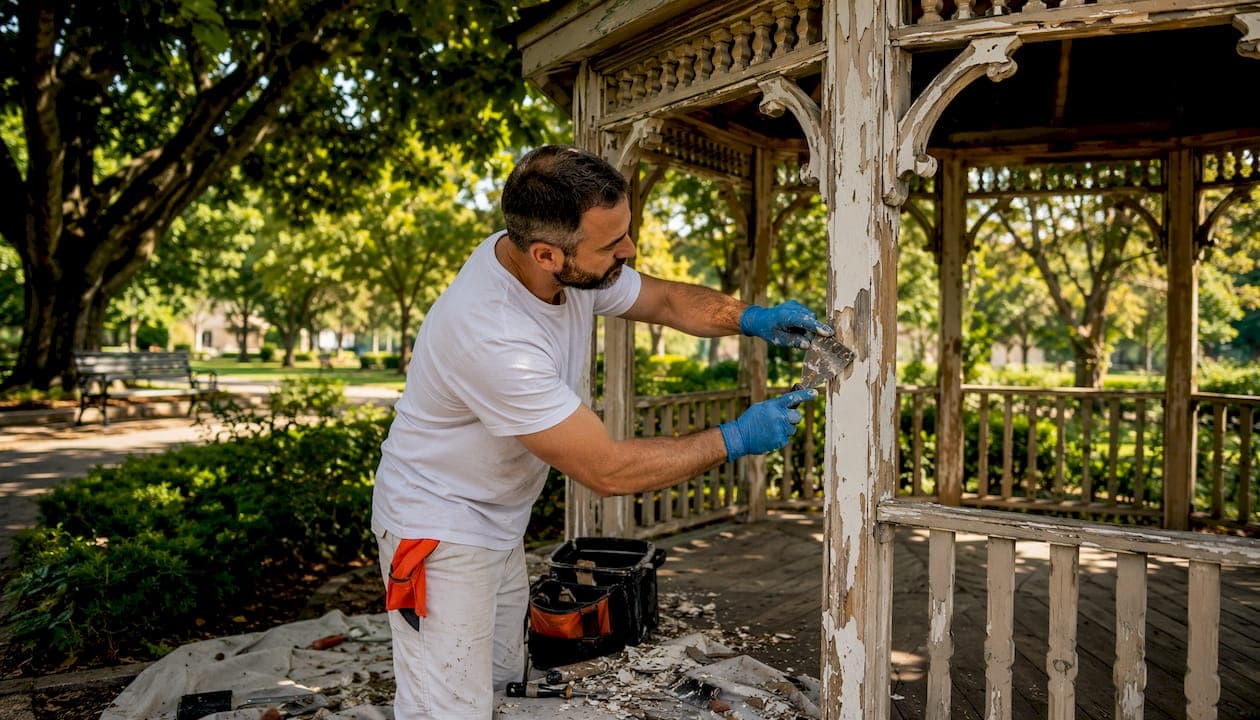
Proper exterior paint preparation is the single biggest factor in how long your paint job lasts. Prep work accounts for roughly 70% of the total labor on any exterior project, and skipping it is why most DIY paint jobs start peeling much sooner than professionally prepped surfaces. Here is what a thorough prep process looks like, step by step:
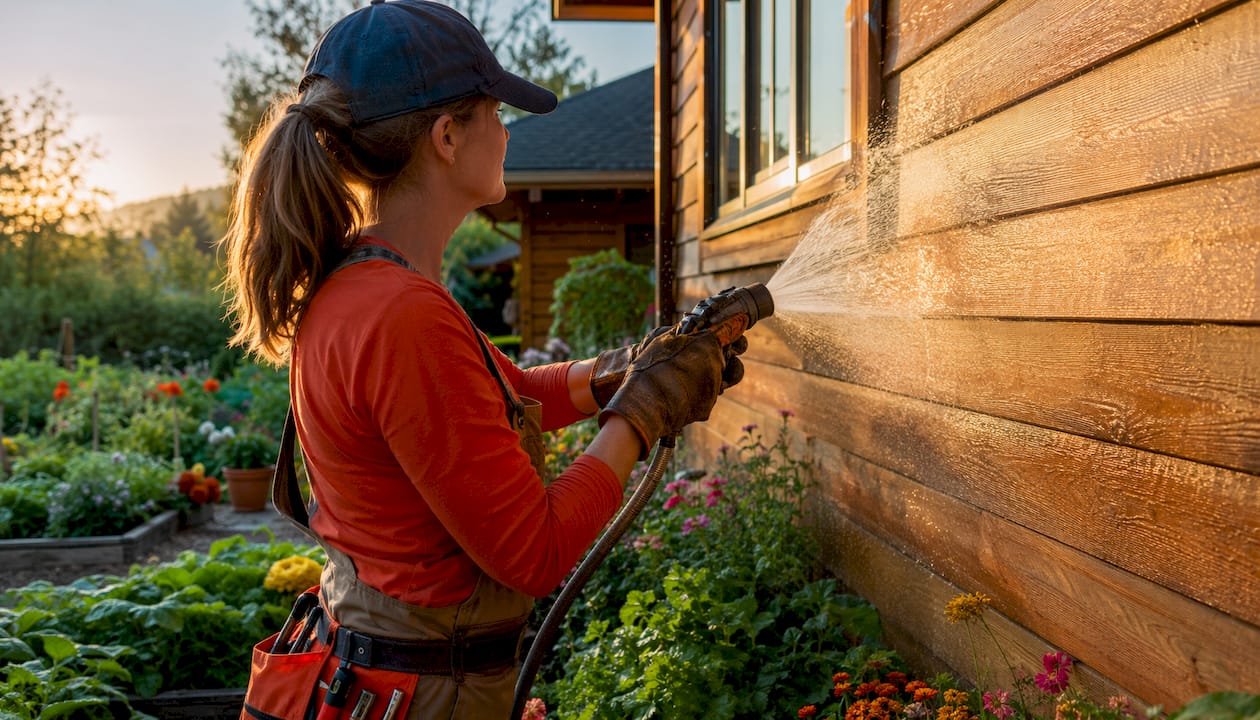
- Pressure wash the entire exterior from top to bottom, then follow up with manual scrubbing to remove mildew and chalk that water alone won't lift.
- Scrape all loose and peeling paint until you reach solid edges, then feather those edges smooth with 80-grit sandpaper.
- Repair damaged wood, fill nail holes and gouges with exterior-grade filler, and replace any rotted sections before a single drop of paint goes on.
- Prime every bare or repaired surface, including any areas with tannin bleed, water stains, or rust.
- Caulk all vertical joints, window frames, and corner trim seams. Never caulk the bottom edge of horizontal lap siding.
- Protect windows, landscaping, and pathways with drop cloths, plastic tarps, and painter's tape before you start.
- Check the weather. Paint only when temperatures stay between 50°F and 90°F and no rain is forecast within 24 hours.
Each of these steps builds on the last. Rush or skip one, and the whole system weakens.
Table of Contents
- What does proper exterior surface cleaning actually involve?
- How do you remove loose paint and repair damaged surfaces?
- Why does priming bare wood make such a difference?
- How should you caulk seams and cracks on the exterior?
- How do you protect windows, plants, and other surfaces during prep?
- Expert tips and common pitfalls to avoid
- Key Takeaways
- Ready for a flawless exterior finish? Let Trupainting LLC handle the prep.
What does proper exterior surface cleaning actually involve?
Cleaning is where every good exterior paint job begins, but pressure washing alone rarely gets the job done. Aggressive pressure can damage wood fibers or force water behind siding, which reduces adhesion rather than improving it. The goal is a clean, dry surface, not just a wet one.
- Use a pressure washer at medium pressure with a 25-degree or 40-degree tip. Work from top to bottom and keep the nozzle at least 6 inches from the siding.
- Mix a mildew-kill solution of bleach and water at an appropriate cleaning concentration and apply it to any black or gray mildew growth. Let it sit for several minutes, then rinse thoroughly.
- After pressure washing, scrub stubborn mildew and chalky areas manually with a stiff-bristle brush and a dedicated cleaning detergent. Water pressure alone won't fully remove chalk or kill embedded mildew.
- Allow 24–48 hours to dry completely before any scraping, priming, or painting. Moisture trapped under new paint causes immediate adhesion failure.
- Wear eye protection and gloves when working with bleach solutions, and rinse surrounding plants thoroughly after cleaning.
Pro Tip: If your siding is soft wood like cedar or pine, consider skipping the pressure washer entirely on those boards. A painter profiled in This Old House noted that a power washer can literally carve grooves into clapboard. A garden hose rinse after scraping and sanding often works just as well on delicate wood.
How do you remove loose paint and repair damaged surfaces?
Painting over loose paint is the fastest path to early failure. About 80% of coating failures stem directly from inadequate surface preparation, and most of those failures trace back to paint that was never fully removed.
- Scrape thoroughly. Use a sharp scraper and work until you hit solid paint or bare wood. Dull scrapers tear wood fiber instead of lifting paint cleanly.
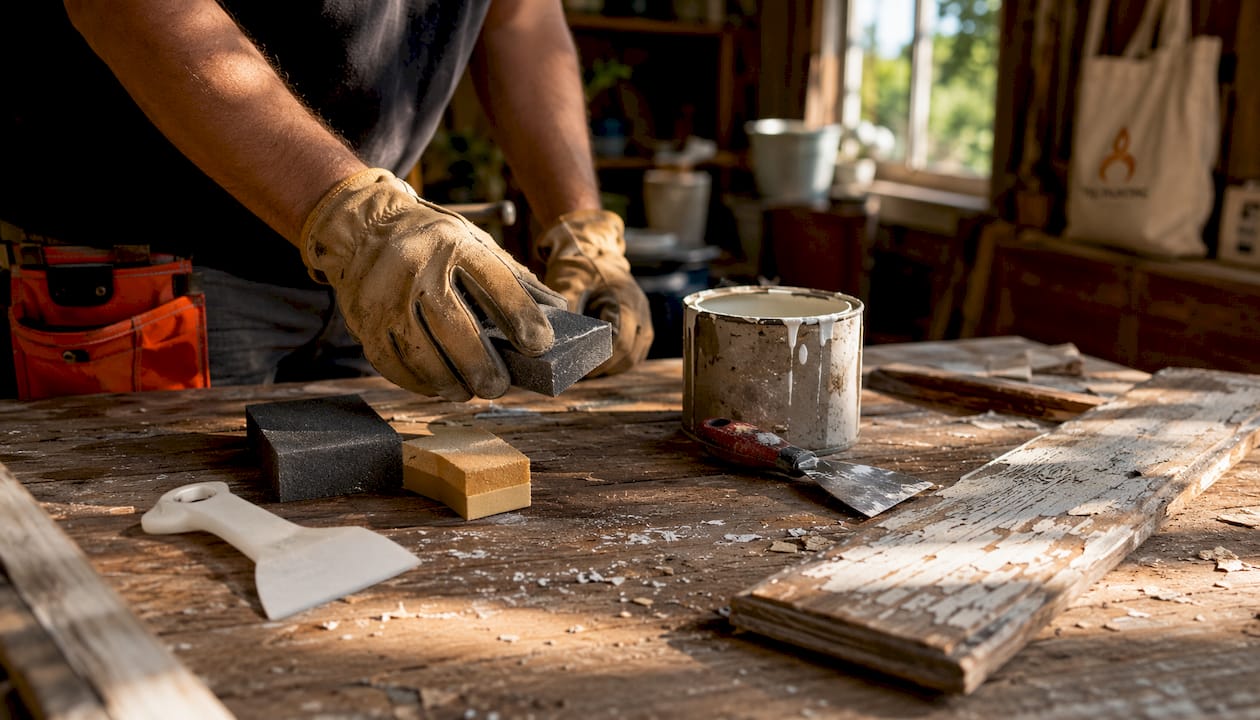
- Feather the edges. Where you've scraped down to a lower layer, sand the transition with 80-grit sandpaper to eliminate the ridge. New paint applied over an abrupt edge will show as a visible line and eventually peel from that point.
- Fill nail holes and small gouges with exterior-grade wood filler. Let it dry completely, then sand flush.
- Address rot carefully. Cut out fully rotted sections and fill with a two-part epoxy wood filler for non-structural repairs. If structural members are rotted, replace them entirely.
- Sand rough patches smooth after all repairs are dry. A random orbital sander with 80-grit paper handles most of this work efficiently.
Painting over loose paint doesn't just look bad. It buries the failure, and the new coat peels even faster than the old one did.
Why does priming bare wood make such a difference?
Skipping primer on bare or repaired wood leads to uneven paint absorption, blotchiness, and grain raising. The topcoat soaks in unevenly, the finish looks patchy, and the paint film is thinner in some spots than others. Primer seals the surface so the finish coat lays down uniformly.
- Prime all bare wood exposed by scraping, repairs, or new replacement boards.
- Apply primer over water stains, rust marks from nail heads, and tannin-bleed areas. Cedar and redwood release tannins that bleed through standard primers and discolor latex topcoats. Use a shellac-based primer like Zinsser BIN on these species.
- Prime over repaired areas even if surrounding paint looks sound. Filler and epoxy absorb paint differently than wood or old paint film.
- If less than 30% of the surface has bare wood, spot-priming is fine. If more than 30% is bare, priming the whole house makes more sense than chasing individual patches.
- Allow primer to dry fully before applying the topcoat. Four hours is the minimum; 24 hours is better, especially in humid conditions.
For a deeper look at prepping exterior walls before any primer or paint goes on, we've covered the full process in detail.
How should you caulk seams and cracks on the exterior?
Caulk is a water-management tool as much as a cosmetic one. Open joints around windows, doors, and trim transitions are where moisture enters the wall assembly, leading to rot and paint failure.
- Caulk where trim meets siding, around window and door frames, and where siding meets the foundation.
- Use a paintable exterior caulk that is formulated to resist weather and UV exposure.
- Avoid caulking the bottom edge of horizontal lap siding, as that joint needs to remain open for drainage. That butt joint needs to stay open so any moisture that gets behind the siding can drain out. Sealing it traps water, which causes rot and accelerates paint failure.
- Clean and dry all joints before applying caulk. Caulk won't bond properly to dusty, damp, or oily surfaces.
- Smooth the bead with a wet finger or caulk tool immediately after application for a clean, even finish that paints over neatly.
For surface sealing that goes beyond caulk, TrueSeal Coating's residential services cover exterior surface restoration and sealing as a complement to a full repaint.
How do you protect windows, plants, and other surfaces during prep?
Paint chips, wash runoff, and overspray travel farther than most homeowners expect. Protecting non-painted surfaces before you start saves hours of cleanup and prevents damage that's hard to reverse.
- Lay canvas drop cloths over flower beds, shrubs, and pathways. Remove them at the end of each day so plants aren't smothered overnight.
- Staple plastic tarps to the lowest course of siding to catch paint chips and debris as you scrape above.
- Mask windows and door glass with painter's tape. For windows with old glazing putty, tape the perimeter carefully to protect the glass during priming and painting.
- Use painter's tape and plastic sheeting to cover outlet boxes, utility heads, hose bibs, and light fixtures.
- Set up scaffolding or secure ladders on stable, level ground before working at height. Scaffolding is safer than a ladder for extended work on upper sections of the house.
- Remove all coverings promptly once paint is dry to avoid residue or damage to plants and surfaces underneath.
Expert tips and common pitfalls to avoid
Even homeowners who follow the basic steps can run into trouble if they miss a few less-obvious details. These are the mistakes we see most often, and the fixes that prevent them.
- Test for lead paint before any sanding or scraping on homes built before 1979. Disturbing lead paint requires specific safety precautions and proper disposal. Inexpensive test swabs are available at most hardware stores.
- Feather scraped edges carefully. A sharp ridge between bare wood and old paint will telegraph through the finish coat and eventually peel from that line. Sanding at a gradual angle eliminates it.
- Don't caulk the bottom of lap siding. We mention this twice because it's one of the most common mistakes on DIY jobs, and the rot damage it causes takes years to show up.
- Painting over loose paint leads to failure in 2–3 years. Thorough prep extends that to 8–12 years or longer.
- Paint top to bottom. Work from gable peaks down to the foundation so drips from upper sections fall on unpainted surface and get covered as you work down.
- For the smoothest finish, cut in a 3–4 inch strip along all edges with a 4-inch angled sash brush first, then roll the main field while the cut-in is still wet. Wet-on-wet blending prevents visible brush marks.
Pro Tip: In spring and fall, stop painting by early afternoon. Warm days followed by cool nights cause surfactant leaching, where water-soluble components in the paint migrate to the surface overnight and leave a waxy residue. Finishing your paint application by 1 PM gives the film enough time to cure before evening condensation forms.
Choosing the right paint after all this prep work matters too. Our guide on low-maintenance exterior paint walks through which formulas hold up best once the surface is properly prepared.
Key Takeaways
Thorough exterior paint preparation, covering cleaning, scraping, repairing, priming, and caulking, is what separates a finish that lasts 8–12 years from one that fails within 2–3.
| Point | Details |
|---|---|
| Prep drives longevity | Prep accounts for roughly 70% of project labor and directly determines how long the finish lasts. |
| Clean, then scrub manually | Use a medium-pressure washer to remove bulk dirt; manual scrubbing with a bleach solution kills mildew that water alone won't eliminate. |
| Feather every scraped edge | Sand transitions with 80-grit sandpaper to remove ridges that cause peeling and show through the finish coat. |
| Prime all bare and repaired areas | Bare wood, filler patches, and tannin-prone species like cedar need primer before any topcoat goes on. |
| Never caulk the bottom of lap siding | Sealing that butt joint traps moisture, accelerates rot, and causes paint failure from behind the surface. |
Ready for a flawless exterior finish? Let Trupainting LLC handle the prep.

At Trupainting LLC, we know that a beautiful, durable exterior starts long before the first coat of paint goes on. Our team serves Lake County and Central Florida with meticulous prep work, premium products, and craftsmanship you can see for years to come. Whether your home needs a full repaint or targeted repairs before painting, we bring the same detail-oriented approach to every project.
Get a free estimate for your exterior painting project and see what a properly prepared surface looks like when it's done right.