To get a professional, long-lasting interior repaint, follow this non-negotiable order: clear and protect → wash or degrease → patch → sand → caulk → mask → prime. Skipping even one step is the most common reason paint peels or blisters within a year or two, according to industry prep data.
Your quick-start checklist—have these on hand before you begin:
- TSP (trisodium phosphate) or a TSP-substitute for degreasing
- Lightweight spackle and mesh patch kit for holes
- Sandpaper: 120-grit and 220-grit
- Primer (PVA/drywall or stain-blocking)
- ScotchBlue painter's tape
- Canvas drop cloths
Time to budget: Prep typically takes 40–60% of a quality interior repaint's total time, according to industry sources. A single bedroom runs 4–6 hours just for prep; a whole house requires significantly more. Plan accordingly.
Safety first: Before removing any outlet or switch cover plates, shut off the circuit breakers to the room and confirm power is off with a non-contact voltage tester.
Brands worth knowing before you shop: Sherwin-Williams and Valspar for primers, ScotchBlue for painter's tape, Purdy for brushes and rollers, and TSP for degreasing. Trupainting LLC's team uses all of these on residential jobs throughout Lake County and Central Florida.
Table of Contents
- What supplies and tools do you need for wall prep?
- How to prep walls before repainting interior: the full step-by-step sequence
- How do you handle glossy paint, stains, mold, and other problem surfaces?
- What safety steps should you take before and during wall prep?
- Common DIY mistakes that ruin the finish (and how to avoid them)
- When should you hire a professional instead of doing it yourself?
- Key Takeaways
- Why prep matters more than the paint brand you choose
- Ready to hand off the prep and painting? Trupainting LLC can help.
What supplies and tools do you need for wall prep?
Getting the right materials together before you start saves a trip to the hardware store mid-project. Here's what pros reach for.
Materials:
- Canvas drop cloths (preferred over plastic, which gets slippery)
- ScotchBlue painter's tape for clean edges
- Lightweight spackle for nail holes; joint compound and mesh patch for larger repairs
- Paintable acrylic latex caulk and a caulk gun
- PVA/drywall primer for bare drywall; shellac- or oil-based stain-blocking primer (such as Kilz Original or BIN) for stains and smoke damage
- TSP or TSP-substitute for heavy grease and residue; mild dish detergent for lightly soiled walls
- 120-grit and 220-grit sandpaper
Tools:
- Putty knife and sanding block or sanding sponge
- Purdy brushes and rollers (quality tools reduce lap marks and cut lines cleanly)
- Shop vacuum and tack cloths for dust removal
- Utility knife for scoring patches
- Non-contact voltage tester for electrical safety
Safety gear: Wear gloves and eye protection throughout. Add a respirator or N95 mask when sanding or working with solvent-based primers — both release particles and fumes you don't want to breathe.
Pro Tip: Before you start washing walls, test a small, inconspicuous area and let it dry for 30 minutes. If the surface still feels cool or damp, your drying time estimate is off. Painting over damp walls is one of the fastest ways to guarantee blistering.
Sherwin-Williams and Valspar both offer quality primers suited to residential interiors. Purdy brushes and rollers are a consistent recommendation in professional painting guidance because they hold more paint and release it more evenly than budget alternatives.
How to prep walls before repainting interior: the full step-by-step sequence
Follow these steps in order. Deviating from the sequence, especially painting before surfaces are fully dry or primed, compromises adhesion and shortens the life of your finish.
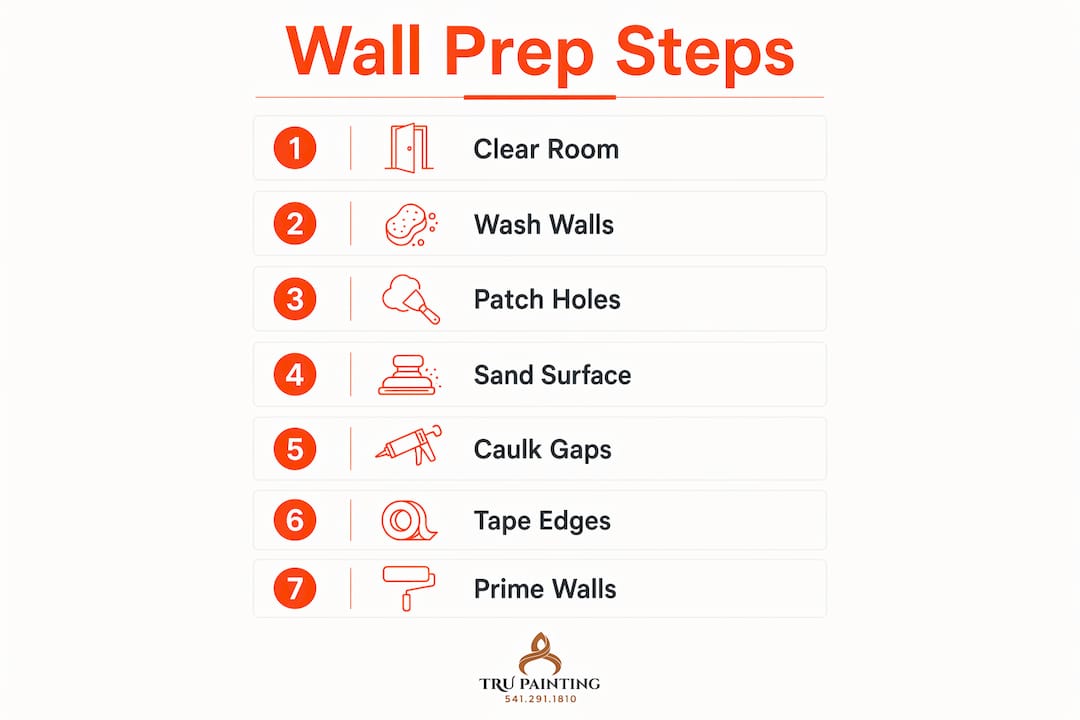
Step 1: Clear and protect the room (30–60 minutes)
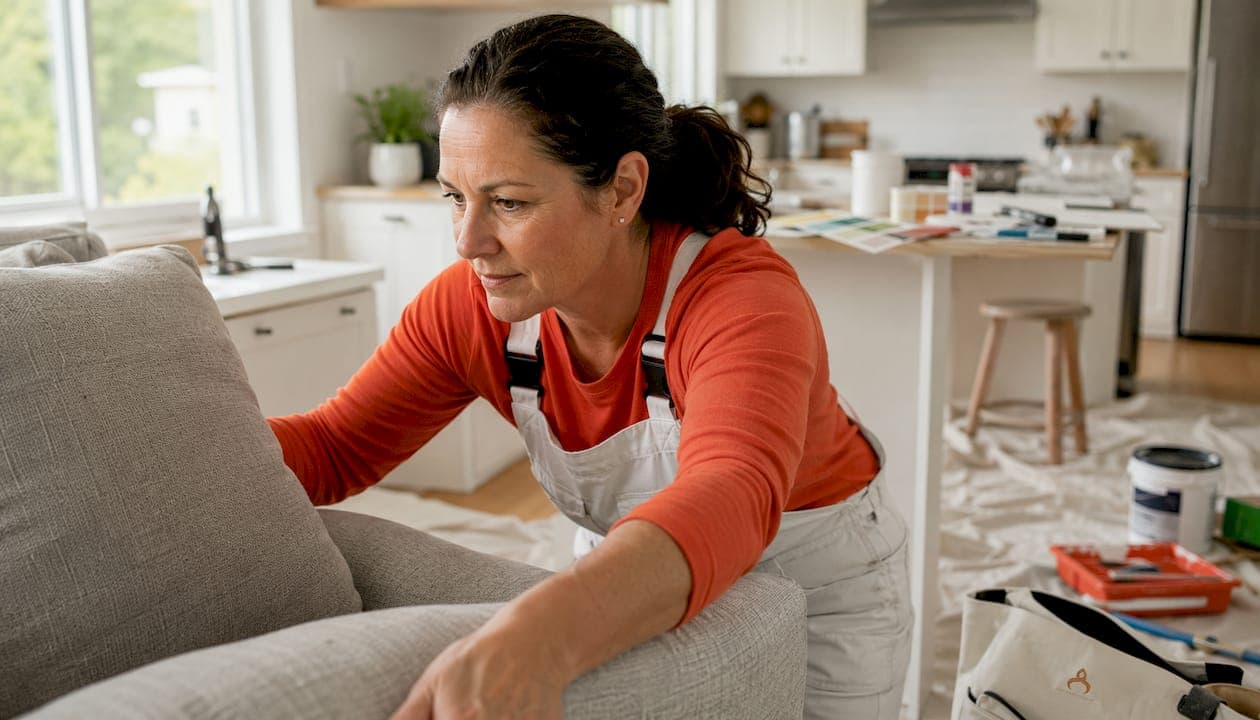
Move furniture to the center of the room and cover it with plastic sheeting. Lay canvas drop cloths on the floor — plastic sheets are a slip hazard. Remove artwork, switch plates, and outlet covers only after shutting off the circuit breakers and confirming with a non-contact tester.
Step 2: Wash and degrease the walls (30–90 minutes + dry time)
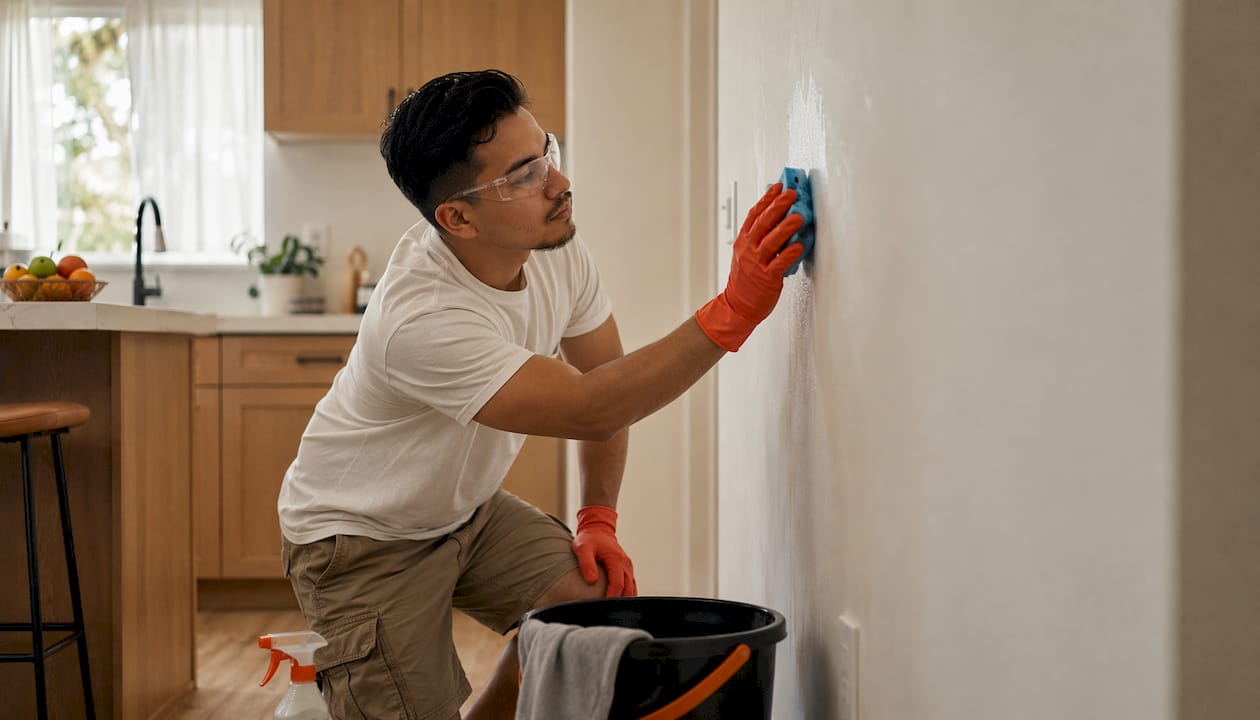
Lightly soiled walls need only a wipe-down with mild detergent and warm water. Kitchens, bathrooms, or rooms with smoke or grease residue need TSP or a TSP-substitute applied, scrubbed, and rinsed thoroughly. Let walls dry completely, at least a few hours, before moving on. Painting over damp surfaces causes blistering — no exceptions.
Step 3: Patch holes and cracks (30–120 minutes + dry time)
- Nail holes: Fill with lightweight spackle using a putty knife. Feather the edges flat.
- Medium holes (up to 4 inches): Apply a self-adhesive mesh patch, then cover with joint compound in thin layers.
- Larger drywall damage: Cut out the damaged section, install a backer board, tape the seams, and apply two or three coats of joint compound, letting each coat dry fully.
Sand patches with 120-grit once dry, then finish with 220-grit for a smooth surface. Lightweight spackle with a color-change drying indicator takes the guesswork out of knowing when it's ready to sand.
Step 4: Sand glossy or rough surfaces (20–45 minutes)
Sanding is not always required. You need it when surfaces are glossy or semi-gloss (paint won't adhere without dulling the sheen) and on all patched areas. Use 120-grit for initial patch sanding and 220-grit for scuffing glossy surfaces and final smoothing. After sanding, wipe down with a tack cloth or damp microfiber cloth and vacuum thoroughly. Dust left on walls ruins primer adhesion.
Step 5: Caulk gaps (15–30 minutes + cure time)
Run a bead of paintable acrylic latex caulk along any gaps where trim meets the wall. Smooth with a damp finger. Most paintable caulks are ready to paint within an hour, but check the label.
Step 6: Mask and tape (20–45 minutes)
Apply ScotchBlue painter's tape along trim, ceilings, and any edges where you want a crisp line. Press the tape edge firmly with a putty knife to prevent paint from bleeding underneath. Pull the tape off at a 45-degree angle while the paint is still slightly wet for the cleanest result.
Step 7: Prime (30–60 minutes + dry time)
Prime whenever you have: bare drywall or patches, a drastic color change, or visible stains. Use PVA/drywall primer on bare surfaces, and shellac- or oil-based stain-blocking primer for water stains, smoke, or nicotine. Tinting your primer toward the finish color often reduces the number of topcoats needed. You can skip primer only when repainting the same color over a clean, undamaged, previously painted surface in good condition.
Pro Tip: When using solvent-based primers, open windows and run a fan. Ventilation isn't optional with shellac-based products like BIN — the fumes are strong and accumulate fast in enclosed rooms.
| Step | Task | Typical Time |
|---|---|---|
| 1 | Clear and protect | 30–60 min |
| 2 | Wash and degrease | 30–90 min + dry |
| 3 | Patch holes and cracks | 30–120 min + dry |
| 4 | Sand surfaces | 20–45 min |
| 5 | Caulk gaps | 15–30 min + cure |
| 6 | Mask and tape | 20–45 min |
| 7 | Prime | 30–60 min + dry |
How do you handle glossy paint, stains, mold, and other problem surfaces?
Some walls need more than the standard sequence. Here's how to handle the cases that trip up most DIYers.
- Glossy or semi-gloss finishes: Scuff-sand with 220-grit or apply a liquid deglosser. Paint simply won't bond to a shiny surface without this step. For guidance on choosing the right finish after prep, see how to pick interior paint finish type for each room.
- Grease, smoke, or nicotine: Clean with TSP or a TSP-substitute, rinse thoroughly, and follow with a shellac- or oil-based stain-blocking primer. Standard latex primers won't fully block heavy nicotine staining — shellac-based products like BIN are the reliable choice.
- Mildew or mold: Scrub with a bleach solution of 3–4 parts water to 1 part bleach, rinse well, and let the surface dry completely before applying a mold-resistant primer. Address the moisture source before painting or the mold will return.
- Textured or plaster walls: Small texture repairs can be sanded and painted normally. Severely damaged or loose plaster may need re-skimming with joint compound, which is a job most homeowners should hand off to a pro.
- Wallpaper: Remove it fully before repainting. Painting over wallpaper traps moisture, causes bubbling, and creates adhesion problems that show up within months.
What safety steps should you take before and during wall prep?
Good prep protects more than just your walls. A few precautions prevent injuries and keep your home clean throughout the process.
- Electrical safety: Shut off circuit breakers before removing outlet or switch plates. Confirm power is off with a non-contact voltage tester — never assume. This is the single most important safety step in any interior prep job.
- Floor and furniture protection: Use canvas drop cloths on floors. Plastic sheeting is slippery and doesn't absorb drips. Secure the edges of any plastic sheeting over furniture with tape so it doesn't shift.
- Ventilation and PPE: Open windows and run a fan when using TSP, degreasers, or solvent-based primers. Wear gloves, safety goggles, and a respirator. For more on how paint products affect indoor air, see why interior painting improves air quality.
- Dust control: Use a shop vacuum with a HEPA filter after sanding. A vacuum-attached sanding tool cuts airborne dust significantly. Wipe surfaces with a tack cloth before priming.
- Disposal: Follow product label instructions for disposing of solvent-soaked rags and used primer containers. Solvent rags can be a fire hazard if bunched up and left in a closed space.
Pro Tip: Cover HVAC vents with plastic and tape before sanding. Sanding dust travels through ductwork and settles on surfaces in other rooms — a detail most DIYers miss until they're cleaning up for an hour longer than expected.
Common DIY mistakes that ruin the finish (and how to avoid them)
Most paint failures trace back to one of these shortcuts. Avoid them and your finish will last years longer.
- Painting over damp walls: Moisture under paint causes blistering and peeling, often within months.
- Skipping primer on patches or stains: Unprimed patches cause "flashing" — dull spots that show through the topcoat. If you spot flashing after the first coat, apply a spot-prime before the second coat.
- Not sanding glossy surfaces: Paint applied over a shiny surface has nothing to grip. It will peel.
- Poor tape application: Tape that isn't pressed flat bleeds paint underneath. Use a putty knife to press the edge down firmly.
- Using plastic drop cloths without securing them: They shift underfoot and create a slip hazard.
Pro Tip: Use a color-tinted primer matched to your finish coat. When going from a dark color to a light one, a tinted primer can cut your finish coats from three down to two — saving both time and paint.
Skipping prep steps doesn't just look bad immediately. Premature paint failure from poor prep typically shows up within 1–3 years, meaning you repaint twice as often. Proper surface prep for a lasting finish is the most cost-effective investment in any paint job.
When should you hire a professional instead of doing it yourself?
DIY prep works well for straightforward rooms with minor wear. But some situations genuinely call for a pro.
- Extensive drywall damage: Large holes, water damage, or structural cracks need proper repair before paint — not just spackle.
- Mold or moisture problems: If mold covers more than a small area, a professional can assess the source and apply the right remediation before painting.
- Wallpaper removal: Removing wallpaper from older homes often damages the drywall beneath, requiring skim-coating that takes skill and the right tools.
- Tall ceilings or complex trim: High ceilings and detailed millwork require scaffolding, steady hands, and experience to prep and paint cleanly.
- Time or tool constraints: If you don't own a shop vacuum, sanding tools, or a sprayer, renting and learning adds cost and time that a pro absorbs efficiently.
A professional contractor brings surface diagnostics, drywall replacement, professional sanding systems, and high-volume priming — plus a warranty on workmanship. When prep mistakes cause a repaint in two years, the "savings" from DIY disappear fast. Trupainting LLC offers residential interior painting services with three-tier service packages, so you can choose the level of prep and protection that fits your home and budget.
Key Takeaways
Thorough wall prep, following the seven-step sequence in order, is what separates a finish that lasts a decade from one that peels in two years.
| Point | Details |
|---|---|
| Follow the sequence | Clear, wash, patch, sand, caulk, mask, then prime — order matters for adhesion. |
| Budget prep time honestly | Prep takes 40–60% of total project time; a bedroom alone runs 4–6 hours. |
| Three cases always need primer | Patched areas, drastic color changes, and visible stains require primer without exception. |
| Dry walls before painting | Painting over damp surfaces causes blistering; let washed walls dry fully before priming. |
| Trupainting LLC handles it all | For complex repairs or full-room prep, Trupainting LLC's three-tier packages cover every level of need in Lake County and Central Florida. |
Why prep matters more than the paint brand you choose
Here's a contractor's honest take: the paint brand matters far less than what's underneath it. We've seen premium Sherwin-Williams topcoats peel within a year because someone painted over a greasy, unprimed wall. We've also seen budget paint hold up beautifully for a decade on a wall that was properly cleaned, patched, sanded, and primed.
The steps most homeowners skip, washing thoroughly, priming patches, and dulling glossy surfaces, are exactly the ones that determine whether a paint job looks great at six months or six years. Flashing on unprimed patches, visible seams on rushed drywall repairs, and tape bleed-through from poorly pressed edges are all avoidable. They're also the first things a trained eye notices.
At Trupainting LLC, our prep process isn't a formality. It's the core of what we do. Thorough preparation, premium materials, and clear communication at every stage are what our reputation is built on. When you're weighing DIY versus hiring a pro, the honest question isn't "Can I paint?" It's "Am I willing to do the prep right?" If the answer is yes, this guide gives you everything you need. If the answer is no, that's a perfectly good reason to call us.
Ready to hand off the prep and painting? Trupainting LLC can help.
Doing the prep yourself is rewarding when the scope is manageable. But if you're dealing with water damage, mold, extensive drywall repairs, or simply don't have the time, Trupainting LLC's residential interior painting services are built for exactly that situation.

We serve homeowners and businesses throughout Lake County and Central Florida with three-tier service packages that let you choose the level of prep, protection, and finish that fits your home and budget. Every job includes thorough surface preparation, premium products, and workmanship you can count on. If your project also includes cabinetry, our cabinet refinishing service pairs naturally with an interior repaint. Get in touch with Trupainting LLC today to schedule a free estimate and see what a properly prepped, professionally painted room looks like.
Useful sources for product instructions and deeper guidance
- Sherwin-Williams: How to Prep Walls for Painting — Best for primer selection, degreasing guidance, and step-by-step surface prep from the manufacturer's perspective.
- Benjamin Moore: Preparing Walls for Painting — Reliable source for sanding grit recommendations and mildew treatment ratios.
- Lowe's: How to Prep for Paint — Practical room-protection steps, electrical safety guidance, and floor covering recommendations.
- Purdy: How to Prep for Painting — Tool selection guidance for brushes, rollers, and painter's tape from a trusted professional tool brand.
- PaintPricing: How to Prep Walls for Painting — Industry-sourced prep-time estimates, primer type guidance, and the 40–60% prep-time benchmark used throughout this article.
- Valspar: Step-by-Step Guide for Wall Painting Prep — Manufacturer guidance on primer and sealer selection, caulking, and the full prep sequence.
Always follow manufacturer label directions for drying times, ventilation requirements, and product disposal.