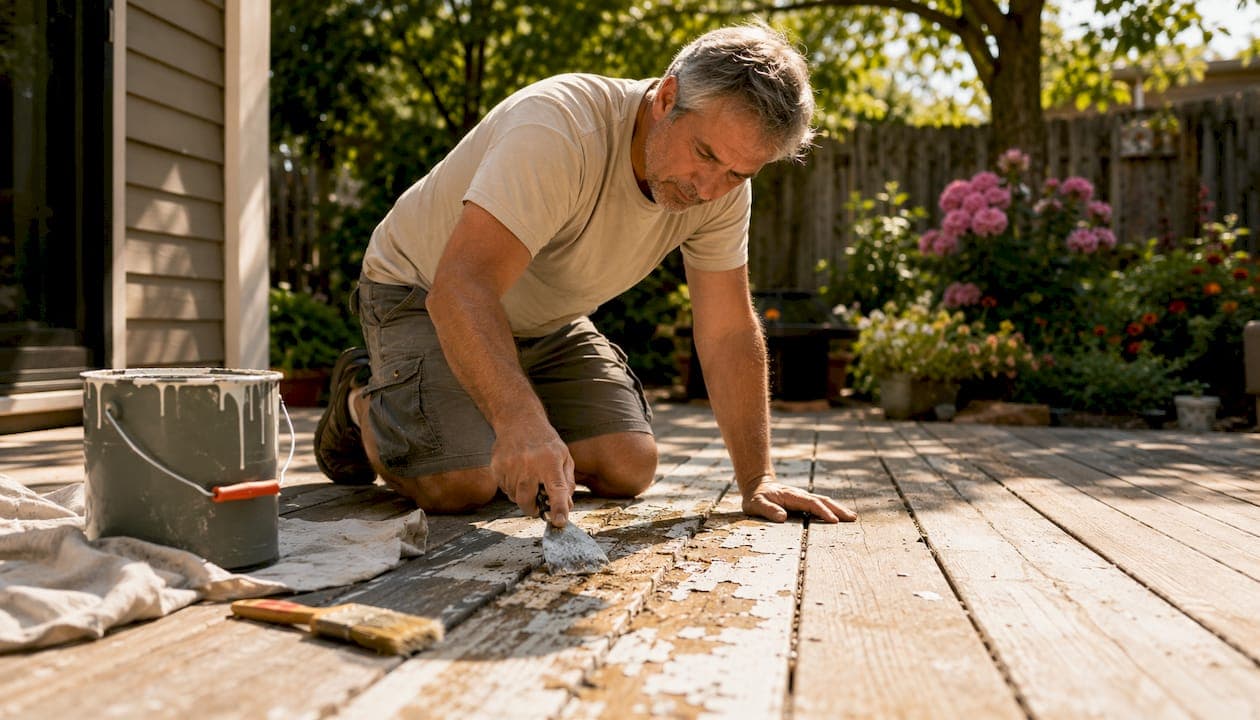
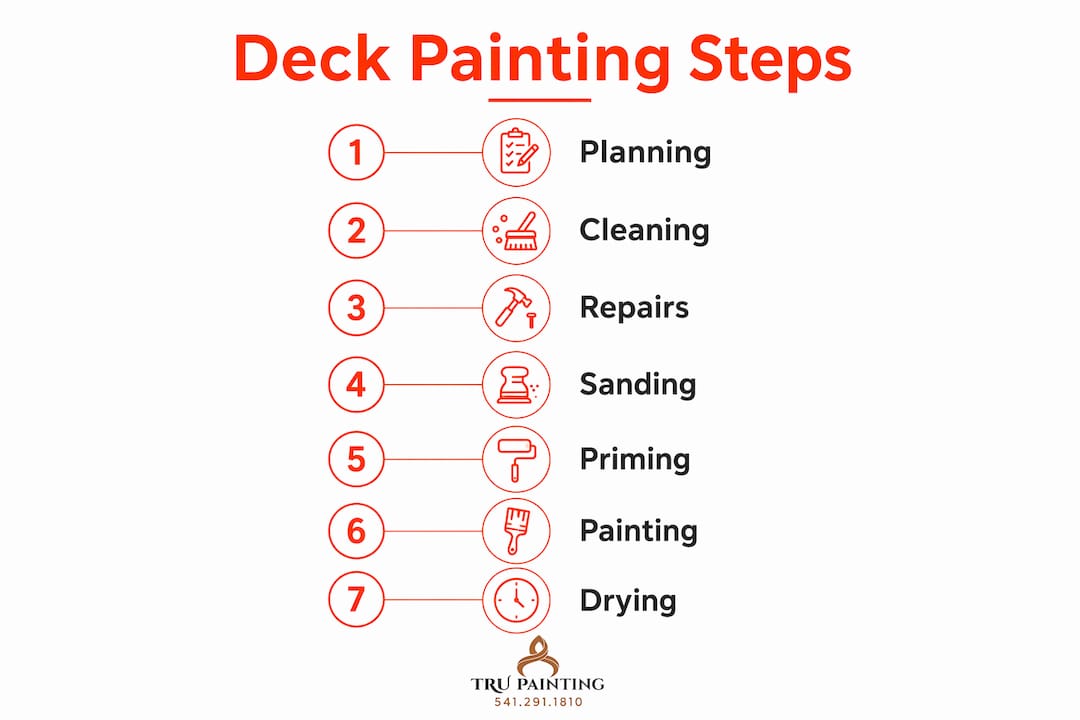
A properly prepped and painted wood deck requires multiple days to complete: plan, clean, remove loose coating, repair, sand, prime, paint, then allow time to cure. That sequence is non-negotiable. Skip or rush any step and you are looking at peeling paint within a season, not years.
Here is the complete deck painting workflow at a glance:
- Day 1: Clear the deck, apply deck cleaner or brightener, scrub, rinse
- Day 2: Allow 24–48 hours to dry fully, then scrape and sand
- Day 3: Complete repairs, vacuum dust, spot-prime bare wood and patched areas
- Day 4: Apply first coat of paint or solid-color stain
- Day 5: Apply second coat; wait 24–48 hours before light foot traffic
A full deck painting process typically requires at least 3 to 5 days, including cleaning, repairs, surface preparation, painting, and proper drying time before initial use. The sections below explain each phase in detail so you can plan your days, gather the right tools, and avoid the mistakes that cause most DIY deck jobs to fail early.
Table of Contents
- How does the deck painting process work, step by step?
- What tools and supplies do you need before starting?
- How do you clean a deck before painting?
- How do you remove old paint and repair damaged boards?
- How do you sand and prep the surface before primer?
- When and how should you prime a deck?
- Which paint or stain should you choose for a deck?
- What is the right order and technique for applying paint?
- How long should you wait between coats and before using the deck?
- What does a deck painting project typically cost and how long does it take?
- What are the most common deck painting mistakes, and how do you avoid them?
- Key Takeaways
- When does it make sense to DIY, and when should you hire a pro?
- Trupainting LLC handles the prep and application so you get it right the first time
- Useful sources and further reading
How does the deck painting process work, step by step?
Planning is where most homeowners lose time they did not expect to lose. Before you buy a single can of paint, check your local forecast for at least five consecutive dry days with temperatures between 50°F and 90°F. Humidity matters too. High humidity slows drying and can trap moisture under the coating, which leads to bubbling and premature peeling.
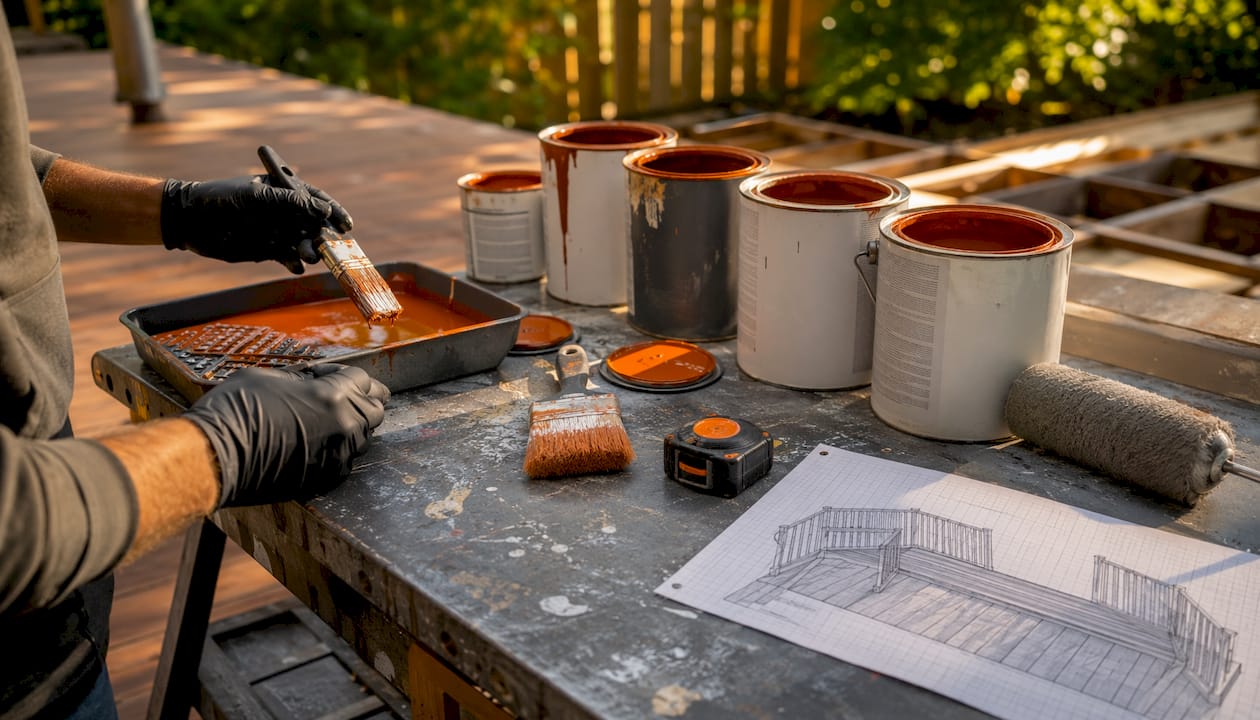
A typical deck painting process, including cleaning, drying, repairs, sanding, priming, and painting, requires 3 to 5 days from start to finish.
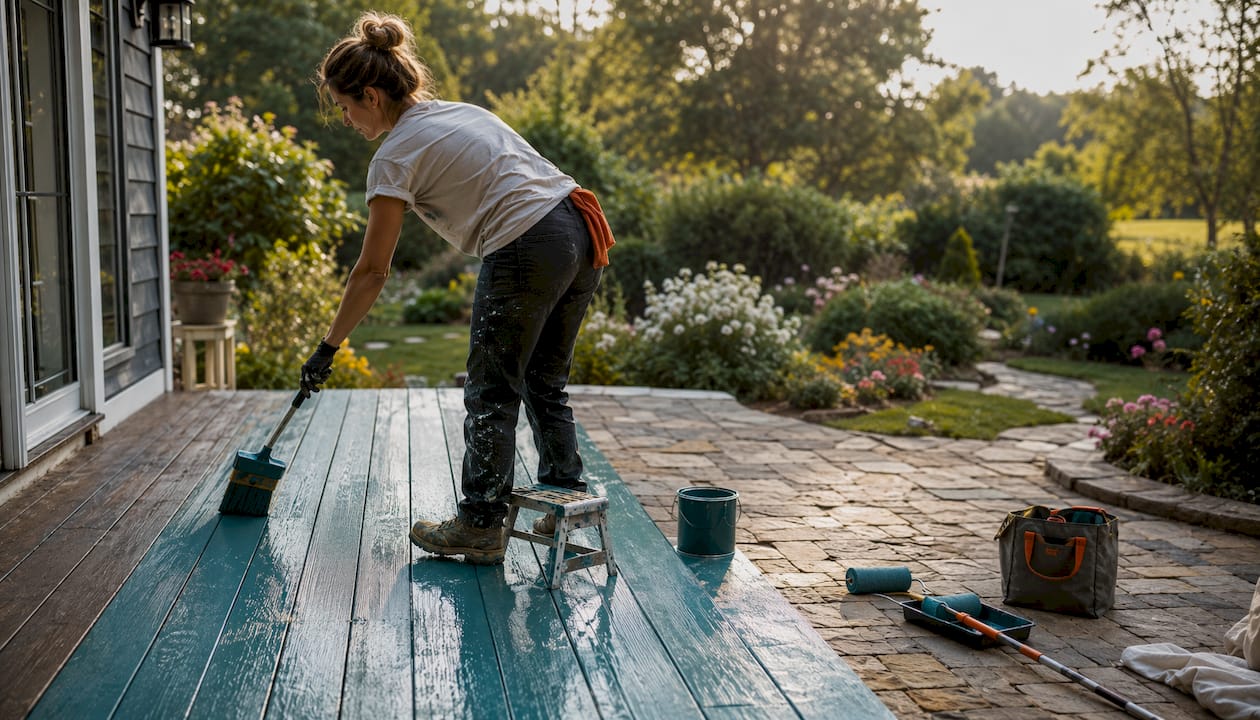
If your HOA governs visible exterior changes or you are replacing structural boards, check those rules before you start. It takes one phone call and can save a costly redo.
Pro Tip: Schedule your painting to follow the shade. Start on the shadiest side of the deck in the morning and move with the sun. Painting on a hot surface causes the coating to dry before it levels, leaving streaks and poor adhesion.
What tools and supplies do you need before starting?
Gathering everything before Day 1 prevents the mid-project hardware store run that derails most DIY timelines. The right tool list includes more than just a brush and a bucket.
Cleaning supplies:
- Deck cleaner or brightener (look for a mildewcide formula if mold is present)
- Garden hose with a jet nozzle, or a pressure washer on a low setting
- Stiff-bristle scrub brush
Prep tools:
- Paint scrapers and wire brushes
- Orbital sander with 60–80 grit sandpaper for rough areas; 100–120 grit for finish passes
- Sanding blocks for tight corners and between boards
- Shop vacuum and tack cloths
Repair materials:
- Exterior wood filler for cracks and holes
- Galvanized or stainless steel fasteners to replace any that are loose, bent, or corroded
- Replacement boards for sections with soft or rotten wood
Application tools:
- Angled brushes (3–4 inch) for edges, railings, and between boards
- 3/4-inch nap roller with an extension pole for flat deck surfaces
- Paint trays and liners
- Back-brushing brush for working paint into the grain after rolling
Safety and PPE:
- Work gloves and safety glasses
- Respirator mask (required when using chemical strippers)
- Knee pads and closed-toe shoes
- Caution tape to keep foot traffic off wet sections
Consumables:
- Drop cloths and painter's tape
- Exterior wood primer
- Exterior deck paint or solid-color acrylic stain
- Anti-slip additive (optional, recommended for stairs and high-traffic zones)
How do you clean a deck before painting?
Cleaning is the foundation of good adhesion. Paint applied over dirt, mildew, or chalky residue will fail regardless of how good the product is. Follow this sequence for a surface that is genuinely ready for coating:
- Remove all furniture, rugs, and planters from the deck.
- Sweep away loose dirt and debris with a push broom.
- Apply a deck cleaner or brightener according to the product label; let it dwell for the recommended time.
- Scrub stubborn mildew spots with a stiff-bristle brush.
- Rinse thoroughly with a garden hose or low-pressure washer, keeping the nozzle moving at all times.
- Allow the deck to dry completely, 24–48 hours minimum, before sanding or priming.
On pressure-washer settings: keep the PSI low and controlled. Excessive pressure gouges soft wood fibers, raises the grain, and forces water deep into the boards, which extends your drying window significantly. If you have not used a pressure washer before, a garden hose with a jet nozzle is a safer choice.
Pro Tip: Water the plants and shrubs surrounding your deck thoroughly before applying any chemical cleaner. This dilutes any runoff and reduces the risk of chemical damage to your landscaping.
How do you remove old paint and repair damaged boards?
Loose or peeling paint must come off before you apply anything new. Painting over a failing coating is the single most common reason DIY deck jobs peel within a year. There are no shortcuts here.
Your removal and repair checklist:
- Scrape first: Use a paint scraper to lift peeling and chipped areas. Apply firm, even pressure and work along the grain.
- Wire brush: Sweep over areas with stubborn flaking to remove loose fragments the scraper missed.
- Chemical strippers: Reserve these for thick, multi-layer coatings that scraping cannot handle. Always rinse thoroughly after use and allow extra drying time. Wear a respirator and gloves.
- Feather the edges: Sand the transition between old paint and bare wood so there is no visible ridge. A hard edge traps water and creates a future peel point.
- Test for soft wood: Press a screwdriver into boards at several points. Soft or spongy spots indicate rot. Those boards need replacement, not filler.
- Tighten or replace fasteners: Any screw or nail that is loose, corroded, or raised above the surface should be replaced with a galvanized or stainless steel fastener before painting.
- Fill cracks and holes: Apply exterior wood filler to any cracks or gouges, let it cure fully, then sand flush with the surrounding surface.
One safety note: if your deck was built before 1978, test for lead paint before sanding or scraping. Lead test kits are available at most hardware stores and take only a few minutes.
How do you sand and prep the surface before primer?
Sanding does two things: it removes gloss so the primer and paint have something to grip, and it smooths out splinters and uneven transitions that would telegraph through the final coat. Good surface preparation at this stage is what separates a finish that lasts three years from one that lasts ten.
- Start with 60–80 grit on rough areas, high-traffic zones, and anywhere you feathered old paint edges.
- Switch to 100–120 grit for a finish pass on smoother sections where you want a cleaner surface.
- Use an orbital sander for open deck boards and a sanding block for tight spots between boards and around posts.
- Avoid over-sanding in one spot; keep the sander moving steadily to prevent low spots or uneven texture.
- Vacuum all dust with a shop vacuum, then wipe down the entire surface with tack cloths. No powder should remain.
Tape-off and protect: Apply painter's tape to trim, door thresholds, and any metal hardware before you prime. Drop cloths under the deck protect plants and hardscape from drips.
- Sand existing sound paint only enough to scuff the gloss, not down to bare wood.
- Bare wood from repairs or replacement boards needs a full sand before primer.
When and how should you prime a deck?
Primer is not optional for bare wood. It seals the surface, blocks tannin bleed (which causes brown staining through light-colored topcoats), and gives the paint a consistent base to bond to. Proper priming is one of the clearest predictors of how long your finish will last.
- Always prime: bare wood, repaired areas, and any spot where you sanded through to raw wood.
- Optional: sound, existing solid-color stain that is not peeling and has good adhesion.
- Primer selection: use an exterior wood primer that is compatible with your topcoat. For acrylic deck paint, an acrylic latex primer is the right match. For pressure-treated lumber, confirm the primer is rated for treated wood.
- Spot-priming technique: feather primer out several inches beyond the repair area so there is no visible boundary line under the topcoat.
- Dry time: most exterior primers need 4–6 hours before painting, but always follow the manufacturer's instructions. Those override any general rule.
Pro Tip: Prime isolated bare areas as soon as you finish sanding them, even if you are not ready to paint the whole deck yet. Bare wood reabsorbs moisture quickly, especially in humid climates like Central Florida, and re-priming a swollen board wastes both time and product.
Which paint or stain should you choose for a deck?
The coating you choose affects how long the finish lasts, how easy it is to maintain, and how the deck looks. For horizontal surfaces that take foot traffic, weather, and UV exposure, not every product performs equally well.
- Solid-color acrylic stain combines opacity with some wood penetration. It allows the wood to breathe and resists peeling better than traditional paint, making it a strong choice when durability and low maintenance are the priority.
- Exterior deck paint forms a thicker surface film, offers excellent UV and moisture protection, and is easier to clean. The trade-off is that it can peel if prep was not thorough or if moisture wicks from beneath the boards.
- Specialized deck and porch floor coatings are formulated for horizontal surfaces and often include built-in traction additives. These are worth considering for high-traffic areas or stairs.
For sheen, satin and semi-gloss outperform flat on deck surfaces. Flat finishes offer more traction but wear faster in busy areas. For stairs or wet zones, add an anti-slip additive to any finish. For low-maintenance exterior paint options, it helps to compare coating types before you buy.
| Coating type | Breathability | Peel risk | Appearance | Maintenance frequency |
|---|---|---|---|---|
| Solid-color acrylic stain | High | Lower | Opaque, natural look | Every 3–5 years |
| Exterior deck paint | Low | Higher if under-prepped | Solid, polished | Every 5–7 years with good prep |
| Deck/porch floor coating | Moderate | Low to moderate | Solid, textured | Every 3–5 years |
What is the right order and technique for applying paint?
Application order matters as much as product choice. Work top to bottom and toward your exit so you never paint yourself into a corner or drip onto a freshly coated surface.
- Railings and balusters first. Paint these with an angled brush, working top to bottom. Drips land on unpainted boards below.
- Trim and edges next. Cut in around posts, door thresholds, and the perimeter of the deck with a 3–4 inch angled brush.
- Deck boards in sections. Work in 3–4 foot sections along the grain, rolling first and then immediately to work the paint into the grain and eliminate roller stipple. This step directly improves durability.
- Stairs last. Paint from the top step down so you always have a dry exit path.
Pro Tip: Maintain a wet edge at all times. Overlap each new section into the still-wet edge of the previous one before it skins over. This is the most reliable way to avoid lap marks and get a uniform finish, as Benjamin Moore's technique guidance confirms.
A few technique details that make a real difference:
- Never bridge paint across gaps between deck boards. Use an angled brush to coat the edges of each board without sealing the gap shut. Bridging traps water and accelerates rot underneath.
- For rounded board edges, use a brush rather than a roller to get full coverage without buildup.
- Keep a clear exit path at all times. Plan your sections so the last one you paint is nearest the door or stairs.
How long should you wait between coats and before using the deck?
Timing is where patience pays off. Rushing any of these windows is the fastest way to ruin work you already put in.
- After cleaning: wait 24–48 hours for the deck to dry fully before sanding or priming. Painting wet wood causes peeling and bubbling.
- Between coats: most acrylic deck paints and stains need 4–6 hours between coats, but always read the product label. Manufacturer instructions override general estimates.
- After the final coat: wait 24–48 hours before light foot traffic. Avoid dragging furniture or placing heavy objects on the surface for 7–14 days while the coating fully cures.
Weather affects every one of these windows. High humidity, cool temperatures, and low wind all extend dry times. Direct sunlight on a hot surface can seem to speed things up, but it actually causes the surface to skin over before the coating beneath has cured, which leads to cracking.
A practical schedule for a two-coat project:
- Day 1: Clean
- Day 2: Dry (no work needed)
- Day 3: Scrape, sand, repair, prime
- Day 4: First coat
- Day 5: Second coat
- Days 6–7: Cure window; light use only
For more detail on how temperature and humidity affect your timeline, the weather and exterior painting guide covers the variables in depth.
What does a deck painting project typically cost and how long does it take?
For a 12x12 deck (144 square feet), here is a realistic materials picture. Most paint and stain products cover 250–300 square feet per gallon, so a single-coat job on a 12x12 deck typically requires one gallon of topcoat, with a second gallon needed for a two-coat application.
Estimated material categories for a 12x12 deck:
- Deck cleaner or brightener: one container covers most small decks
- Primer: one quart to one gallon depending on how much bare wood is exposed
- Deck paint or solid-color stain: one to two gallons for two coats
- Sandpaper, scrapers, and brushes: modest cost, but do not skip quality here
- Exterior wood filler and replacement fasteners: variable based on condition
- Tool rentals (orbital sander, pressure washer): typically available by the day at major home improvement stores
Regional pricing varies, so check current product costs at your local store before budgeting. Prices for paint and stain have shifted with material costs, and what was accurate last year may not be today.
Total DIY time budget: the full deck painting process typically requires 3–5 days, spanning about 12–20 person-hours of active work, with additional drying and cure time between phases.
What are the most common deck painting mistakes, and how do you avoid them?
Most deck paint failures trace back to a handful of preventable errors. Here is what to watch for:
Pro Tip: Check under the deck before you start painting. Moisture wicking from beneath is one of the most overlooked causes of coating failure. If drainage is poor or the ground is consistently wet under the boards, fix that first or the paint will fail from the underside up.
- Painting over loose or peeling coatings. New paint cannot bond to a failing surface. Remove everything that is not firmly adhered.
- Using too much pressure when washing. High PSI gouges the wood and extends drying time. Keep the setting low and the nozzle moving.
- Painting in direct hot sun. Surface temperatures cause rapid drying that prevents proper leveling. Follow the shade and avoid peak afternoon heat.
- Skipping back-brushing after rolling. Rolling alone leaves stipple and does not work the coating into the grain. Back-brush immediately after each rolled section.
- Bridging gaps between boards. Sealing gaps with a continuous paint film traps water and accelerates rot. Use an angled brush and coat each board edge separately.
- Rushing the cure window. Light foot traffic after 24–48 hours is fine, but dragging furniture across a deck that has not fully cured will scratch and scuff the finish. Give it the full 7–14 days.
For long-term protection after the job is done, protecting painted surfaces with regular cleaning and timely touch-ups extends the life of any deck coating significantly.
Key Takeaways
A successful deck paint job comes down to five non-negotiables: clean thoroughly, remove every failing coating, repair the substrate, prime bare wood, and maintain a wet edge during application over a typical 3–5 day process.
| Point | Details |
|---|---|
| Full prep is required | Clean, scrape, sand, and repair before any primer or paint goes down. |
| Dry time between steps | Allow sufficient drying time after cleaning and after the final coat before light use. |
| Wet edge and back-brushing | Work in 3–4 foot sections, maintain a wet edge, and back-brush after rolling for durability. |
| Coating choice matters | Solid-color acrylic stain resists peeling better than paint on horizontal surfaces; choose sheen based on traffic. |
| Trupainting LLC for complex jobs | For large decks, structural repairs, or failed previous coatings, Trupainting LLC's exterior prep and application process reduces rework risk. |
When does it make sense to DIY, and when should you hire a pro?
Most single-level decks in good structural condition are well within reach for a homeowner who is comfortable with tools and willing to follow the prep steps without shortcuts. If the boards are sound, the previous coating is not catastrophically failed, and the deck is accessible from ground level, a DIY approach is completely reasonable.
The calculation changes when the scope grows. Large or elevated decks introduce safety risks that basic equipment does not address. Extensive rot, multiple layers of failed coatings, or structural repairs that require permits are situations where professional experience and the right equipment make a measurable difference in the outcome. Similarly, if a previous DIY paint job failed within a year or two, that is usually a sign the prep was insufficient, and repeating the same process will produce the same result.
Practical hiring cues: if you press a screwdriver into more than two or three boards and find soft spots, if you are uncertain whether the existing coating is oil- or water-based, or if the deck has not been painted in more than a decade, a professional assessment before you start is worth the time. When it comes to painting versus replacing visible exterior elements, the same logic applies: condition and scope determine the right call.
Trupainting LLC handles the prep and application so you get it right the first time
Deck prep is where most DIY jobs go sideways, and it is exactly where Trupainting LLC focuses. We handle the full sequence for homeowners in Lake County and Central Florida: thorough cleaning, removal of failing coatings, board repairs, spot-priming, and professional application with the right products for Florida's humidity and UV exposure. You get a finish that lasts, without spending your weekends on a project that stalls mid-process.

Our residential exterior painting services include flexible service tiers so you can choose the level of prep and protection that fits your deck's condition and your budget. No guesswork on product selection, no rushed dry times, and no cutting corners on the steps that matter most. Ready to get a durable, flawless finish on your deck? Request an estimate and we will walk you through the scope before any work begins.
Useful sources and further reading
- How long does it take to stain a deck — timeline and drying window guidance for planning your project schedule
- How to paint a deck (Bob Vila) — step-by-step overview with repair and application guidance
- How to prepare and paint a wood deck for extended durability — detailed prep, primer, and sheen guidance
- How to pressure wash your wood deck — safe pressure-washer settings and technique
- How to paint a wood deck (Martha Stewart) — solid-color stain vs. paint trade-offs
- Exterior paint preparation best practices — Trupainting LLC's guide to cleaning, sanding, and priming for lasting exterior finishes
- How weather affects exterior painting — temperature, humidity, and timing considerations for outdoor projects
- The role of paint sheen outdoors — sheen selection and traction guidance for exterior surfaces