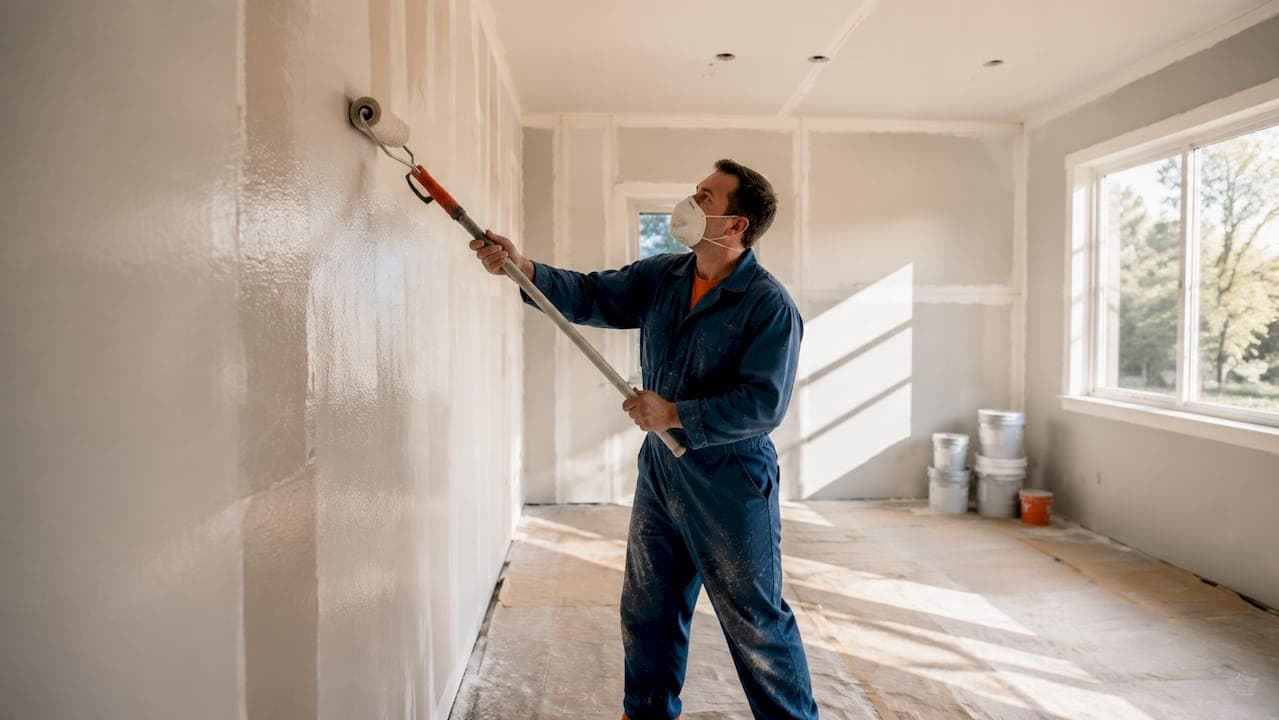
New construction painting is the application of primers and finish coats to raw, previously unpainted surfaces in a newly built structure. We're talking fresh drywall, bare wood trim, new masonry, and uncoated concrete. These surfaces have never seen a brush or roller, which means they behave very differently from the walls in a home that's been lived in for years. Unlike a standard repaint, new construction painting requires specialized products, a precise sequence, and tight coordination with other trades on site.
Here's what makes new construction painting distinct at a glance:
- Surfaces are raw and porous, absorbing paint unevenly without proper sealing
- Fresh drywall joint compound is alkaline, which causes flashing if left unprimed
- Painting happens in phases, typically after drywall, electrical, and mechanical work are complete but before flooring and final fixtures
- Dedicated primers are mandatory, not optional, on new drywall
- Multiple finish coats are standard to achieve a uniform, durable result
- Trade coordination with drywall crews, electricians, and flooring installers directly affects scheduling and finish quality
The goal isn't just a good-looking wall. It's a sealed, protected surface that holds up for years and gives the homeowner a finish they're genuinely proud of.
What does the new construction paint process look like, step by step?
The paint phase in new construction typically involves multiple days of work spread over several weeks to allow for drying and trim installation. Rushing any stage creates visible problems that homeowners notice every single day.
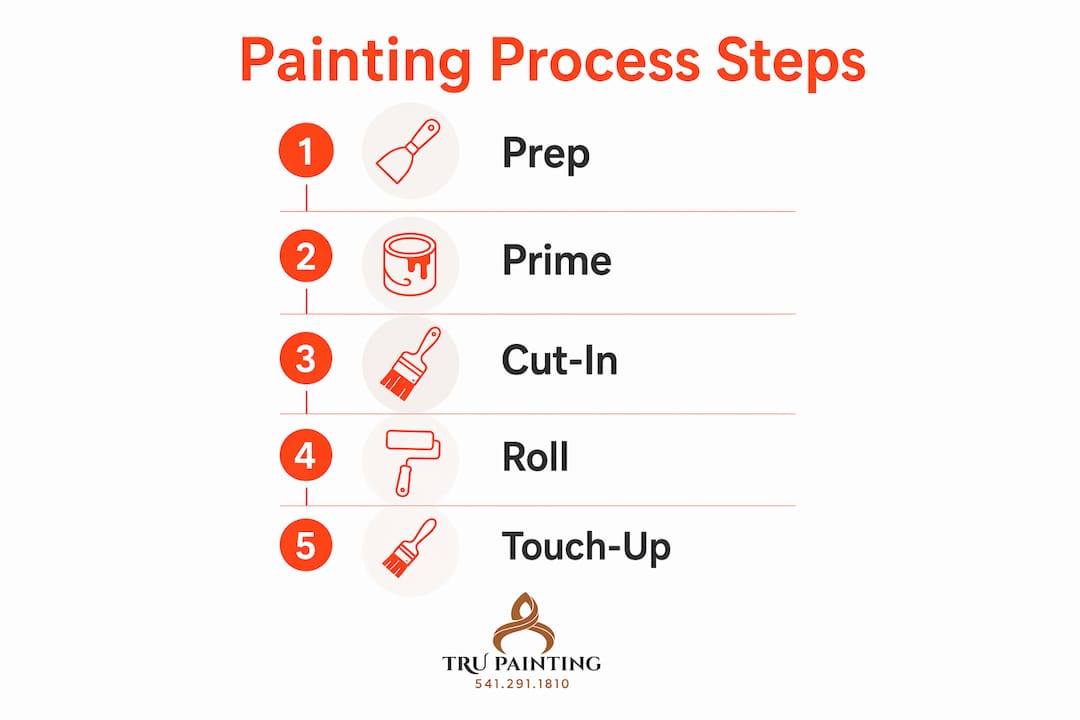
Here's the standard sequence:
- Site preparation and dust removal. Construction sites accumulate drywall dust everywhere. Painters sweep, vacuum, and wipe surfaces before touching a brush. Dust trapped under primer or paint causes adhesion failures.
- Primer application on walls and ceilings. A dedicated PVA drywall primer goes on first. This takes 1–2 days of application plus 1 day of dry time.
- Inspect primed surfaces and repair defects. After priming, imperfections that were invisible on bare drywall suddenly appear. Roughed-up paper, shallow dings, and seam variations all show up under the sealed surface. Plan for a touch-up sand, spot mud, and a second spot prime on those areas before moving forward.
- First finish coat on ceilings. Ceilings go first, always. Paint drips from ceiling work would ruin freshly painted walls.
- First finish coat on walls. This takes 1–2 days depending on square footage.
- Dry time before trim installation. A minimum of 1 day is needed before trim crews come in.
- Trim and millwork installation. Baseboards, casing, and crown molding go in after walls are painted.
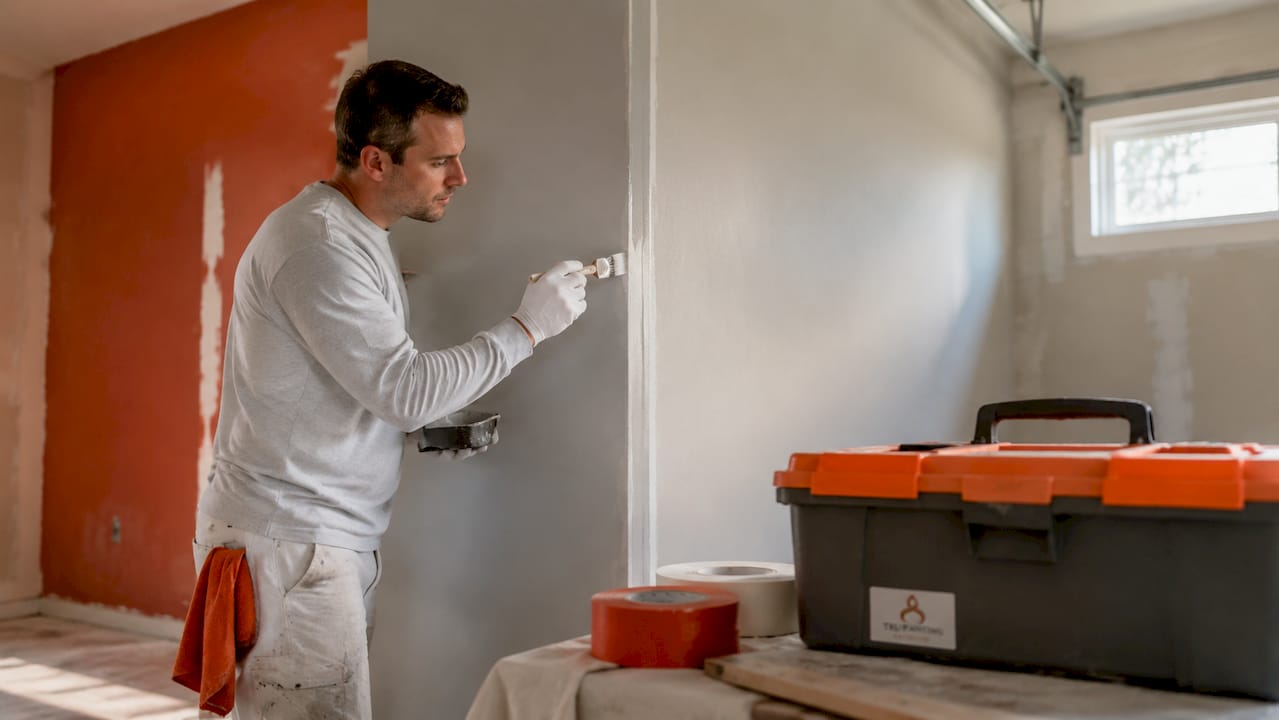
- Caulking, nail hole filling, and sanding trim. Every nail hole gets filled, every gap between trim and wall gets caulked with a siliconized acrylic latex caulk. The silicone component adds flexibility as wood expands and contracts seasonally.
- Trim paint application. Trim receives at least one dedicated finish coat, typically a semi-gloss or satin for durability and cleanability.
- Wall touch-up coat. Trim installation creates scuffs, dings, and handprints on freshly painted walls. This pass catches all of it.
- Final inspection and punch list. A walkthrough identifies any remaining touch-ups before turnover.
Pro Tip: Never skip the touch-up coat after trim installation. What looks like "a few scuffs" often turns into a full room repaint if the painter isn't scheduled back in. Build this into the project timeline from day one.
Best practices for painting new construction interiors and exteriors
Getting a flawless finish on new construction comes down to a handful of decisions made before the first drop of paint hits the wall. These are the practices that separate a finish that lasts a decade from one that starts peeling in year two.
Use a dedicated PVA drywall primer, every time. New drywall joint compound is highly porous and alkaline. It pulls moisture from paint at different rates than the drywall face paper, creating a phenomenon called flashing, where dull spots appear across the wall surface. High-quality PVA primers seal the alkalinity and equalize porosity so the finish coat goes on uniformly. Paint-and-primer-in-one products work fine on already-primed surfaces but do not seal raw drywall the way a dedicated primer does.
Control the environment before you paint. Humidity, temperature, and ventilation all affect how coatings cure. Painting over damp joint compound or in a poorly ventilated space leads to bubbling, peeling, and discoloration. Verify that HVAC systems are operational or use temporary ventilation to keep conditions stable. Exterior painting requires checking the forecast: most latex paints need temperatures above 50°F and no rain within 24 hours of application.
Match your finish sheen to the drywall level. Flat and matte finishes hide surface variation and work well over a Level 4 drywall finish, which is the standard for most residential new construction. Higher sheens like eggshell and satin reveal more texture variation and perform best over a solid Level 4. Semi-gloss on walls generally requires a Level 5 skim-coated finish for best results, particularly in critical lighting conditions.
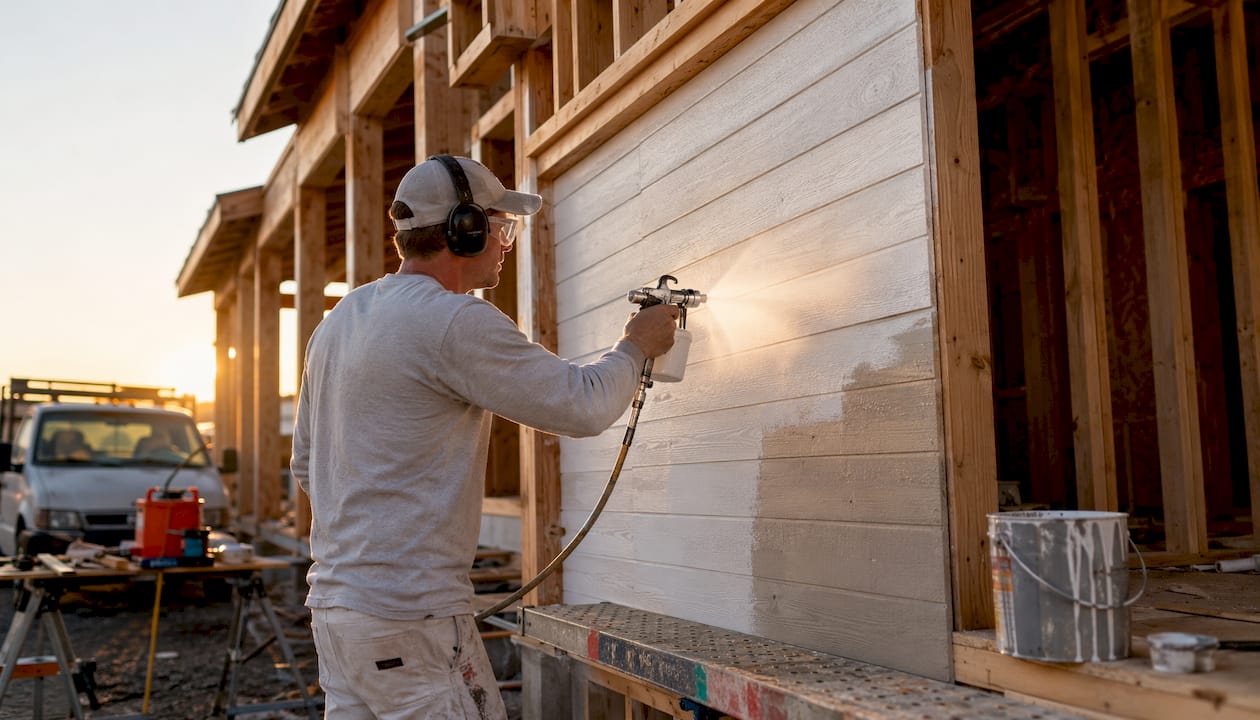
Use spray application where the space allows. New construction is unoccupied, which makes it the ideal environment for airless spray application. Spraying covers large areas quickly and evenly. Back-rolling after spraying improves adhesion and texture on drywall surfaces.
For exterior surfaces, coordinate painting with siding and trim installation. Exterior primers should be formulated for the specific substrate, whether that's fiber cement, wood, stucco, or masonry. Each material has different porosity and expansion characteristics. Specialty coatings like anti-corrosive sealants or elastomeric coatings for stucco may be specified depending on the climate and building design.
Schedule painters early in the project planning phase. Early engagement aligns paint specifications with the overall project timeline and prevents scope gaps that cause delays. A painter who walks the site before drywall is finished can flag issues before they become expensive problems.
Pro Tip: For interior doors, consider painting vs. replacing as part of your finish planning. Priming doors before installation and applying finish coats after nailing and filling gives you a factory-quality result without the cost of replacement.
Common mistakes to avoid in new construction painting
Most paint failures in new construction trace back to a handful of avoidable errors. Knowing them ahead of time saves you from expensive rework.
- Skipping primer or using the wrong one. Using a generic primer or a paint-and-primer-in-one on fresh drywall is the single most common cause of flashing. Premature paint failures in new construction are frequently caused by skipping primer, using the wrong primer for the drywall mud type, or painting over uncured, damp surfaces.
- Painting over damp joint compound. Mud that hasn't fully cured traps moisture under the paint film. The result is bubbling and peeling, often within weeks of completion. Always verify full dryness before priming.
- Ignoring environmental conditions. High humidity and poor ventilation during application extend dry times and compromise adhesion. Painting in a sealed, unventilated space is a setup for failure.
- Poor trade coordination. Flooring crews, electricians, and trim carpenters working in freshly painted spaces cause damage that requires rework. Establish clear sequencing with the general contractor before painting begins.
- Rushing the schedule. Cutting dry time between coats to meet a deadline creates visible lap marks, poor adhesion, and uneven sheen. The paint schedule needs to be built into the project timeline, not squeezed in at the end.
- Using inappropriate paint types. Flat contractor-grade paint may be cheap, but it doesn't hold up to cleaning and wears quickly. Specifying the right sheen and quality level for each surface protects the finish long-term.
- Skipping the post-trim touch-up coat. Trim installation always damages freshly painted walls. Failing to schedule a final touch-up pass leaves a finish that looks unfinished at turnover.
Safety tips and maintenance advice for new construction painting
Painting a new construction home safely means protecting both the painters on site and the long-term quality of the finish.
During painting:
- Painters should wear N95 respirators or half-face respirators with organic vapor cartridges when spraying, and safety glasses at minimum during any application
- Ventilate all spaces actively during and after painting. Open windows, run exhaust fans, or use temporary ventilation equipment. Fresh paint off-gasses as it cures, and enclosed spaces concentrate fumes quickly
- Store paints and solvents away from heat sources and open flames. Dispose of solvent-soaked rags in sealed metal containers to prevent spontaneous combustion
- Keep the job site clean daily. Wet paint on floors creates slip hazards, and paint-covered drop cloths bunch up and cause trips
After painting is complete:
- Allow paint to fully cure before flooring installation. Paint must be completely dry before sensitive flooring like carpet or hardwood goes in to prevent damage to both surfaces
- Inspect painted surfaces at 30 days and again at 6 months. New construction framing lumber releases residual moisture as it dries, which can cause drywall screws to pop and seams to develop hairline cracks. These are normal and expected in the first year. Catching them early with a touch-up prevents them from widening
- Use a mild soap and water solution for routine cleaning. Avoid abrasive cleaners on flat or matte finishes, which scuff easily
- Address any peeling or bubbling immediately rather than painting over it. Painting over a failed area without removing the cause just delays the same failure
A well-maintained paint job on new construction can look sharp for many years. The key is treating the first year as an active maintenance window, not a "set it and forget it" situation.
Why professional surface preparation and trade coordination make all the difference
The quality of a new construction paint job is decided before the first finish coat goes on. Surface preparation and scheduling coordination are where experienced painters earn their value, and where shortcuts create problems that no amount of topcoat can fix.
Surface stabilization and moisture verification are the first quality gates. MPI Architectural Painting Manual standards and building codes identify moisture testing and substrate readiness as prerequisites for paint application. Professionals use moisture meters to verify that drywall and framing have reached acceptable moisture content before priming. Skipping this step on a tight timeline is how you get a beautiful-looking paint job that starts failing within months.
Primer coats do double duty. They seal the surface and reveal defects. After priming, imperfections in the drywall finish that were invisible on bare mud suddenly appear. This "discover and repair" phase is built into a professional's workflow. Catching those defects after primer and before finish coats costs a fraction of what it costs to address them after the final coat is on.
Trade coordination directly affects finish quality. Painting crews follow drywall, electrical, and mechanical trades, and precede flooring and final fixture installation. When that sequence breaks down, painters work around active trades, surfaces get damaged, and rework multiplies. A professional painter communicates proactively with the general contractor to protect the schedule.
Painting is the phase that makes the biggest visual impact on a project, and it is also the phase where corners get cut most often. Rushing paint work creates visible problems that every client notices, every single day they live in the space.
Some high-end projects prime and paint trim before installation to achieve a factory-quality finish, but this approach requires skilled touch-up after nailing and filling. It's a technique that rewards experience and attention to detail.
The Painting and Decorating Contractors of America defines five levels of drywall finish. Most residential new construction targets Level 4, which produces excellent results under typical interior lighting. Level 5, a skim-coated surface, is reserved for critical lighting applications and the most demanding finish specifications. Knowing which level you're working with determines which sheens are appropriate and what the painter needs to achieve.
Hiring a skilled professional for new construction painting isn't just about the aesthetics. It's about protecting the investment in the structure itself. A professional painter's pre-job inspection catches substrate issues, moisture problems, and scope gaps before they become expensive failures. That's the kind of preparation that delivers a finish worth living with.
Ready to get your new construction painted right?

At Trupainting LLC, we specialize in new construction painting for residential and commercial properties across Lake County and Central Florida. We bring the preparation, the right products, and the trade coordination experience to deliver a finish that holds up and looks great from day one.
Whether you need residential interior painting for a new home or professional exterior coatings for a new build, our team is ready to work with your construction timeline and deliver results you'll be proud of. Reach out to Trupainting LLC today for a consultation and let's get your project started on the right foot.
Key Takeaways
New construction painting requires dedicated primers, precise sequencing, and active trade coordination to produce a durable, flawless finish on raw, porous surfaces.
| Point | Details |
|---|---|
| Dedicated primer is mandatory | PVA drywall primer seals alkalinity and prevents flashing; paint-and-primer-in-one products don't work on raw drywall. |
| Paint phase spans 7–12 days | The full paint schedule covers 2–3 weeks when dry times and trim installation windows are included. |
| Primer reveals hidden defects | After priming, surface imperfections appear; plan for touch-up sanding and spot priming before finish coats. |
| Trade coordination protects the finish | Scheduling painters around drywall, electrical, and flooring trades prevents damage and costly rework. |
| Post-trim touch-up is non-negotiable | Trim installation scuffs freshly painted walls; a final touch-up coat is required before project turnover. |