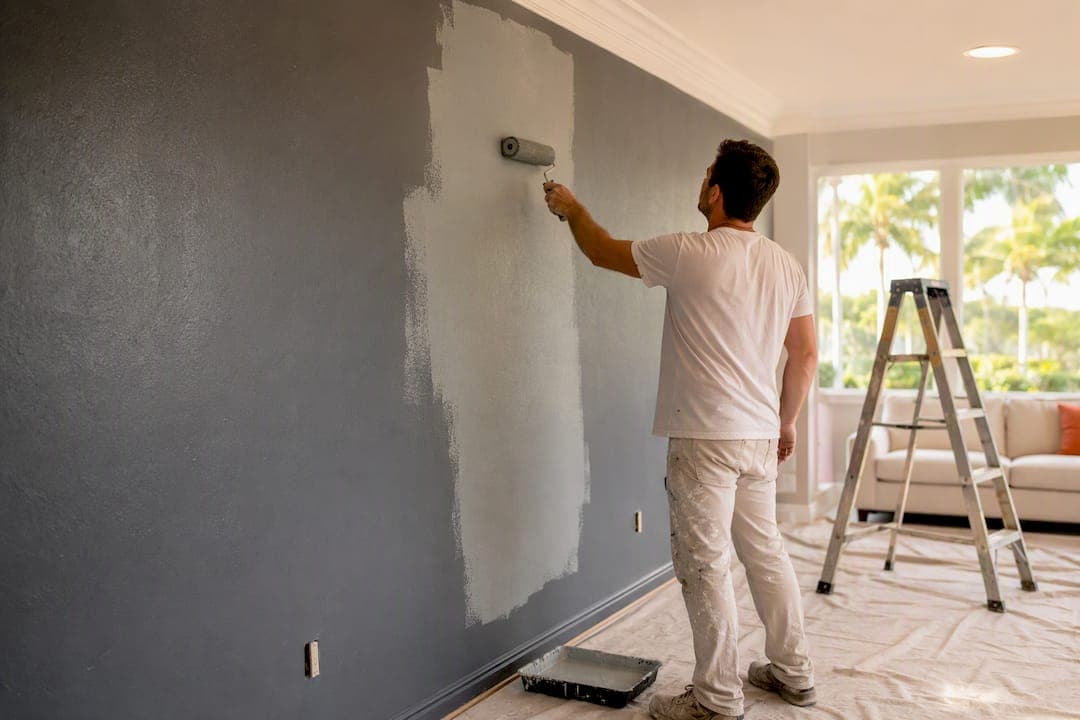
The fastest reliable way for covering dark walls is one coat of tinted, high-hide primer followed by one to two finish coats of premium paint. Very saturated colors like navy, black, or burgundy often need a third finish coat. Before you commit to a whole room, test a small patch first: prime a two-foot square with your tinted primer and let it dry fully before judging the color.
- Method: tinted or high-hide primer, then 1 to 2 topcoats
- Test first: prime a small patch and check it once dry
- Timeline: most primers dry in 1 to 4 hours; plan for a full weekend on an average room
According to Lowe's painting guidance, homeowners should expect multiple finish coats when going from dark to light, especially for the most saturated colors. That's not a failure of technique. It's just how pigment works.
Key Takeaways
Covering dark walls successfully comes down to tinted, high-hide primer, patient dry times between coats, and judging coverage only once the paint is fully cured.
| Point | Details |
|---|---|
| Start with tinted primer | Ask for primer tinted to about half your final color to cut down on finish coats. |
| Expect multiple topcoats | Budget for multiple finish coats, particularly over very dark colors like black, navy, or burgundy. |
| Prep before you prime | Clean, patch, and lightly sand glossy surfaces so primer adheres properly. |
| Judge coverage when dry | Wet paint hides flaws; check results in daylight after full cure time. |
| Call in help for tough jobs | Trupainting LLC's three-tier packages handle heavy staining, texture, and multi-room projects. |
Table of Contents
- What Tools and Materials Do You Need for Covering Dark Walls?
- How Do You Prepare a Dark Wall Before Painting?
- Which Primer Works Best for Dark-to-Light Transitions?
- How Do You Apply Paint Over Dark Walls Step by Step?
- Why Does My Coverage Look Off After the Paint Dries?
- When Should You Call a Painting Contractor Instead of DIY?
- Where to Learn More About Painting Over Dark Colors
- Frequently Asked Questions About Covering Dark Walls
- Sources
What Tools and Materials Do You Need for Covering Dark Walls?
Gather everything before you open a can. Running to the hardware store mid-project with wet primer on the roller wastes time and dries out your tools.
Here's what belongs on your list:
- An angled sash brush for cutting in around trim and ceilings
- A roller frame with an extension pole for ceilings and tall walls
- Roller covers matched to your wall texture
- A metal paint tray with a liner for easy cleanup
- Tinted, high-hide latex primer (the workhorse for most dark-to-light jobs)
- A stain-blocking or oil-based primer for walls with water stains, smoke damage, or crayon marks
- Premium high-hide finish paint in your new color
- Spackle, sandpaper, cleaning cloths, painter's tape, and drop cloths
On finish selection, flat or matte paint hides surface imperfections and old color better than shinier sheens, but eggshell holds up longer in hallways and family rooms. If durability matters more than a flawless finish, our guide to picking the right paint finish breaks down the tradeoffs room by room.
How Do You Prepare a Dark Wall Before Painting?
Skipping prep is the single fastest way to end up with peeling patches and visible seams later. Dark walls hide dirt and grease well, which means they're often dirtier than they look.
- Clean the walls. Mix a mild detergent (or sugar soap) with warm water, wipe down the entire surface, then rinse with a damp cloth and let it dry completely.
- Scrape and patch. Remove any loose or peeling paint with a putty knife, fill nail holes and dents with spackle, then sand smooth once dry.
- Handle bigger damage separately. Cracks wider than a hairline, water damage, or crumbling drywall are jobs for a patch kit or, for extensive repair, a professional drywall crew.
- Scuff glossy finishes. Lightly sand semi-gloss or satin walls with fine-grit sandpaper so primer has something to grip.
- Wipe away dust. A tack cloth or slightly damp rag removes sanding residue that would otherwise show up as texture under your primer.
Crown Paints points to thorough cleaning and sanding as two of the most overlooked steps in a successful color transition, and we see the same thing on job sites constantly: rushed prep is the root cause of almost every callback.
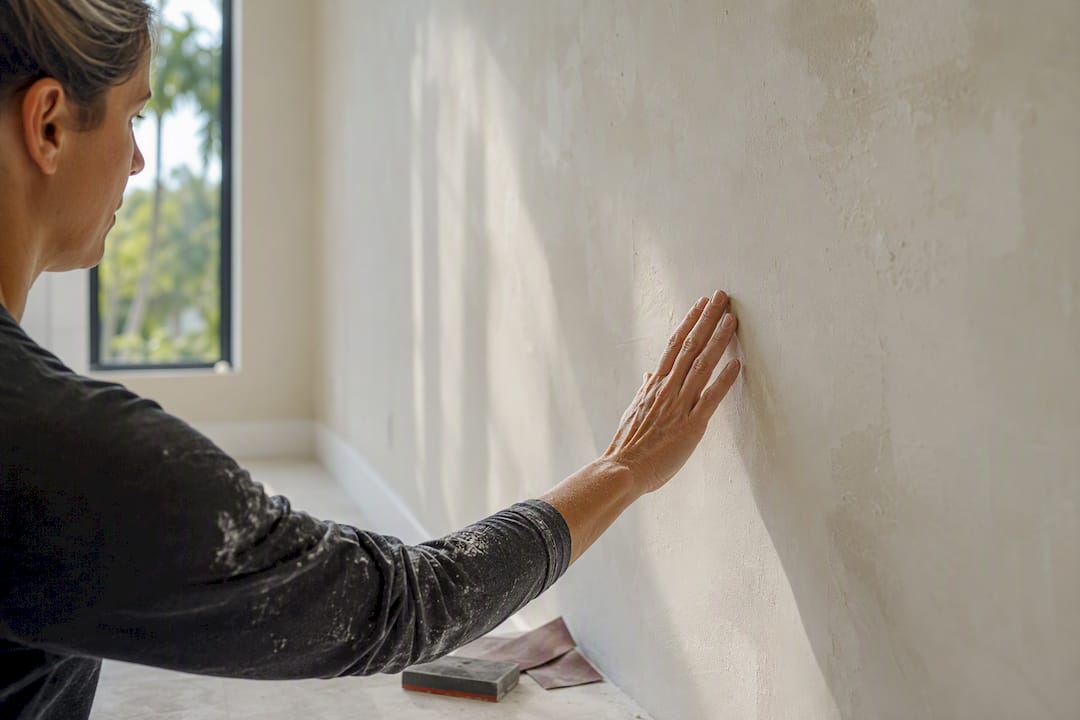
Pro Tip: Run your hand flat across the wall after sanding. If you feel ridges or bumps you can't see, your eyes will find them again once the new paint goes on.
Which Primer Works Best for Dark-to-Light Transitions?
Tinted primer is the difference between two finish coats and four. Instead of starting with stark white primer, ask your paint store to tint the primer to roughly 50% of your final wall color. That halfway point neutralizes the dark pigment underneath without fighting your topcoat for dominance, and tinted primer's role in dark-to-light transitions is well documented in trade literature for exactly this reason.
White primer isn't useless, but it typically takes an extra coat or two to fully block a dark base color, since it has nothing in common with the pigment it's covering.
Some walls need a different approach entirely:
- Water stains or smoke damage: use a stain-blocking or oil-based primer first, since tinted latex primer alone won't stop discoloration from bleeding through.
- Crayon, marker, or grease marks: stain-blocking primer again, spot-applied over the marked area before your full primer coat.
- Standard dark paint with no stains: tinted latex primer is usually all you need.
One coat of tinted primer is often enough on moderately dark colors. For black, deep navy, or burgundy walls, plan on a second full primer coat or at least spot-priming the darkest, highest-contrast areas. Check primer coverage only after it's fully dry. Wet primer can look patchy even when it's actually doing its job.
How Do You Apply Paint Over Dark Walls Step by Step?
Once your walls are prepped and primed, the application sequence determines whether you end up with a smooth, even finish or a wall full of lap marks.
- Cut in first. Use your angled brush to paint a 2 to 3 inch border around trim, ceilings, and corners before you touch the roller to the wall.
- Load the roller correctly. Dip it into the tray, then roll it back and forth on the ramp until it's evenly coated with no drips.
- Roll in sections. Work in a 3 by 3 foot area at a time, applying paint in a "W" pattern before filling it in, always overlapping into your still-wet cut-in lines.
- Keep a wet edge. Move to the next section before the previous one dries to avoid visible seams.
- Respect dry times. Check the can for the manufacturer's recoat window (typically 2 to 4 hours for latex paint) before applying a second coat.
- Assess, then decide. Once fully dry, look at the wall in daylight to judge whether a third coat is needed.
- Finish up. Pull painter's tape at a low angle while the final coat is still slightly tacky, touch up any missed spots, and open a window or run a fan to help the paint cure fully over the next few days.
Resene's application guidance recommends matching your roller nap to the wall's texture and steering clear of microfiber sleeves on textured surfaces, since they tend to hold paint rather than release it evenly.
Pro Tip: If you're painting a whole room, do all your cutting in first, then roll the entire space. Switching back and forth between brush and roller wall by wall is how most DIYers end up with visible edges where the two techniques meet.
Why Does My Coverage Look Off After the Paint Dries?
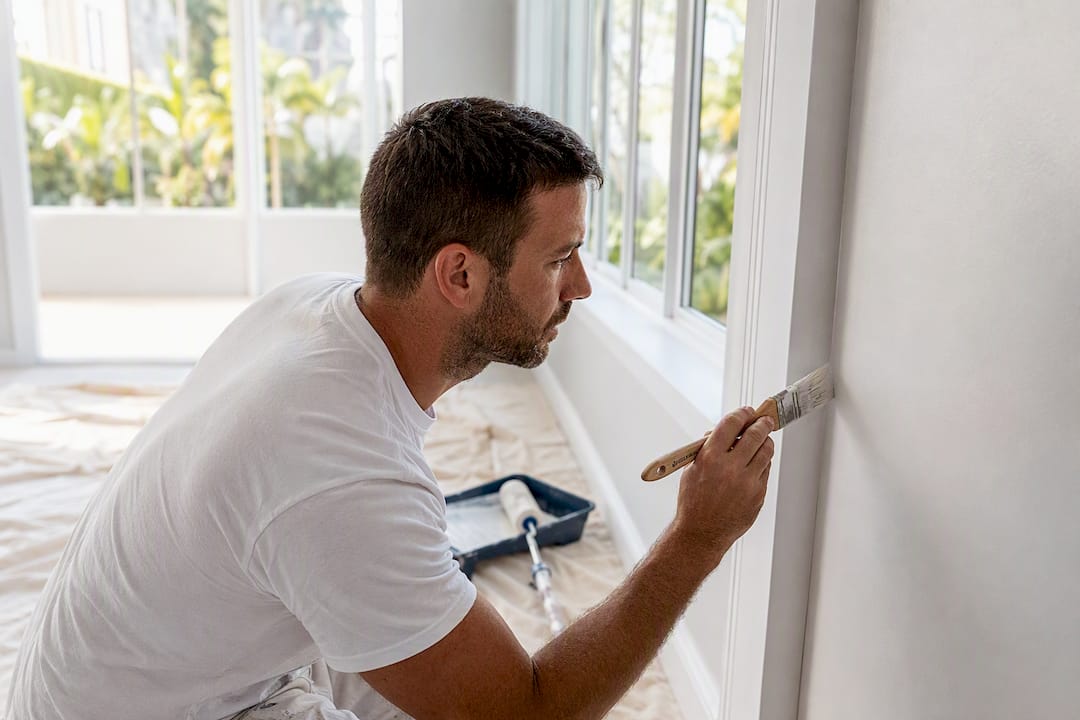
Wet paint lies to you. It looks darker, more uniform, and more finished than it actually is, so judging coverage before the paint fully cures is one of the most common mistakes homeowners make. Wait for the manufacturer's recommended dry time, then check the wall again in natural daylight, not under a lamp or overhead fixture that can wash out flaws.
If you spot problems, here's how to fix them without repainting the whole wall:
- Thin or bleeding spots: spot-prime just that area, let it dry, then feather in a matching topcoat with a slightly damp roller to blend the edges.
- Lap marks or streaks: these usually mean the previous section dried before you overlapped it; a full, even topcoat across the whole wall corrects it.
- Shadowing on textured walls: textured or heavily patterned surfaces often need an extra coat since paint settles unevenly into grooves and ridges.
- Deeply saturated colors still showing through: don't force a fourth finish coat before confirming your primer coverage is solid; a second primer coat is often more effective than another topcoat.
When Should You Call a Painting Contractor Instead of DIY?
Covering a single accent wall in a light shade is a manageable weekend project for most homeowners. Covering multiple rooms, textured surfaces, or walls with real staining is a different job entirely, and it's where we see the most DIY projects stall out.
We generally recommend bringing in a professional crew when you're dealing with:
- Heavy smoke, water, or nicotine staining across multiple walls
- Textured or uneven surfaces like popcorn ceilings or heavy knockdown finishes
- Whole-house color changes where consistency between rooms matters
Our three-tier packages are built around exactly this kind of decision. Every tier includes proper surface prep, but they scale up in primer quality, number of finish coats, and cleanup detail depending on how much protection and longevity you want for your investment.
A dark accent wall that's seen five years of humidity and hallway traffic needs more than a fresh coat of white paint. It needs the right primer, the right prep, and someone who's done this exact transition dozens of times before.
Where to Learn More About Painting Over Dark Colors
- How to Paint Over Dark Walls with Light Color — Lowe's step-by-step primer and tool guidance
- How Tinted Primer Makes Dark-to-Light Wall Color Transitions Work — the science behind tinting ratios
- Painting over dark walls — Crown Paints on prep and daylight checks
- How to paint over dark interior walls — Resene's notes on roller nap and application
A Note From the Team at Tru Painting
The pitfall we see most often is homeowners rushing prep or skipping tinted primer entirely, then wondering why coat four still looks patchy. A little patience up front saves a lot of frustration later. For jobs beyond a single wall, our residential interior painting team handles the prep, priming, and finish work so you don't have to guess.
Ready for a Lighter, Brighter Home?
If you'd rather hand this project to people who do dark-to-light transitions every week, Trupainting LLC gives you a clear path forward instead of a trial-and-error weekend. Our crews handle the cleaning, patching, and tinted-primer work up front, so you're not the one deciding whether that third coat is really necessary.

Every project starts with real surface prep, primer matched to your wall's condition (tinted latex or stain-blocking, depending on what's underneath), and a choice of three service tiers so you control how much coverage and protection you're paying for. We serve homeowners across Lake County and Central Florida, and if you're updating trim or doors at the same time, our friends at One Day Doors & Closets have solid guidance on coordinating door colors with your new wall shade.
Ready to see what your space looks like without the dark walls? Request an estimate for residential interior painting and we'll walk the space with you before any paint gets mixed.
Frequently Asked Questions About Covering Dark Walls
How many coats does it take to cover a dark wall? Most dark walls need one coat of tinted primer plus one to two finish coats. Very dark colors like black or navy often require a third finish coat or a second primer coat for full coverage.
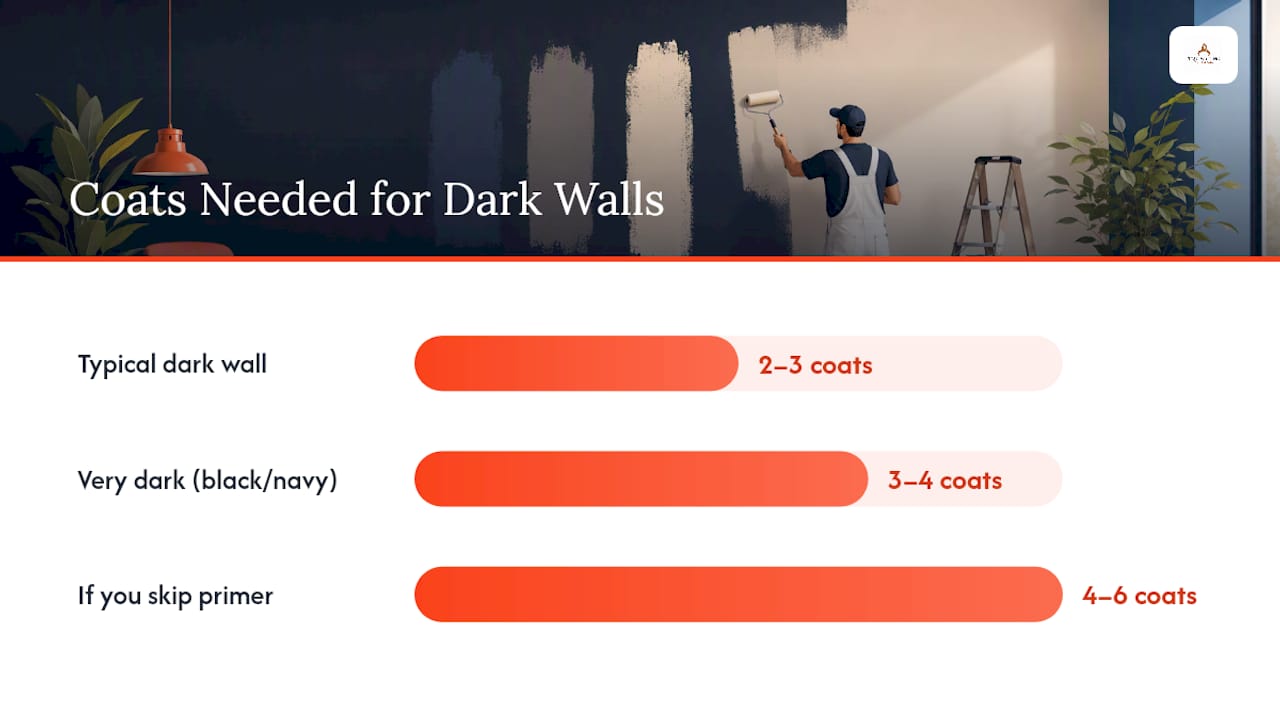
Do I really need primer, or can I just use more coats of paint? Primer is far more efficient than paint alone. Skipping it usually means using two to three extra coats of finish paint to achieve the same coverage a single primer coat provides.
What's the best primer for dark colors? A latex primer tinted to about 50% of your final color is the standard recommendation for most dark-to-light transitions. Save stain-blocking or oil-based primer for walls with water damage, smoke stains, or other discoloration.
How long should I wait between coats? Check your paint can's label, but most latex primers and paints recommend 2 to 4 hours of dry time before recoating, and full curing can take several days.
Why does my newly painted wall still look uneven? You're likely judging it while it's still wet or under artificial light. Wait for full dry time and check the wall in natural daylight before deciding whether it needs another coat.
Sources
- How to Paint Over Dark Walls with Light Color
- How Tinted Primer Makes Dark-to-Light Wall Color Transitions Work
- Painting over dark walls | Crown Paints
- How to paint over dark interior walls - MasterStroke by Resene