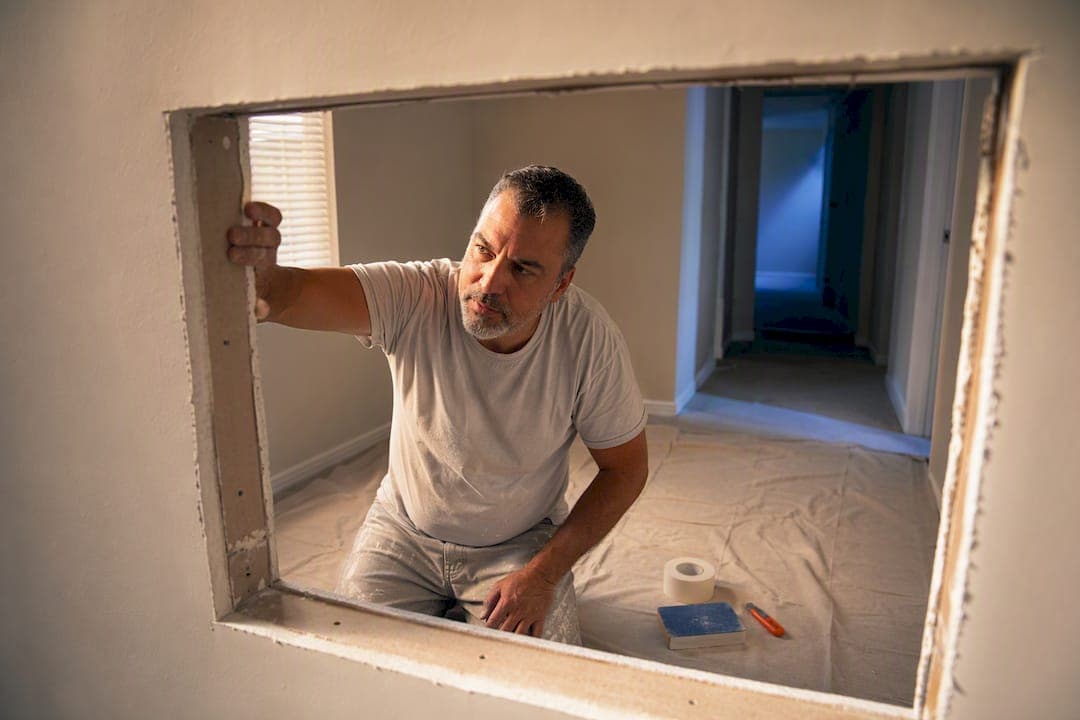
Repair drywall when the damage is surface-level and the board underneath is still firm, dry, and sound. Replace it when the gypsum core is soft, crumbling, sagging, moldy, or when the damaged area covers roughly a third or more of the panel. Water exposure changes the math fast, especially if it involved gray or black water. Finish quality matters too. Once you know what to look for, the checklist below makes the call in minutes.
TL;DR:
- Damage that causes the drywall to feel spongy, crumbly, or sagging indicates it needs full replacement rather than repair.
- Water type is critical: clean water may be dried in place, gray water usually requires partial removal, and black water always needs complete replacement.
- Patching is cost-effective for small, cosmetic damage under 4 square feet, but larger or repeated issues often make replacement cheaper and more durable.
- Texture matching for repairs can be difficult, especially with complex finishes, which may require professional help for seamless results.
- Always address and fix the underlying cause of damage before repairing or replacing to avoid future problems or repeated repairs.
Table of Contents
- Drywall Repair vs Replace: What Damage Can Actually Be Fixed
- What Drywall Damage Signals You Need a Replacement
- How Do You Know If Water-Damaged Drywall Needs Replacing?
- What Does Drywall Repair or Replacement Typically Cost?
- Will the Repair Show Under Paint and Lighting?
- Your Step-by-Step Drywall Inspection Checklist
- How Tru Painting Scopes a Drywall Repair or Replacement
- Author Perspective: Balancing Durability and Finish Quality
- Get a Straight Answer From Tru Painting on Your Drywall
- Sources
- FAQ
Drywall Repair vs Replace: What Damage Can Actually Be Fixed
Most of the drywall problems homeowners see are cosmetic, not structural, and that's good news for your budget. Nail pops, hairline cracks, small dents, doorknob holes, and the odd cutout left behind by an electrician all fall into "fixable" territory, provided the board around the damage is still firm to the touch.
The repair methods scale with the hole size:
- Nail pops and hairline cracks: a skim of joint compound or spackling, sanded smooth.
- Small holes (under a few inches): a self-adhesive mesh patch kit, then two thin coats of joint compound.
- Medium to large holes: a cut patch fitted and screwed to backing strips or the nearest studs, according to Lowe's drywall repair guide.
Priming before you paint isn't optional, particularly under semi-gloss or high-gloss sheens where an unprimed patch will flash under raking light. Before you cut into anything, check for hidden studs or wiring, a step The Home Depot's repair guide flags for good reason. A steady hand can manage most of this. Where DIY tends to fall short is texture matching, and that's often worth handing to a pro. Dust control matters too, especially when sanding indoors near furniture or flooring you'd rather not coat in gypsum dust.
What Drywall Damage Signals You Need a Replacement
Some damage tells you, plainly, that patching is a waste of time. If you press on the wall and your finger sinks in, or the board feels spongy rather than solid, that section has lost its structural integrity and needs to come out. The paper facing peeling away from the core is another giveaway, along with ceiling drywall that sags or bows instead of sitting flat.
Watch for these signs specifically:
- Soft, crumbly, or spongy board when pressed
- Sagging or bowing sections, especially on ceilings
- Peeling or delaminated paper facing
- The same joint or seam cracking again after a prior repair
- Mold spots or a musty smell that won't go away
Mold is a hard line, not a judgment call. Once mold gets under the paper facing, it needs to be cut out and remediated rather than papered over, because the fungus can spread through the gypsum core in ways you can't see from the surface, ServiceMaster's guidance on drywall replacement makes clear. And if you've already patched the same wall two or three times, replacement usually delivers a flatter, more durable result for less total money than another round of spackling.
Pro Tip: Before you repair or replace anything, find and fix whatever caused the damage. A new patch over an active roof leak or plumbing drip just buys you the same repair again in six months.
How Do You Know If Water-Damaged Drywall Needs Replacing?
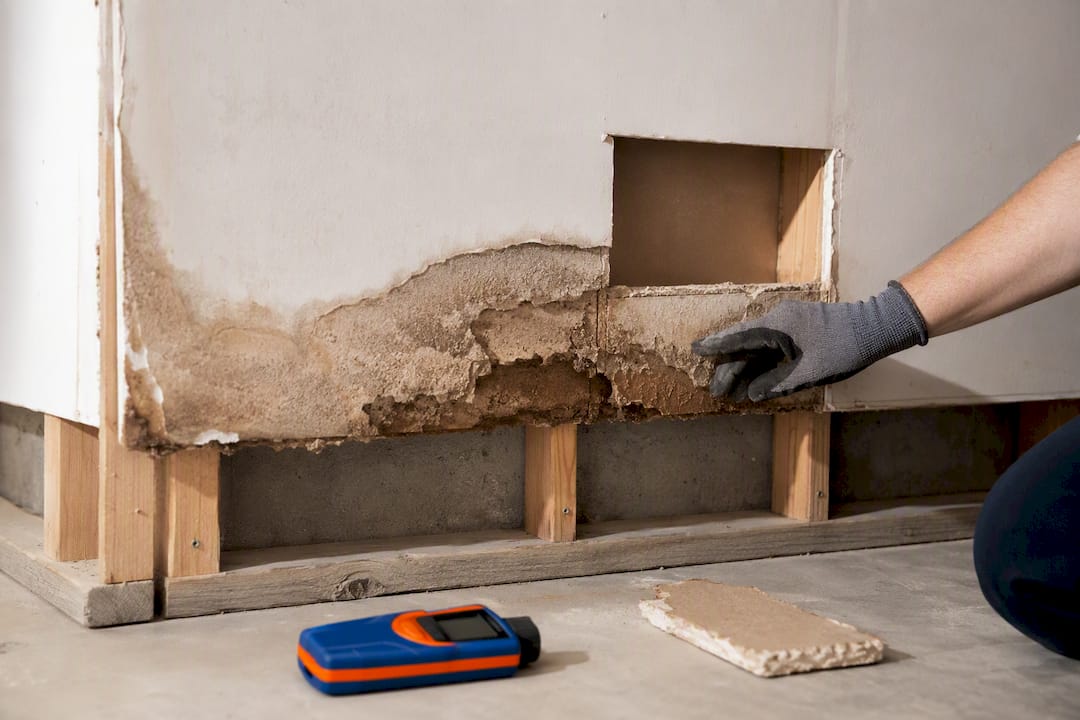
The type of water matters more than how much of it there was. Clean water, like an overflowing sink caught within a day or two, can sometimes be dried in place and monitored for a few weeks. Gray water, think dishwasher or washing machine overflow, usually calls for removing at least the affected section rather than gambling on a full dry-out. Black water, meaning sewage backups or flood water, requires full replacement, no exceptions, because contamination risk outweighs any savings from trying to save the board.
Professional restoration crews use a technique called a flood cut: removing drywall 12 to 24 inches above the visible water line to reach material that's genuinely dry, not just dry-looking. They confirm it with moisture meters and thermal imaging rather than eyeballing it.
- Clean water, short exposure: dry and monitor
- Gray water: partial removal of the affected section
- Black water: full replacement, always
Mold can establish itself inside a wall cavity within as little as 24 to 48 hours in the right conditions, which is why any contamination concern, hidden moisture pocket, or structural doubt is worth handing to a restoration professional rather than a weekend project.
What Does Drywall Repair or Replacement Typically Cost?
Cost is often what tips a borderline decision. A single spackled hole or crack costs next to nothing in materials. A medium patch with texture matching runs a bit more, largely because of the labor to blend it invisibly. Full-sheet replacement is priced per square foot and includes hanging new board, taping, multiple mud coats, sanding, priming, and paint.
Here's the trade-off that surprises a lot of homeowners: once you're patching three or four separate spots on the same wall, buying a new sheet of drywall for that whole section is often cheaper, and it produces a noticeably flatter finish, according to Drywall Techs' cost comparison.
Timeline follows the same logic:
- Small patches: same-day, paint-ready within 24 hours
- Medium repairs with texture matching: one to two days
- Full replacement: several days, once you account for drying time between mud coats, sanding, priming, and paint
Cost climbs further with textured ceilings, high-gloss finishes, tall walls that need scaffolding, or tight access. For a fuller cost breakdown by project size, our drywall repair cost guide walks through real budget ranges. If you're weighing multiple contractors before committing, comparing sealed bids is a straightforward way to see what a fair price looks like in your area.
Will the Repair Show Under Paint and Lighting?
Texture is where a "successful" patch can still look wrong. Orange peel is the most forgiving to blend. Knockdown is moderately tricky. Hand-troweled or Venetian plaster finishes are the hardest to match without redoing the whole wall, because every trowel pass has its own subtle rhythm.
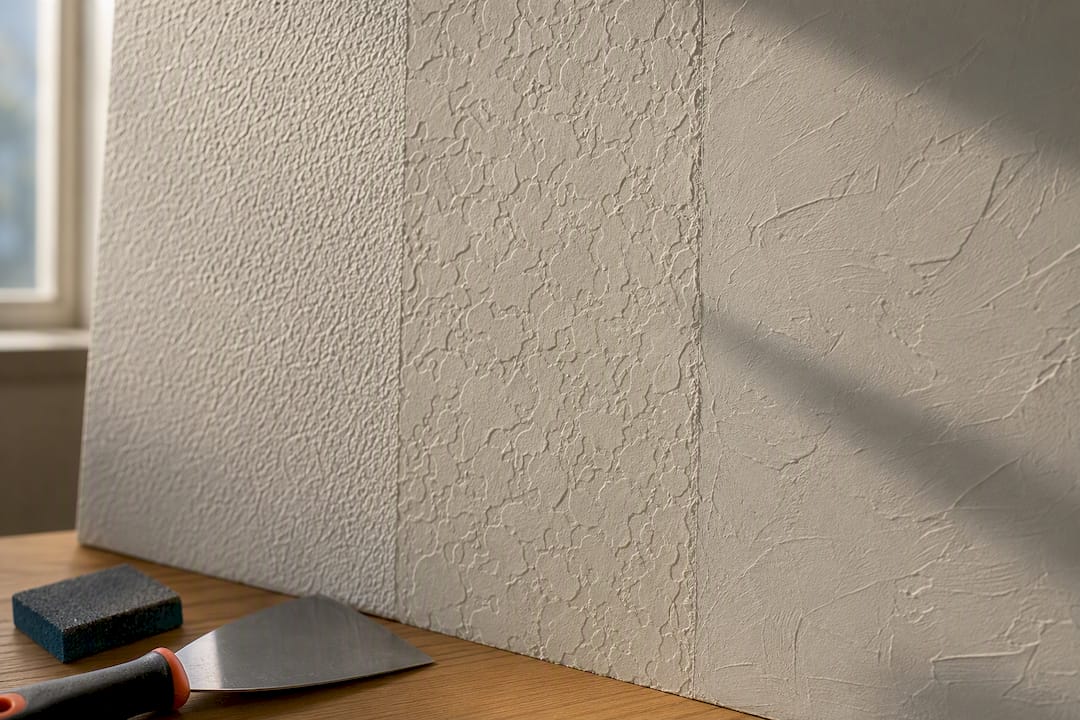
Sheen makes any texture mismatch worse. Flat paint hides a lot of sins; eggshell, satin, and gloss reflect light unevenly across a patched surface, especially near windows or overhead fixtures where raking light hits the wall sideways.
Your realistic options:
- Hire a pro to feather-match texture into the surrounding area
- Skim and repaint the full wall for a guaranteed seamless result
- Accept a visible patch in a low-visibility spot like inside a closet
Our guide on matching drywall texture covers technique specifics if you're set on tackling it yourself.
Your Step-by-Step Drywall Inspection Checklist
Run through these four steps before you decide anything:
- Press and probe. Push firmly on the damaged area and a few inches around it. Any softness or give means replace, full stop.
- Look and smell. Check for staining, mold spots, or a musty odor. Any of these means remove and remediate rather than patch.
- Measure the damage. A single hole under roughly 3 to 6 inches, or total damage under about 4 square feet, is usually repairable. Multiple patches or widespread damage covering a large portion of the panel favors replacement.
- Confirm the cause is fixed and the area is dry. Never close up a wall over an unresolved leak or lingering moisture.
Pro Tip: When in doubt, or when the room's lighting will make any imperfection obvious, like a bathroom with a vanity mirror lit from both sides, call a pro instead of guessing. Texture-critical rooms punish bad guesses.
How Tru Painting Scopes a Drywall Repair or Replacement
Every estimate starts with a hands-on check of the board's structural integrity, the finish the room demands, and how easy the area is to access. From there, Tru Painting offers three tiers: a touch-up package for minor cosmetic fixes, a repair package that includes texture matching, and a full replacement-and-finish package for damage beyond saving.
Every quote comes as a written scope, so you know exactly what's included before work starts. We plan around dust containment, realistic scheduling, and a finished wall you won't spot from across the room.
Author Perspective: Balancing Durability and Finish Quality
Most drywall mistakes come from skipping the diagnosis and jumping straight to a fix. Find the actual cause first, then choose the smallest scope that leaves you with a wall that's both structurally sound and visually calm under your room's lighting. That order of operations saves money and repeat visits far more reliably than any patching technique does. Run the checklist above, and when the finish stakes are high, bring in a pro.
— Kyle
Get a Straight Answer From Tru Painting on Your Drywall
You don't have to guess whether that water stain means a five-minute patch or a torn-out wall. Tru Painting is the direct route to a real answer in Lake County and Central Florida: one visit, a written scope that spells out repair versus replacement, and pricing you see before any work starts.

We offer tiered service packages to match the repair scope to the damage, whether that involves a small patch or a full section replacement with texture matching. We handle dust containment, scheduling, and the paint work that follows so the wall disappears back into the room instead of standing out. If a leak caused the damage in the first place, it's worth tracing and repairing the source before we close anything up. Ready to find out what your wall actually needs? Request an estimate through our residential interior services page and we'll schedule a look.
Sources
- When to Replace Drywall After Water Damage | ServiceMaster Restore
- How to patch and repair drywall | Lowe's
- Drywall Repair vs. Replace | Drywall Techs
- How to patch and repair drywall | The Home Depot
FAQ
Can I repair drywall without replacing it?
Yes, as long as the board is still firm and dry. Nail pops, small holes, hairline cracks, and isolated dents are all repairable with spackling, mesh patches, or a cut-in patch.
Is repair a better option than replacement?
Repair is better when it's cheaper, faster, and produces an equally solid, invisible result. Replacement wins once the board is soft, moldy, or you're facing multiple patches on the same wall, since new board often costs less overall and finishes flatter.
How do you know if drywall needs to be replaced?
Press the wall. If it feels soft, spongy, or crumbly, or if you see sagging, peeling paper facing, mold, or a musty smell, replacement is the right call rather than another patch.
What is the average cost of drywall repair?
Small patches like nail pops or minor holes cost very little in materials, while medium repairs with texture matching cost more due to labor. Full replacement is priced per square foot, and a written scope with detailed pricing should be provided before work begins.