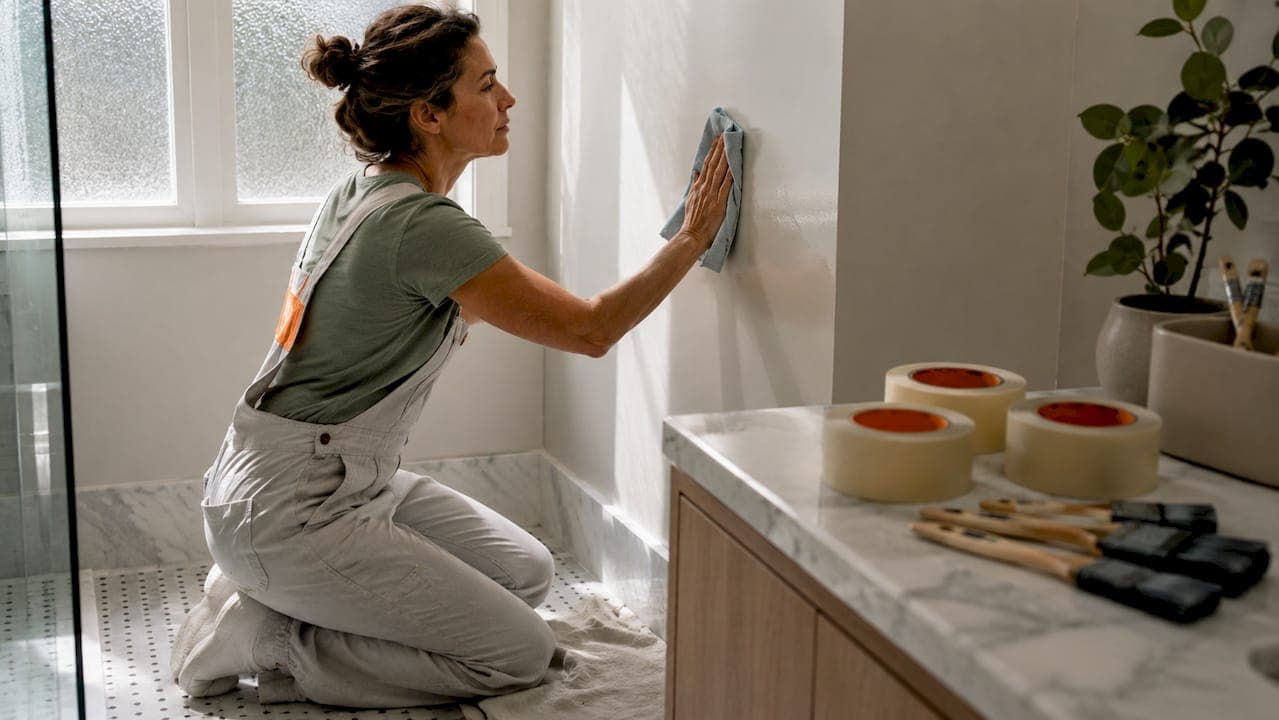
Painting delicate surfaces is defined by one non-negotiable rule: surface preparation, tape selection, and removal technique must all work together or the finish fails. Skilled painters know that how painters handle delicate surfaces separates a flawless result from a costly repair. Freshly painted walls, wallpaper edges, ornate plaster, and older timberwork all respond differently to adhesives and paint. The good news is that the right approach is learnable, and Trupainting LLC has built its reputation in Lake County and Central Florida on getting these details right every single time.
How painters handle delicate surfaces: the core approach
Delicate surfaces in painting are defined as any substrate where standard tape or paint application carries a meaningful risk of tearing, peeling, or leaving residue. Delicate surfaces include freshly painted walls in curing stages, wallpaper edges, ornate plaster, older timberwork, and any surface with questionable adhesion. That definition matters because it tells you which surfaces demand a different game plan before you open a single can of paint.
The core approach rests on three pillars: thorough surface prep, low-tack masking tape matched to the substrate, and controlled application with careful removal. Skip any one of these and the other two cannot save you. A good masking plan is not optional. Professional painters explain their strategy for protecting delicate fixtures and finishes before a single brush stroke lands.
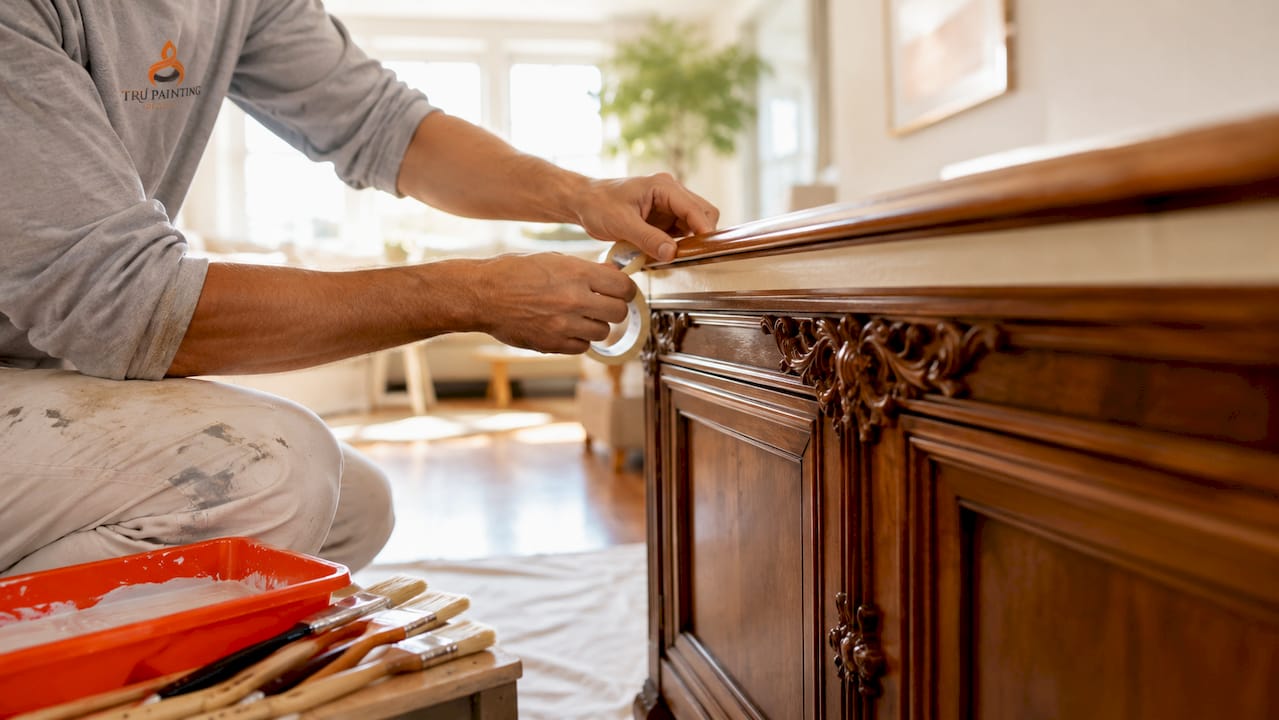
What surfaces are considered delicate and why?
Not every wall or trim piece carries the same risk. Knowing which surfaces need extra care helps you choose the right materials before you start.
| Surface type | Why it's delicate | Recommended tape type |
|---|---|---|
| Freshly painted walls (curing) | Paint film is soft and bonds to tape | Low-tack delicate surface tape |
| Wallpaper edges | Adhesive layer can lift with tape | Ultra-low-tack washi tape |
| Ornate plaster | Texture traps tape adhesive | Low-tack tape in short segments |
| Older timberwork | Dry or flaking finish tears easily | Low-tack tape, test first |
| Flat or matte paint | Porous surface absorbs adhesive | Delicate surface tape only |
Standard multi-surface tape is suitable only for fully cured, clean substrates. On anything else, it can cause peeling or surface tearing. That is the core risk most homeowners underestimate.
Flat and matte paints deserve special attention. Their porous surface absorbs adhesive more aggressively than satin or semi-gloss finishes. Pulling tape off a flat wall painted six months ago can still lift the top layer if you use the wrong product. Older timberwork presents a different problem: the existing finish may be dry, brittle, or flaking, which means even gentle tape can catch and tear it.
How do you choose the right tape for fragile surfaces?
Tape selection is where most DIY paint jobs go wrong. High-tack tape can damage delicate coatings by peeling or tearing, while low-tack tape protects at the cost of slightly less grip. That trade-off is worth making every time on a fragile surface.
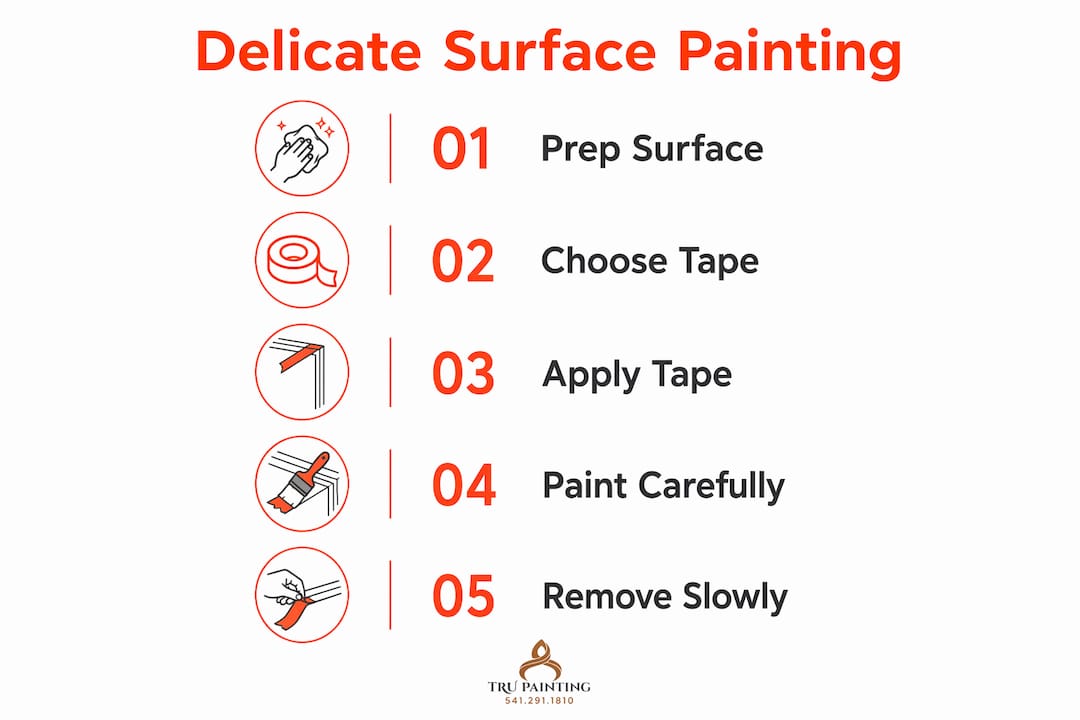
Low-tack or delicate-surface tape uses a gentler adhesive designed to prevent damage and residue compared to standard tape. The difference in adhesive chemistry is significant. Standard blue painter's tape typically holds at a much higher peel strength than delicate-surface versions, which is exactly what you do not want near a freshly painted or repaired area.
Washi tape, made from rice paper, represents the most advanced option for painting fragile surfaces. Washi technology tapes offer up to 60 days of clean removal and sharper paint lines with watertight protection against bleed. They work with acrylic, latex, and oil-based paints on both interior and exterior applications. That versatility makes them a reliable default for any surface you are unsure about.
Criteria for choosing the right tape:
- Surface condition: Freshly painted or repaired surfaces need the lowest tack available.
- Texture: Rough or textured surfaces need tape that conforms without lifting at edges.
- Paint type: Flat and matte finishes need delicate-surface tape regardless of age.
- Cure time: Any surface painted within the last 30 days qualifies as delicate.
- Duration: If tape stays on longer than 24 hours, choose a tape rated for extended clean removal.
Pro Tip: Always test your chosen tape on a small, hidden area of the surface first. Leave it for the same amount of time you plan to use it on the main job, then remove it slowly. If any finish lifts, switch to a lower-tack option.
Surface preparation before painting delicate areas
Proper surface preparation accounts for 80% of protection success. Tape choice accounts for the remaining 20%. That ratio surprises most homeowners, but it makes sense: even the best low-tack tape will fail on a dusty or oily surface, causing bleed or lifting.
Here is the correct prep sequence for painting fragile surfaces:
- Remove loose debris. Use a dry microfiber cloth to wipe down the surface. Dust particles under tape create tiny channels where paint bleeds through.
- Clean with a mild detergent. Mix a small amount of dish soap with warm water and wipe the surface gently. Avoid abrasive scrubbers on delicate finishes.
- Rinse and dry completely. Moisture under tape breaks the adhesive seal. Allow the surface to dry fully before applying tape, which typically means waiting at least one hour in normal conditions.
- Check for grease or residue. Kitchen and bathroom surfaces often carry invisible grease films. A wipe with a clean cloth dampened with isopropyl alcohol removes residue without damaging most finishes.
- Avoid sanding delicate finishes. Sanding can cut through thin paint layers or damage ornate plaster. If you need to smooth a rough spot, use a very fine grit sanding sponge and test on a hidden area first.
Pro Tip: Run your finger across the surface after cleaning. If it squeaks slightly, the surface is clean enough for tape. If it feels slick or leaves a smudge, clean again before taping.
Drying conditions matter as much as the cleaning itself. High humidity slows drying and weakens tape adhesion. If you are working in a humid Florida environment, run a fan or dehumidifier in the room for 30 minutes before applying tape. This step alone prevents a significant number of bleed failures on interior projects.
Step-by-step techniques for applying tape and paint
Tape application is a mechanical process, not a casual one. Experienced painters treat tape application as a technical step requiring burnishing and careful technique to maximize edge sharpness and minimize damage.
Follow this sequence for clean results on any delicate surface:
- Apply tape in short segments. Short, overlapping tape segments prevent bunching or pulling near corners and contours. Long continuous runs create tension that lifts edges and causes bleed.
- Burnish the tape edge. Burnishing with a credit card or putty knife creates a mechanical seal that minimizes paint bleed. Pressing with your thumb alone is not sufficient, especially on textured or uneven surfaces.
- Apply a seal coat. The seal coat technique involves painting a thin layer of base color over the taped edge before the final coat. This pre-fills microscopic gaps and prevents bleed. It is one of the most effective insider techniques for delicate surface painting.
- Use light coats. Apply paint in thin, even layers. Heavy coats pool at the tape edge and seep underneath.
- Move the brush away from the tape. Always stroke the brush or roller away from the tape edge, not toward it. This pushes paint into the wall rather than under the tape.
| Common mistake | Best practice |
|---|---|
| One long tape strip on curves | Short overlapping segments |
| Pressing tape with thumb only | Burnish with credit card or putty knife |
| Skipping seal coat on textured walls | Apply thin base coat over tape edge first |
| Heavy single coat of paint | Two or three light coats |
| Brushing toward the tape edge | Always stroke away from the tape |
How do you safely remove tape from delicate surfaces?
Tape removal timing is one of the most misunderstood steps in careful surface painting. Paint "dry to touch" does not mean fully cured. Waiting too long or removing too early both risk damaging delicate finishes.
Remove tape slowly at a 45-degree angle while the paint is still slightly tacky. Removing tape within 1–2 hours of the final coat is the best window in most conditions, though humidity and temperature affect that timing. If the paint has fully cured and you missed the window, score the tape edge lightly with a utility knife before pulling to prevent tearing.
Tape removal do's and don'ts:
- Do pull at a consistent 45-degree angle, slow and steady.
- Do score the edge with a utility knife if paint has fully hardened.
- Do support the surface with your free hand to reduce tension.
- Don't yank tape quickly. Fast removal tears fresh paint and delicate finishes.
- Don't leave tape on overnight if the surface is freshly painted or repaired.
- Don't use high-tack tape on any surface you are not certain about. Delaying removal or using the wrong adhesive can pull chunks of finish off delicate surfaces.
For long-term protection of your finished surfaces, protecting painted surfaces after the job is done is just as important as the prep work before it.
Key takeaways
The most effective approach to painting delicate surfaces combines thorough surface preparation, low-tack tape matched to the substrate, and controlled removal timed to the paint's cure stage.
| Point | Details |
|---|---|
| Surface prep drives results | Cleaning and drying accounts for 80% of protection success before tape is applied. |
| Match tape to the surface | Low-tack and washi tapes protect fragile finishes; standard tape causes peeling on delicate substrates. |
| Burnish every tape edge | A credit card or putty knife creates the mechanical seal that prevents paint bleed on textured surfaces. |
| Use the seal coat technique | A thin base coat over the tape edge pre-fills gaps and is the clearest marker of professional results. |
| Time your tape removal | Pull tape at a 45-degree angle within 1–2 hours of the final coat for the cleanest, safest result. |
What I've learned from years of working on delicate surfaces
Most DIYers focus all their energy on choosing the right paint color and almost none on tape and prep. That is the wrong priority order. The tape and prep work determine whether the color even looks good once the job is done.
The mistake I see most often is using whatever tape is on sale at the hardware store. Standard blue tape is fine for most walls. On a freshly painted surface, a matte finish, or old trim, it is the wrong tool. The cost difference between standard tape and a quality delicate-surface or washi tape is small. The cost of repainting a wall you just damaged is not.
Patience at removal is the other thing most people skip. Pulling tape fast feels satisfying. It also tears paint. Slow, steady, 45-degree angle removal takes an extra two minutes and saves you an hour of touch-up work. I have seen experienced painters ruin an otherwise perfect job by rushing this one step.
The seal coat technique is the single biggest upgrade most homeowners can make to their DIY results. It sounds like extra work, but it takes less than five minutes and eliminates the most common complaint: paint bleeding under the tape. Try it once and you will use it on every project after that.
Invest in quality materials, take your time with prep, and treat tape application as a technical step rather than a quick chore. The results will show it.
— Kyle
When a professional touch makes all the difference
Delicate surfaces reward patience and the right materials. When the stakes are high, such as cabinet refinishing, ornate trim, or a freshly painted accent wall, the margin for error shrinks fast.

Trupainting LLC specializes in residential interior painting and cabinet refinishing across Lake County and Central Florida, with a focus on thorough surface preparation, premium tape technology, and meticulous application on even the most fragile finishes. Every project starts with a proper masking plan and ends with careful tape removal timed to the paint's cure stage. If you want flawless results on delicate surfaces without the risk of damage, reach out to Trupainting LLC to schedule a consultation and see what professional preparation looks like in practice.
FAQ
What surfaces are considered delicate for painting?
Delicate surfaces include freshly painted walls still in the curing stage, wallpaper edges, ornate plaster, older timberwork, and flat or matte paint finishes. These substrates are vulnerable to peeling, tearing, or adhesive residue from standard painter's tape.
What type of tape is best for painting fragile surfaces?
Low-tack delicate-surface tape or washi tape made from rice paper is best for fragile surfaces. Washi tapes offer up to 60 days of clean removal and work with acrylic, latex, and oil-based paints on both interior and exterior applications.
How long should you wait before removing painter's tape?
Remove tape within 1–2 hours of applying the final coat, while the paint is still slightly tacky. Waiting until paint fully cures can cause the tape to bond to the finish and tear it during removal.
What is the seal coat technique?
The seal coat technique involves painting a thin layer of base color over the taped edge before applying the final coat. This fills microscopic gaps under the tape and prevents paint bleed, producing sharper, cleaner lines on textured or delicate surfaces.
How do you prevent paint from bleeding under tape on delicate surfaces?
Clean and dry the surface thoroughly before taping, apply tape in short overlapping segments, and burnish every edge with a credit card or putty knife. Follow with a seal coat before the final color to close any remaining gaps.