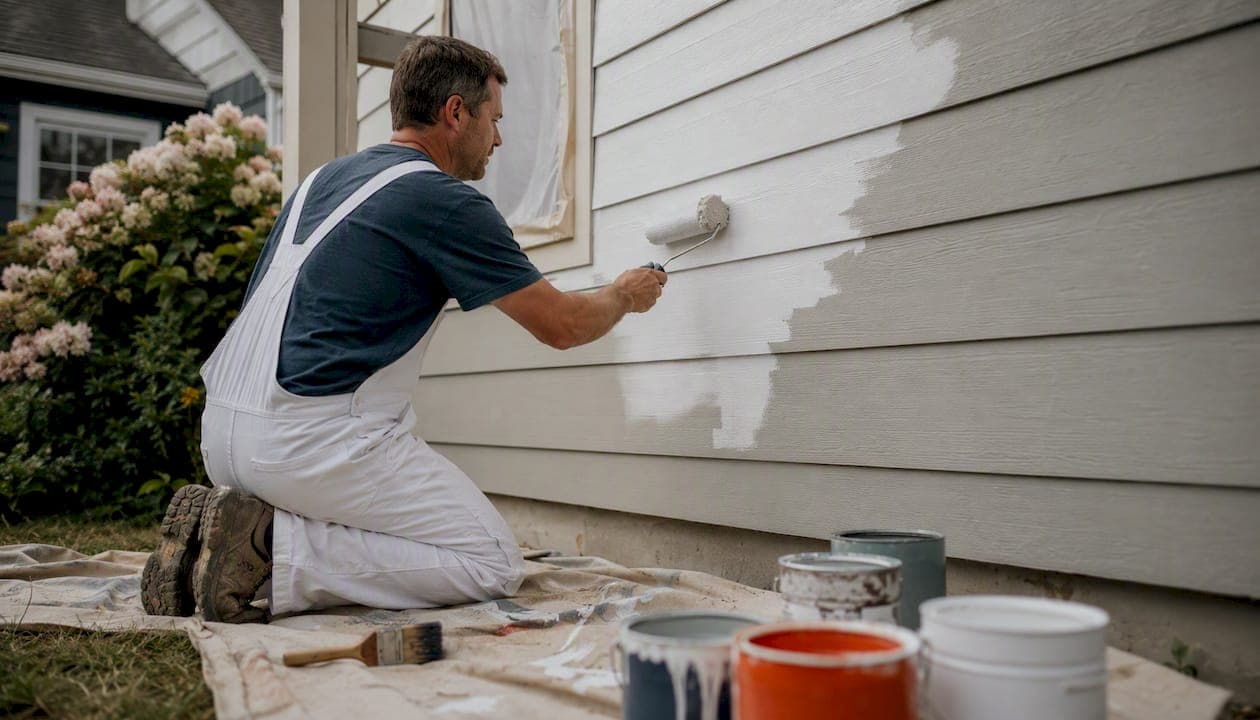
Yes, you can paint Hardie board siding, whether it left the factory with James Hardie's ColorPlus finish or arrived primed for paint. The outcome depends almost entirely on three things: correct surface prep, a masonry-compatible primer where the board is bare or porous, and a premium 100% acrylic topcoat applied at the right film thickness.
Before you buy a single gallon, confirm what you're working with. Splash a little water on the siding. If it beads up, you're likely looking at a factory ColorPlus finish. If it soaks in, the board was primed for paint and needs a proper primer before topcoating.
- Water beads = factory finish, handle warranty carefully
- Water absorbs = primed board, ready for a primer and two finish coats
- Either way, two coats of premium acrylic outperform one heavy coat.
Pro Tip: Do the water test on three or four different boards, not just one. Sun-faded sections and shaded sections can behave differently even on the same wall.
Key Takeaways
Painting Hardie board siding lasts longest when correct prep, a masonry-compatible primer, and two coats of premium 100% acrylic topcoat all come together.
| Point | Details |
|---|---|
| Test before you buy paint | Use the water-bead test to confirm factory ColorPlus versus primed board before choosing a system. |
| Prep decides the outcome | Wash, dry 24–48 hours, repair, caulk, and back-prime every cut edge before topcoating. |
| Match primer to substrate | Use masonry/concrete bonding primer on fiber cement and alkyd blocking primer on wood trim. |
| Choose premium acrylic topcoats | Lines like Emerald, Duration, Aura, and Regal Select commonly last 8–12 years versus 3–5 for budget latex. |
| Get help when it counts | Trupainting LLC diagnoses, preps, and specifies every primer and topcoat in writing through tiered service packages. |
Table of Contents
- Why Paint Hardie Siding: Benefits and Trade-Offs
- Inspect and Prep Siding Before Painting
- Primer Choices for Fiber Cement and Trim
- Best Topcoats and Application Methods for Durability
- Handling Trim, Windows, and Metal Around Hardie Siding
- Step-by-Step Sequence and Timing for a Successful Paint Job
- Pro Vs DIY: When to Call a Painting Contractor
- Common Paint Failures and How to Prevent Them
- What We Prioritize on Every Hardie Siding Project
- How Trupainting LLC Approaches a Hardie Siding Repaint
- Frequently Asked Questions
- Sources
Why Paint Hardie Siding: Benefits and Trade-Offs
Homeowners repaint Hardie siding for three reasons: the current color looks tired, the cut edges need resealing, or they want a color the factory palette doesn't offer. Paint also does real protective work. It's the recurring maintenance layer that keeps moisture out of a board that itself can last for decades.
There are trade-offs worth weighing first. Repainting a factory ColorPlus finish without following the manufacturer's prep guidance can void that finish's warranty, which commonly runs 15 years. Dark colors also fade faster, especially on south and west exposures, which means a bold new hue might mean a shorter repaint cycle than a soft neutral.
- Curb appeal and a fresh color are the most common triggers
- Sealed cut edges and joints add real weather protection
- ColorPlus repaints carry warranty risk if prep isn't followed
- Dark, saturated colors shorten the repaint interval
Paint when you see chalking, fading, or visible wear, not just because it's "been a while." Painting sound, healthy siding too early wastes money; waiting until failure starts costs more in repairs.
If you're comparing painting against tearing out and replacing damaged trim or siding sections, it's worth knowing that painting is often the better value move when the underlying material is still sound.
Inspect and Prep Siding Before Painting
Prep is the single biggest determinant of how long your paint job lasts. Skilled painters will tell you the same thing: more repaint failures trace back to inadequate prep than to paint choice. Work through these steps in order.
- Run the water test on several sections to identify factory finish versus primed board.
- Pressure-wash gently to remove dirt, chalk, and mildew, using a wide fan tip so you don't gouge the fiber cement.
- Let it dry for 24 to 48 hours, longer in cool or humid climates. Painting over trapped moisture is a leading cause of blistering.
- Scrape loose paint and sand feathered transitions so old and new paint blend smoothly.
- Repair or replace any damaged, cracked, or delaminating boards before you touch a brush to the wall.
- Caulk joints and penetrations with a paintable exterior sealant rated for fiber cement movement.
- Back-prime or spot-prime cut edges, butt joints, and patched areas. This step gets skipped more than any other, and it's the one that causes slow, hidden failure.
Pro Tip: Fiber cement is porous at cut edges even when factory-coated everywhere else. Any edge you cut, drill, or expose during repairs needs sealant and primer before it ever sees a topcoat.
Primer Choices for Fiber Cement and Trim
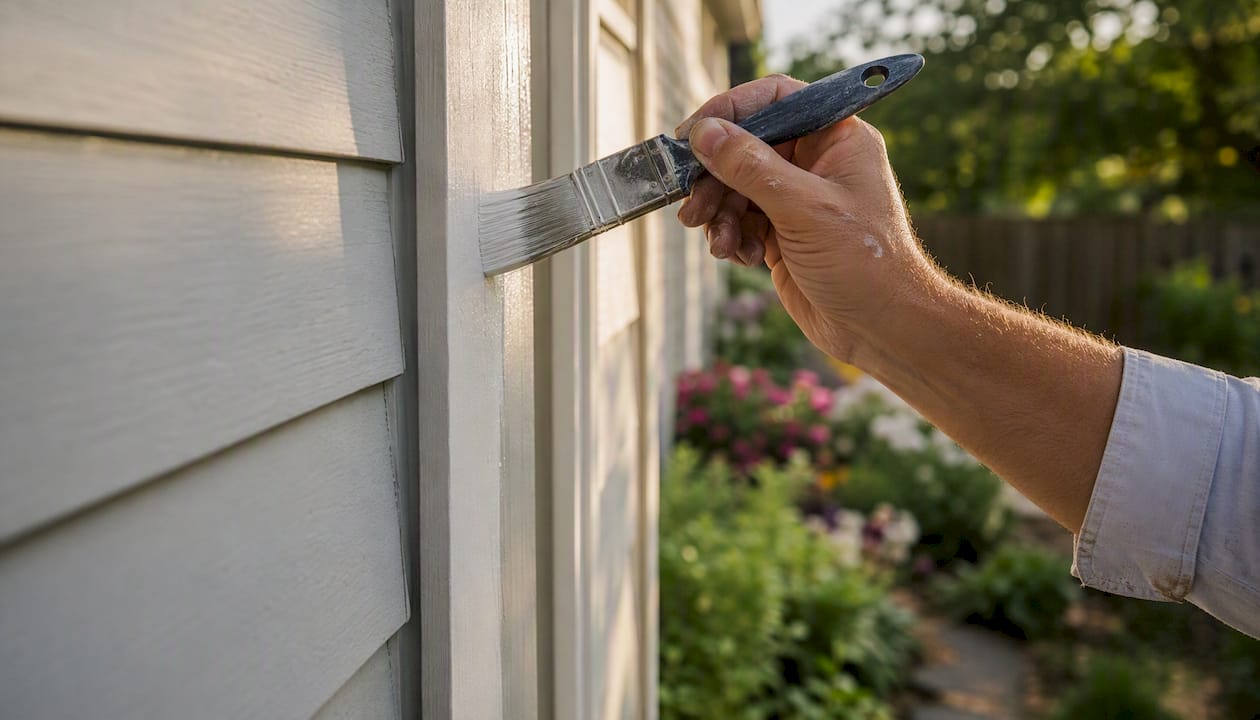
Hardie board is cementitious, not wood, and it needs to be primed like masonry. A masonry and concrete bonding primer, such as Sherwin-Williams Loxon Concrete & Masonry Primer, is the standard professional recommendation for bare or porous fiber cement panels. It bonds to the cement matrix in a way that ordinary wood primers don't.
Trim is a different story. Comb-face pine trim and engineered wood trim behave like wood, not masonry, so they call for an alkyd blocking primer to seal the grain, prevent edge swelling, and stop tannins from bleeding through your finish coat.
- Use a masonry/concrete bonding primer (Loxon-type) on bare or heavily chalked fiber cement
- Use an alkyd blocking primer on comb-face pine and engineered wood trim
- On repaints, spot-prime only where needed: bare wood, exposed cut edges, patches, and heavy chalking
- Skip elastomeric primers and coatings on fiber cement; they can trap moisture against the substrate and cause the same failures they're meant to prevent
Matching primer to substrate this way keeps every layer breathable, which matters more on fiber cement than most homeowners realize.
Best Topcoats and Application Methods for Durability
Premium 100% acrylic exterior paint is the topcoat class built for field-painted Hardie. Lines like Sherwin-Williams Emerald, Sherwin-Williams Duration, Benjamin Moore Aura, and Benjamin Moore Regal Select all fall into this category, and each resists UV breakdown, chalking, and color fade better than standard latex.
The gap in real-world performance is significant. On sound prep, premium acrylic systems commonly last 8 to 12 years, while budget exterior latex often needs a full repaint after just 3 to 5 years. That difference alone usually justifies the higher can price, since one premium repaint can outlast two cheap ones.
Two finish coats over the correct primer are standard for long-term performance. A freshly primed board typically needs two full coats; a sound repaint in a similar color sometimes gets by on one, though most painters still recommend two for even color and UV protection.
- Premium 100% acrylic (Emerald, Duration, Aura, Regal Select) is the recommended topcoat class
- Two finish coats outperform one heavy coat almost every time
- Spray application followed by immediate back-brushing or back-rolling produces the most uniform film on textured fiber cement
- Brush-and-roll works fine for smaller jobs, porches, and trim-heavy elevations
- Follow the manufacturer's mil (film thickness) specs. Two thin, fully cured coats beat one thick coat that skins over before it cures underneath
Think of film thickness the way you'd think of sunscreen: one thick, uneven layer leaves gaps, while two even layers actually cover.
Handling Trim, Windows, and Metal Around Hardie Siding
Not every surface next to your siding gets the same treatment, and mixing that up causes real problems. Comb-face pine and engineered trim need an alkyd blocking primer before topcoating, the same as any exposed wood trim on the house.
Vinyl windows and aluminum soffits are a different matter entirely. Painting them without manufacturer approval can cause adhesion failure or void a product warranty you didn't know you had.
Check manufacturer guidance before painting vinyl or aluminum components. Many are engineered with factory finishes that aren't meant to be topcoated, and painting over them can peel within a season.
- Comb-face pine trim: alkyd blocking primer, then your chosen topcoat
- Vinyl windows and aluminum soffits: leave unpainted unless the manufacturer says otherwise
- Semi-gloss on trim for durability and cleanability; satin or low-luster on the body for a balanced, less "plastic" look
Step-by-Step Sequence and Timing for a Successful Paint Job
Once prep is complete, the painting sequence itself is straightforward if you respect the drying windows. Rushing any one step is where most DIY jobs go wrong.
- Confirm finish type with the water test.
- Pressure-wash the entire surface.
- Let it dry 24 to 48 hours, longer if it's cool or humid.
- Scrape, sand, and repair damaged boards.
- Caulk joints and back-prime or spot-prime cut edges and patches.
- Prime any remaining bare or porous areas.
- Apply two finish coats, spraying and back-brushing or rolling, with full dry time between coats.
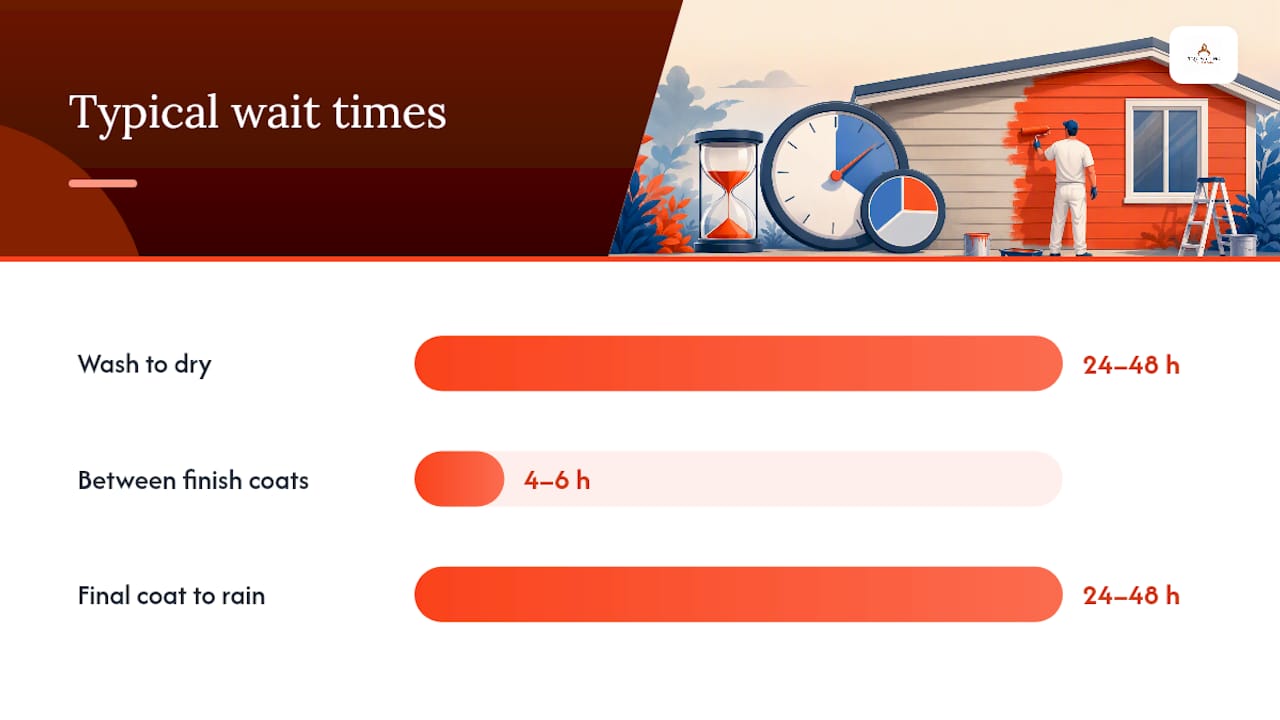
Stick to the paint manufacturer's temperature window, commonly around 50°F to 90°F for ambient and surface temperature, and avoid painting if rain is forecast within 24 to 48 hours of your final coat.
| Step | Typical Wait Time |
|---|---|
| Wash to dry | 24–48 hours |
| Between finish coats | 4–6 hours (longer if cool or humid) |
| Final coat to rain exposure | 24–48 hours minimum |
Pro Vs DIY: When to Call a Painting Contractor
A single-story ranch with sound siding is a reasonable DIY candidate for a patient homeowner. Multi-story homes, heavy repair needs, complicated trim details, or a desire for a workmanship warranty all point toward hiring a professional painting crew instead.
Whoever does the work, hold the bid to a standard. A serious contractor's estimate should specify:
- Surface diagnosis results, including the water test
- Pressure-washing plan and dry-time before painting begins
- Scope of repairs and caulking
- Primer product and where it's being used
- Topcoat product line, sheen, and number of coats
- Application method (spray plus back-brush, or brush-and-roll)
- Timeline, cleanup plan, and workmanship warranty
If a bid doesn't name actual product lines and coat counts, ask for that detail before you sign anything.
Common Paint Failures and How to Prevent Them
Most Hardie siding failures trace back to one of three causes: trapped moisture, skipped primer, or unsealed cut edges. Chalking and fading usually come from UV exposure combined with a lower-grade paint that wasn't built to handle it.
Fixing an active failure means removing the failed paint, letting the substrate dry fully, back-priming any exposed edges, and recoating with the correct primer-and-topcoat system, not just another layer over the problem.
- Peeling or blistering: usually trapped moisture or a skipped primer step
- Edge failure near cuts and joints: almost always an unsealed cut edge
- Chalking and fading: UV exposure plus lower-grade paint
- Annual visual check, wash every 2 to 3 years, and re-caulk joints as they open up
On a well-prepped system with premium acrylic, expect a repaint cycle of roughly 8 to 12 years in many climates, shorter on intense southern and western exposures.
What We Prioritize on Every Hardie Siding Project
Preparation wins more jobs than product does, but you need both. On every Hardie project, our crews water-test first, spec the primer by substrate, not habit, and write the topcoat and coat count into the estimate before we ever pick up a sprayer.
Homeowners don't all want the same level of investment, and that's fine. Our three-tier service packages let you choose the prep depth and product grade that fits your home and your budget, without anyone guessing what they actually paid for.
How Trupainting LLC Approaches a Hardie Siding Repaint
If reading this made you realize your siding needs more than a weekend and a paint sprayer, that's the honest takeaway.

Every estimate for residential exterior painting spells out the exact primer, topcoat line, and coat count before work starts, and our three-tier packages let you pick the protection level that matches your home's exposure and your budget. Own a rental property or multi-unit building instead? Our commercial exterior team handles the same diagnosis-first approach at scale. Request a quote and we'll walk your siding with you before we quote a single gallon.
Frequently Asked Questions
Can you paint Hardie board siding that already has a factory finish? Yes, but check the ColorPlus warranty terms first. Repainting without following the manufacturer's prep steps can void that factory finish warranty, so many homeowners wait until the original finish is genuinely worn before repainting.
What's the best paint for Hardie board siding? Premium 100% acrylic exterior paint, such as Sherwin-Williams Emerald or Duration and Benjamin Moore Aura or Regal Select, holds color and resists chalking far longer than standard latex.
Do you need to prime Hardie board before painting? Bare or porous fiber cement needs a masonry-compatible bonding primer. A sound repaint with intact paint usually only needs spot-priming on bare spots, cut edges, and patches.
How long does painted Hardie siding last before it needs repainting? A properly prepped system with premium acrylic paint commonly lasts 8 to 12 years, though dark colors and intense sun exposure can shorten that window.
Is it cheaper to paint Hardie siding yourself or hire a contractor? DIY saves labor cost but demands real time for prep, primer matching, and correct application. Multi-story homes, extensive repairs, or warranty concerns are strong reasons to bring in a professional crew instead.
Sources
- What Paint Actually Works on Field-Painted Hardie
- Painting Hardie Board Siding: 2026 Guide and Pro Tips
- Pro paint primer Hardie board siding