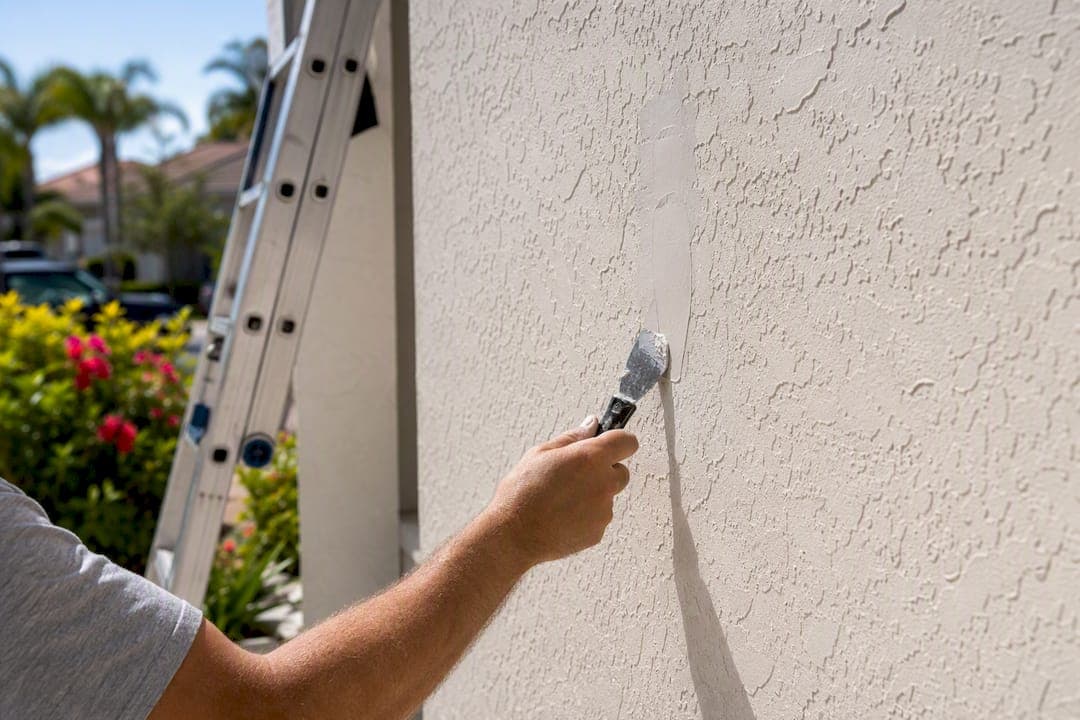
Yes, repair stucco cracks before painting, unless they're stable hairlines you can address during standard prep work. Wide, active, or pattern cracks left under a fresh coat will telegraph right back through the paint film within a season, and moisture behind them just keeps working. Three cure-time rules matter more than anything else here: elastomeric caulk needs about 24 hours to cure, stucco patch compounds want roughly 7 days, and new three-coat stucco needs 28 to 60 days before it's ready for paint.
Before you buy a single tube of caulk, do this:
- Walk every exterior wall in full daylight and mark every crack you find.
- Sort each one as hairline, moderate, or wide, and note whether it's isolated or diagonal/stair-stepped.
- Plan your repair timeline backward from your painting date, using the cure windows above.
Pro Tip: Skipping cure time is the single most common reason patched stucco fails paint adhesion in the first year, according to BEHR's own field guidance for pros.
Key Takeaways
Durable stucco paint jobs depend on correctly sizing every crack, respecting manufacturer cure times, and never painting over a damp or uncured repair.
| Point | Details |
|---|---|
| Inspect before buying materials | Walk every wall in daylight and mark crack width and pattern before choosing a repair method. |
| Match repair to crack size | Use elastomeric caulk under 1/16 inch, patch compound for 1/16 to 1/4 inch, and mesh reinforcement or a pro above that. |
| Respect cure minimums | Wait roughly 24 hours for caulk, 7 days for patch compound, and 28 to 60 days for new stucco. |
| Clean and dry properly first | Keep pressure washer settings low and let stucco dry 24 to 72 hours before repairing or painting. |
| Call a pro for warning signs | Hollow sounds, diagonal cracking, or moisture staining call for a Tru Painting assessment before cosmetic patching. |
Table of Contents
- How to Inspect and Classify Stucco Damage Before Repair
- Cleaning Stucco the Right Way Before You Repair Anything
- Repairing Stucco Cracks by Size: Step-by-Step Workflows
- What Materials and Tools You Actually Need
- Cure Times: How Long to Wait Before Priming and Painting
- Choosing a Primer and Painting Technique for Stucco
- Common Stucco Repair Mistakes and How to Fix Them
- When to DIY and When to Call Tru Painting
- What Actually Matters Most in This Whole Process
- Get Stucco Prep Done Right the First Time
- Sources
How to Inspect and Classify Stucco Damage Before Repair
Grab a notepad and a flashlight and give your stucco an honest look before you touch any repair product. Most homeowners underestimate how much information a five-minute walk-around gives you.
- Walk every wall in bright daylight. Shadows hide hairlines, so morning or late afternoon light works best for spotting fine cracks.
- Mark each crack's width and pattern. A straight vertical hairline is usually cosmetic. Diagonal or stair-step cracks, especially near corners and window frames, often signal foundation movement.
- Tap the surface with a knuckle or small hammer. A hollow or dull sound means the stucco has separated from the substrate underneath, which caulk alone won't fix.
- Check for softness, dark staining, or efflorescence (that chalky white mineral bloom). These point to trapped moisture, not just surface wear.
- Look for mold or persistent water tracks below downspouts, window sills, and roof lines. That's a drainage problem first, a paint problem second.
Your decision point comes down to width and movement. Hairlines under 1/16 inch that don't grow year to year are a DIY weekend job. Anything wider than 1/4 inch, or cracks running diagonally in a stair-step pattern, deserves a professional structural look before you spend a dime on cosmetic patching.
Cleaning Stucco the Right Way Before You Repair Anything
Dirty, chalky, or mildewed stucco won't let patch material or paint bond properly, so cleaning always comes before repair, not after. But stucco is more fragile than siding, and an aggressive pressure washer can do real damage.
- Keep pressure washer settings low and hold the wand a safe distance from the surface to avoid damage when hiring a pro for exterior window cleaning and house washing.
- For textured or older, softer stucco, use a soft-wash approach with a low-pressure sprayer and a cleaning solution instead of blasting it directly.
- Use a degreaser on grease or exhaust staining near garages and grills, and a diluted bleach or dedicated mildewcide for mold and algae growth in shaded, damp areas.
- Rinse thoroughly, working from the top of the wall down, so cleaner doesn't dry and streak.
Dry time runs 24 to 72 hours depending on humidity, sun exposure, and airflow around your house. Coastal or shaded walls take longer. Don't rush this step. Repairing wet stucco traps moisture under the patch, and that moisture has to go somewhere eventually.
Pro Tip: Press a dry paper towel against the wall in a few spots. If it comes away damp, the stucco isn't ready for repair or paint yet, no matter how many hours have passed on the calendar.
Repairing Stucco Cracks by Size: Step-by-Step Workflows
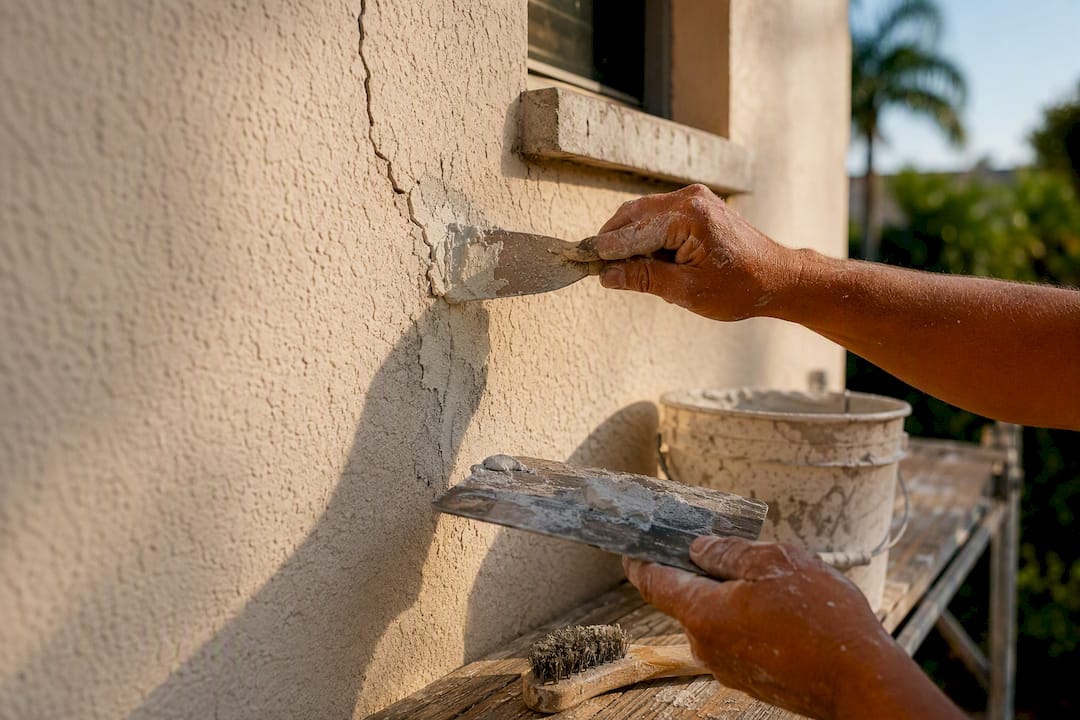
How you repair a crack depends almost entirely on how wide it is. Treating a hairline like a structural gap wastes material; treating a wide crack like a hairline guarantees the repair fails.
Hairline cracks (under 1/16 inch):
- Clean the crack line with a stiff brush to remove loose debris and dust.
- Apply a paintable elastomeric caulk directly into the crack with a caulk gun, working it in fully rather than just laying a bead on top.
- Smooth the caulk with a wet finger or putty knife and stipple the surface to roughly match the surrounding texture.
- Let it cure about 24 hours before priming or painting.
Small to medium cracks (1/16 to 1/4 inch):
- Widen the crack slightly with a scraper or crack router so patch material has something to grip.
- Brush out debris and dampen the area lightly per your product's label.
- Apply stucco patch compound in layers no thicker than 1/4 inch each, using a rubber float to press it into the crack and blend the edges.
- Texture the final layer with a sponge, brush, or trowel technique that matches the surrounding wall, finishing with a circular or stipple motion while the coat is still wet for the best blend.
- Allow roughly 7 days to cure before any primer or paint goes on.
Large or pattern cracks (over 1/4 inch, or diagonal/stair-step):
- Apply fiberglass mesh tape embedded in the first patch layer for reinforcement, then build up additional coats.
- Stop and get a professional structural assessment before doing any cosmetic patching if the crack keeps reappearing or widening.
- Don't paint over a repair you're not confident in. It's cheaper to fix once than repaint twice.
Our guide to hairline crack repair walks through the smallest category in more visual detail if that's what you're facing.
What Materials and Tools You Actually Need
Stucco repair doesn't require a huge shopping list, but the wrong product for the wrong crack size wastes time and money.
Product types:
- Elastomeric caulk for hairline cracks. It flexes with the wall's natural movement instead of cracking again.
- Acrylic caulk for smaller gaps around trim where flexibility matters less.
- Stucco patch compound, available in rapid-set and standard formulas. Rapid-set saves time but shortens your working window, so it's less forgiving for beginners.
- Masonry primer for patched or chalky areas, which helps the topcoat bond evenly and hides repair lines.
Tools worth having on hand:
- Metal scraper and wire brush for cleaning out cracks and loose material.
- Rubber float for applying and texturing patch compound.
- Caulk gun and a mixing bucket for batching patch material.
- Safety glasses and gloves, since patch compound and cleaning solutions both irritate skin and eyes.
Read the manufacturer's label closely before buying anything. Cure times, substrate compatibility, and recoat windows vary between brands, and the label is the only place that information is guaranteed accurate for that specific product.
Cure Times: How Long to Wait Before Priming and Painting
The three numbers that matter most are: elastomeric caulk cures in about 24 hours, stucco patch compound needs roughly 7 days, and new three-coat stucco requires 28 to 60 days before it can safely take paint. Those are minimums under decent conditions, not guarantees.

Temperature and humidity change everything. Cold, damp weather can stretch cure times 50 to 100 percent longer than the same product curing on a warm, dry summer day. If you're patching in November instead of July, plan on nearly double the wait.
Before you commit to primer, run a few quick checks:
- Hardness test: press a fingernail into the patch. It should feel solid, not soft or tacky.
- Adhesion spot check: press a small piece of painter's tape onto the repair and peel it back. If patch material comes off, it's not ready.
- Visual dryness: cured stucco patch typically lightens to a consistent, even color. Dark, damp-looking patches need more time.
Choosing a Primer and Painting Technique for Stucco
Prime any patched area and any spot where the old paint has chalked or gone dull. Skipping primer on repairs is one of the fastest ways to end up with a visible patch outline once the topcoat dries. A quality masonry primer evens out porosity differences between old stucco and new patch material, which is exactly where uneven sheen and color show up later.
Choose a breathable, elastomeric, or high-quality acrylic exterior coating built for masonry. Stucco holds moisture, and a coating that seals too tightly traps that moisture inside the wall, leading to blistering and bubbling down the line.
- Apply with a sprayer for even coverage across texture, then back-roll immediately using a roller with at least 3/4 to 1 inch of nap to work paint fully into the surface.
- Build to the coating manufacturer's recommended thickness, usually two full coats, rather than one heavy pass.
- Let each coat dry per label instructions before applying the next; rushing this step causes lap marks that are hard to hide on textured walls.
Pro Tip: Back-rolling isn't optional on stucco. Spray alone leaves shadowed, unpainted low spots in the texture that show up the moment sunlight hits the wall at an angle.
For a full exterior prep sequence beyond just the stucco itself, our exterior paint preparation guide covers trim, siding transitions, and caulking around openings.
Common Stucco Repair Mistakes and How to Fix Them
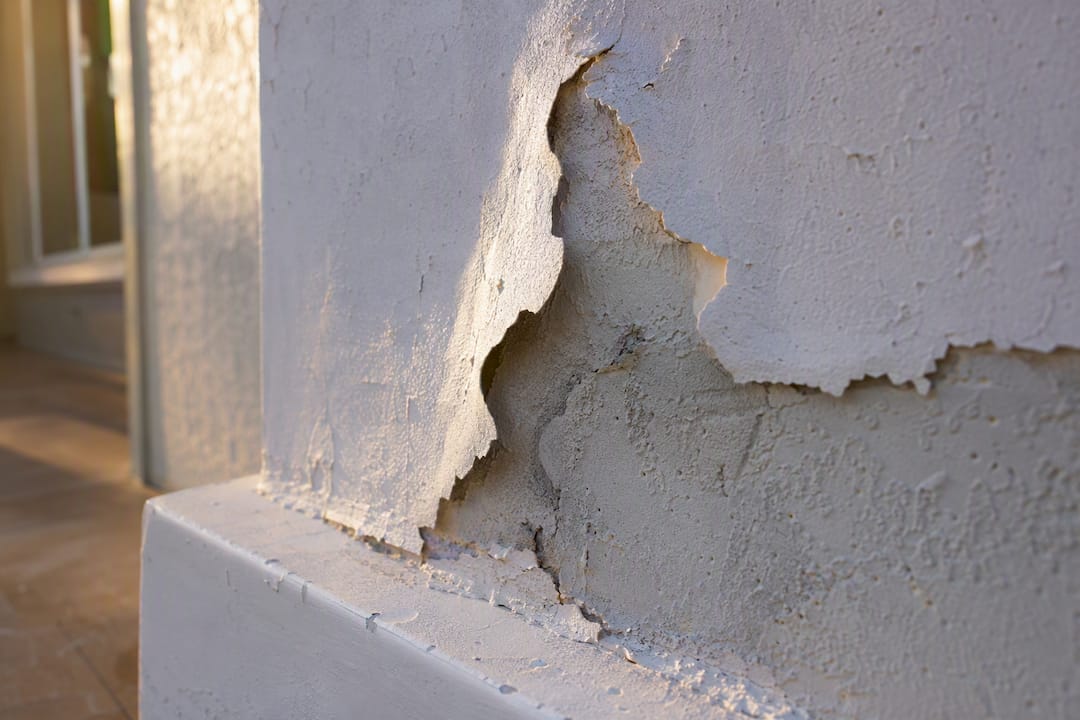
Painting over an uncured patch is the mistake we see most, and it causes bubbling or peeling within months as trapped moisture pushes the coating loose. If this happens, you have to strip the affected paint back down to the patch, confirm the patch itself is fully cured and dry, and repaint.
Pressure washing too aggressively is a close second. High PSI held too close pits the stucco surface, leaving small craters that then need their own patch repair before you can paint over them at all.
Visible repair lines usually mean a texture mismatch, not a color mismatch. Fix it by re-wetting the patch edge slightly and feathering fresh texture material outward with a sponge or trowel, blending gradually into the surrounding surface rather than stopping at a hard edge.
- Bubbling paint: strip, confirm dryness, repaint.
- Pitted surface from pressure washing: patch the pits, then repaint.
- Visible patch outline: feather texture wider, prime, then topcoat.
When to DIY and When to Call Tru Painting
Handle it yourself when cracks stay under 1/4 inch, show no signs of movement over a season, and there's no softness, staining, or hollow sound when you tap the wall. Bring in a professional when cracks are wide, diagonal, growing, or paired with moisture signs like efflorescence or mold.
A stable hairline crack and an active structural crack can look nearly identical to an untrained eye at first glance, but one is a weekend fix and the other is a warranty risk if you paint over it.
Tru Painting's three-tier service packages let Lake County and Central Florida homeowners choose the level of prep and protection that matches what they found during inspection, without paying for more than the job needs.
- Repair yourself: hairline cracks, no hollow sound, no staining.
- Get a quote: multiple wide cracks, unclear cause, or a large surface area to cover.
- Call immediately: hollow tapping sound, active mold, or diagonal cracking near the foundation.
Our contractor selection checklist covers exactly what to ask before hiring anyone for stucco work.
What Actually Matters Most in This Whole Process
Most stucco advice online treats every crack the same way, and that's the biggest gap between conventional wisdom and what actually works. A hairline crack and a structural crack aren't the same project with different tools. They're two different problems entirely, and the width threshold that separates them, roughly 1/4 inch, is the single most useful number in this entire guide.
The second thing homeowners underrate is cure time discipline. It's not exciting advice. Waiting a week for patch compound to cure feels like wasted time when the wall looks fine on day two. But that gap between "looks dry" and "is actually cured" is where almost every early paint failure on patched stucco originates.
If you take one thing from this, prioritize the inspection walk before you buy any product at all. Knowing what you're actually dealing with determines everything downstream, including whether DIY is even the right call.
Get Stucco Prep Done Right the First Time
DIY stucco repair works well for hairlines and small patches, but Lake County's humidity and heat make cure timing unforgiving, rush it and you're repainting within a year. Tru Painting builds proper cure windows and moisture checks into every exterior job, so patched stucco actually holds up under Florida sun instead of bubbling by summer's end.

Our three-tier packages mean you're not paying premium pricing for a small touch-up job, or getting under-scoped prep on a full repaint. If your stucco has cracks wider than a hairline, hollow spots, or staining you're unsure about, that's exactly the kind of call worth getting a second opinion on before you commit a weekend to it. Request a quote through our residential exterior painting page and we'll walk the property with you, no pressure, just an honest read on what your walls actually need before paint goes anywhere near them.
Sources
For product-specific cure times and step-by-step patching photos, BEHR's stucco repair guide is a solid start. This Old House covers pressure-washing technique in more depth, and Dunn-Edwards breaks down primer selection for patched surfaces.