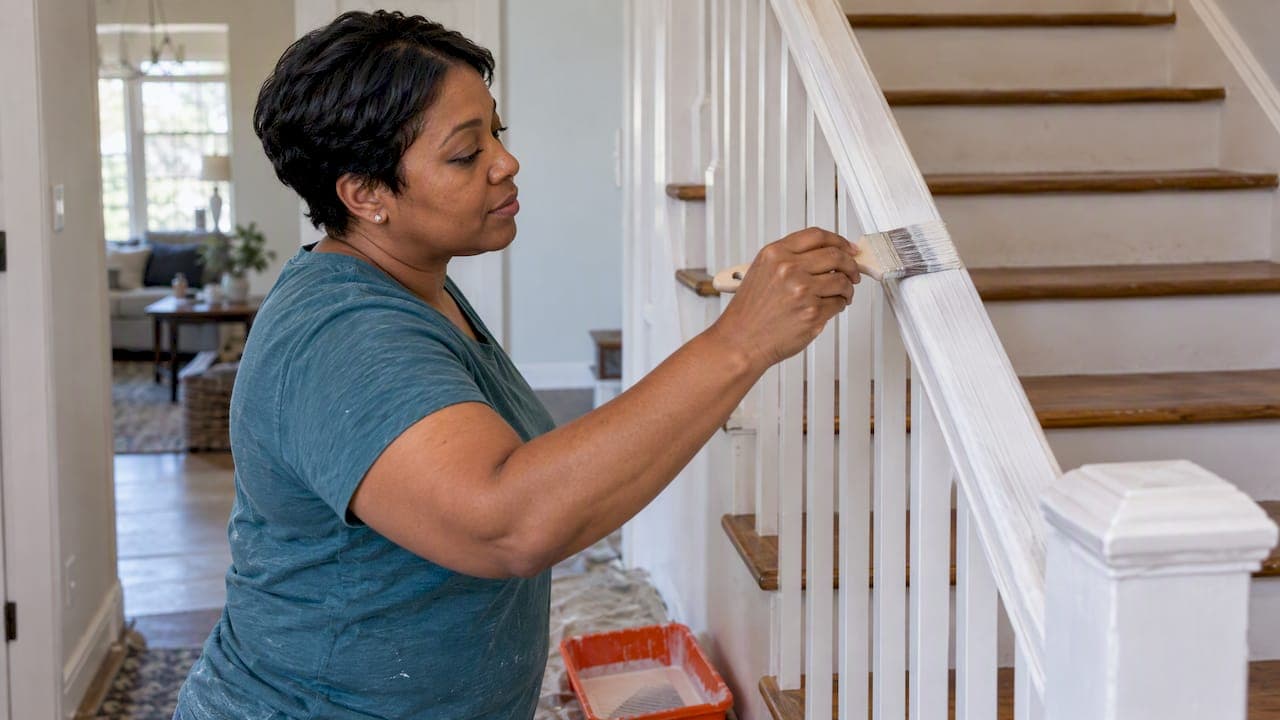
Yes, you can paint over glossy or semi-gloss paint. The catch is that a slick, hard surface gives new paint nothing to grip, so the job is won or lost in the prep: clean the surface, dull the sheen, prime with the right product, then apply your topcoat in thin, even coats. Skip those steps and the new paint can peel, chip or scratch off in sheets, often within months.
We repaint glossy trim, doors, cabinets and walls across Lake County every week. This guide covers what we would do, what the paint makers themselves recommend, and when it makes sense to hand the job to a professional.
TL;DR
- You can paint over glossy and semi-gloss paint, but only after cleaning it and removing or dulling the shine.
- Sanding to a dull finish is the most reliable method. A bonding primer can reduce the need to sand, but test a small spot first.
- Paint-and-primer-in-one products are generally meant for surfaces that are not glossy, so use a dedicated primer over gloss.
- Check whether the old paint is oil-based or water-based before you choose your primer and topcoat.
- Test your whole paint system in a hidden area, let it cure, and only then commit to the full room.
Table of Contents
- Why glossy paint is hard to paint over
- Step 1: Figure out what you are painting over
- Step 2: Clean the surface thoroughly
- Step 3: Remove the shine
- Step 4: Deal with dust and repairs
- Step 5: Prime for adhesion
- Step 6: Apply the topcoat
- Can you go from semi-gloss to satin or flat?
- What about painted varnished wood and exterior surfaces?
- Common mistakes that cause peeling
- Our perspective
- Let us handle the prep
- FAQ
- Sources
Why glossy paint is hard to paint over
Gloss and semi-gloss paints cure into a dense, smooth, tightly packed film. That is exactly why they are used on trim, doors, kitchens and bathrooms: they wipe clean and resist moisture. Dunn-Edwards notes that higher-gloss coatings generally offer better washability and stain resistance, and that semi-gloss suits kitchens, bathrooms, utility areas, woodwork, doors and trim.
The same hardness works against you at repaint time. A fresh coat needs microscopic texture to bite into. On a mirror-smooth surface, it has only a weak surface bond, so it can look fine on day one and fail the first time someone scrubs it or bumps it with a chair.
There is a second problem: higher sheens show flaws. Dunn-Edwards points out that glossy finishes can highlight surface defects. If you are going to keep a semi-gloss finish, every drip, dent and brush mark in the old coat will keep showing through unless you fix it first.
Step 1: Figure out what you are painting over
Before you buy anything, answer two questions: is the old paint oil-based or water-based, and is it in good shape?
In many Florida homes built decades ago, trim and doors were finished in oil-based enamel, and later repaints may have layered latex on top. A quick field test helps. BEHR PRO describes wiping the surface with denatured alcohol: if paint color transfers to the rag, the paint is water-based, and if nothing transfers, it is likely oil-based. Test a small hidden spot.
If it turns out to be oil-based, our guide on painting over oil-based paint with latex walks through that situation in detail.
Next, look at the condition. Peeling, bubbling or cracking paint needs to be scraped back to a sound edge. A properly prepared surface, as Rodda Paint puts it, is clean, solid and dry, without cracks or imperfections. No primer can fix a layer that is already letting go of the wall.
Step 2: Clean the surface thoroughly
Cleaning is the step people rush, and it matters more than most expect. Glossy surfaces in kitchens and bathrooms collect cooking grease, hand oils and soap film that you cannot always see. Paint will not bond to any of it.
Sherwin-Williams' prep guide says previously painted surfaces should be washed to remove dirt, grease, soap and oil, and the cleaner residue rinsed away. Rodda-Miller recommends mild detergent and water or a wall-cleaning product for dirt, dust, wax, grease and oils, followed by rinsing and drying.
In practice:
- Mix a mild detergent or a cleaner made for painted surfaces in warm water.
- Wash from the bottom up, so dirty runs do not streak a clean area.
- Rinse with clean water and a fresh sponge.
- Let the surface dry fully. In Central Florida's humidity, give it more time than you think you need, especially in bathrooms and on exterior-facing walls.
One caution: scrubbing can change the look of the paint itself, especially on flatter sheens. Our clean painted walls guide explains why to test a hidden patch first.
Step 3: Remove the shine
This is the heart of the job, and the answer to the most common question we hear: can you do it without sanding?
Sanding to a dull finish
Sanding is still the baseline. Sherwin-Williams recommends lightly sanding glossy or nonporous surfaces to a dull finish, or using an abrasive cleanser, and then removing the dust or cleanser residue. For oil-based paint that will receive a water-based coating, BEHR PRO suggests fine sanding in the 180 to 220 grit range to take off the gloss, followed by dust removal and cleaning.
The goal is not to strip the paint. You are only scuffing it until the surface looks uniformly dull, with no shiny patches left. Hold the sanded area up to a light at an angle. Any remaining sparkle is a spot where the new coat has less to hold.
Skipping the sandpaper
If you want to avoid sanding, you have two realistic options:
- An abrasive cleanser. Sherwin-Williams lists this as an alternative to sanding for glossy surfaces. It works by scuffing the film chemically and mechanically as you scrub.
- A bonding primer. BEHR PRO says its Bonding Primer is formulated for difficult glossy surfaces and can reduce the need to sand dense, glossy surfaces. It also advises testing an inconspicuous area first.
Notice the wording in both cases: "reduce the need," and "test first." No product label replaces your own test. If you go the no-sand route, apply your primer and topcoat on a hidden spot, let it cure, then try scratching it with a fingernail and pressing painter's tape on and pulling it off. If the paint lifts, you need to sand.
When we always recommend sanding
We lean toward sanding, or a more involved prep package, on high-touch surfaces: cabinet doors, door edges, window sills, handrails and baseboards. These get bumped, scrubbed and cleaned constantly, so a weak bond shows up fast there. For cabinets, see our notes on primers matched to cabinet substrates.
Step 4: Deal with dust and repairs
Once the shine is gone, you will have fine dust, and it will ruin a paint job if it stays. Vacuum with a brush attachment, then wipe with a damp microfiber cloth and let the surface dry again. Sherwin-Williams specifically calls for removing dust or cleanser residue after dulling.
Fill nail holes, dings and cracks now, then sand the patches smooth. The prep guide from Sherwin-Williams lists patching and sanding repairs as part of the sequence, before painting. Spot-prime the patches so they do not soak up topcoat and leave dull, flashed spots.

If you sanded a whole room, or you are finishing a renovation with heavy dust everywhere, a thorough cleanup is part of the job. Some homeowners bring in post-construction cleaning services for that stage so the paint goes onto a dust-free room.
For a full room-level routine, our interior wall prep checklist covers masking, protecting floors and the order of work.
Step 5: Prime for adhesion
Should you prime over glossy paint? In almost every case, yes. Rodda-Miller identifies primer as a way to improve adhesion, cover darker colors and stains, and create a smoother, more even finish. Lowe's primer guide says primer improves topcoat adhesion and helps produce a uniform finish that lasts longer.
The same Lowe's guide says paint-and-primer-in-one products are intended for previously painted surfaces that are not glossy. That is the key point for this topic. A glossy surface calls for a dedicated primer, chosen for the job, not a self-priming topcoat.
Choosing the primer
| Situation | What to look for |
|---|---|
| Glossy latex or oil-based paint, no sanding | A bonding primer made for slick surfaces, tested on a hidden spot first |
| Glossy oil-based paint, going to latex | Sand or scuff, clean, then a high-quality primer suited to oil-based paint |
| Stains or dark colors showing | A stain-blocking primer, with a second coat if needed |
| Kitchen or bathroom trim | Bonding primer, then a washable semi-gloss or satin topcoat |
For prepared oil-based paint, BEHR PRO recommends a high-quality primer, with a second coat if color or stains show through. Always read the label of the specific product for compatible topcoats and recoat times.
Step 6: Apply the topcoat
With the surface clean, dull and primed, the painting itself is the easy part.
- Use a quality brush or a fine-nap roller for smooth finishes.
- Apply thin, even coats rather than one heavy one. Heavy coats on glossy primer can sag and take longer to cure.
- Follow the label for recoat times. Florida humidity can stretch them.
- Keep a wet edge so you avoid lap marks, which show clearly in higher sheens.
- Plan on two topcoats for a uniform color, especially when going lighter over dark or changing color significantly.
After painting, treat the surface gently. Paint may feel dry within hours but needs days to harden fully. Avoid scrubbing, taping or stacking items against it during that time.
Can you go from semi-gloss to satin or flat?
Yes, and this is where a lot of homeowners get stuck. Painting a satin or eggshell over semi-gloss follows the same prep: clean, dull, prime. The old sheen does not show through the new one when the surface is properly prepared, but the old film's flaws will show through a high-sheen topcoat more than a flat one.
That gives you a choice. Staying at semi-gloss keeps the washability on trim, doors and kitchens, but it highlights every imperfection. Dropping to satin hides more and still wipes clean. For help matching sheen to each room, see how to pick an interior paint finish and our kitchen paint finish guide.
If you want a flatter look, painting a lower-sheen paint over primed semi-gloss is the dependable route. Trying to dull a finished glossy surface by wiping something on top of it is not a fix we would trust.
What about painted varnished wood and exterior surfaces?
Varnish is another slick, hard film, and the same logic applies: clean it, dull it with sanding, and prime with a product made for the job. Check the primer label for wood and varnish compatibility, and test first.
Outdoors, the stakes are higher. Sun, rain, salt and heat push on a weak bond constantly. Glossy exterior finishes such as old trim paint need dulling and priming too, and chalky or peeling areas need removal first. Our guides to exterior wall prep and exterior sheen go deeper on that.
Common mistakes that cause peeling
- Painting over a dirty surface. Grease and soap film are invisible but they block adhesion.
- Trusting "no prep" claims blindly. Test before you commit.
- Using paint-and-primer in one over gloss. Those products are generally meant for previously painted surfaces that are not glossy.
- Rushing cure times. Dry to the touch is not cured.
- Skipping the dust wipe-down. Sanding dust under paint leaves a rough, weak finish.
- Mismatching paint types. Putting the wrong topcoat over oil-based paint is a common reason for failure.
Our perspective
We have seen the same story many times in Lake County homes: someone repaints a glossy door or a bathroom wall in a weekend, it looks great, and six months later the paint is scratching off with a fingernail. Nine times out of ten, the paint was not the problem. The prep was.
That is why preparation is the center of how we work. Cleaning, dulling the sheen, repairing, priming and then painting is not extra; it is the job. Rather than competing on being the cheapest, we aim to deliver finishes that last, with thorough prep and premium products.
It is also why we offer three service tiers. Our Cosmetic Refresh, Enhanced Prep & Durability and Maximum Prep & Protection packages let you choose how much preparation and protection fits your home and budget. For glossy surfaces on kitchen cabinets, trim and doors, we usually point homeowners toward the higher-prep options, because those are the places where a weak bond shows first.
If you enjoy DIY, the steps above will serve you well. If you would rather have someone else handle the sanding, dust and cure times, we are happy to take it on.
Kyle
Let us handle the prep
If you would rather skip the sanding and the test patches, we can take care of glossy trim, doors, walls and cabinets for you. Our three-tier packages let you choose the level of prep and protection that suits your project, and we back our work with warranties on workmanship. Take a look at our service packages or start with our residential interior painting service, and schedule your appointment when you are ready.

For kitchens, our cabinet refinishing service covers the glossy factory and older painted finishes that are the hardest to get right.
FAQ
Can you paint over semi-gloss without priming?
We do not recommend it. Primer improves adhesion and helps give a uniform finish, and paint-and-primer-in-one products are generally intended for surfaces that are not glossy. Over semi-gloss, clean the surface, dull it, and use a dedicated bonding primer for the best chance of a lasting bond.
Can you paint over gloss with satin?
Yes. Prepare the surface the same way: wash it, sand or scuff it to a dull finish, remove the dust and prime. Satin is a little more forgiving than semi-gloss because it highlights fewer surface flaws, and it still wipes clean in most rooms.
Can you paint over glossy paint without sanding?
Sometimes. Sherwin-Williams lists an abrasive cleanser as an alternative to sanding, and BEHR PRO says its Bonding Primer can reduce the need to sand dense, glossy surfaces. Test an inconspicuous area first, let it cure, and check that the paint does not scratch or lift with tape.
Can you paint over varnished wood?
Yes, with preparation. Clean the wood, dull the varnish by sanding, remove the dust and apply a primer designed for slick surfaces before your topcoat. Test a hidden spot first, since varnish and primer combinations vary.
How do I tell if my old paint is oil-based?
Wipe a hidden spot with a rag dampened with denatured alcohol. BEHR PRO says color transfer suggests water-based paint, while no transfer suggests oil-based paint. Oil-based paint needs sanding and a suitable primer before a water-based topcoat.
Sources
- How to Paint Prep | Sherwin-Williams
- Interior Guide | Rodda-Miller Paint
- Tips on Painting Over Oil-Based Paint | BEHR PRO
- Primer Buying Guide | Lowe's
- How to Paint: Interior Brochure | Dunn-Edwards